Save time and money with Dan's pickup wiring tips
This pickup replacement had to be done fast to keep the cost low.

In the repair biz time is money, so let’s save both.
Advice for quick pickup replacement.
Time-saving means money-making, so here’s how I moved quicker by avoiding unnecessary steps...
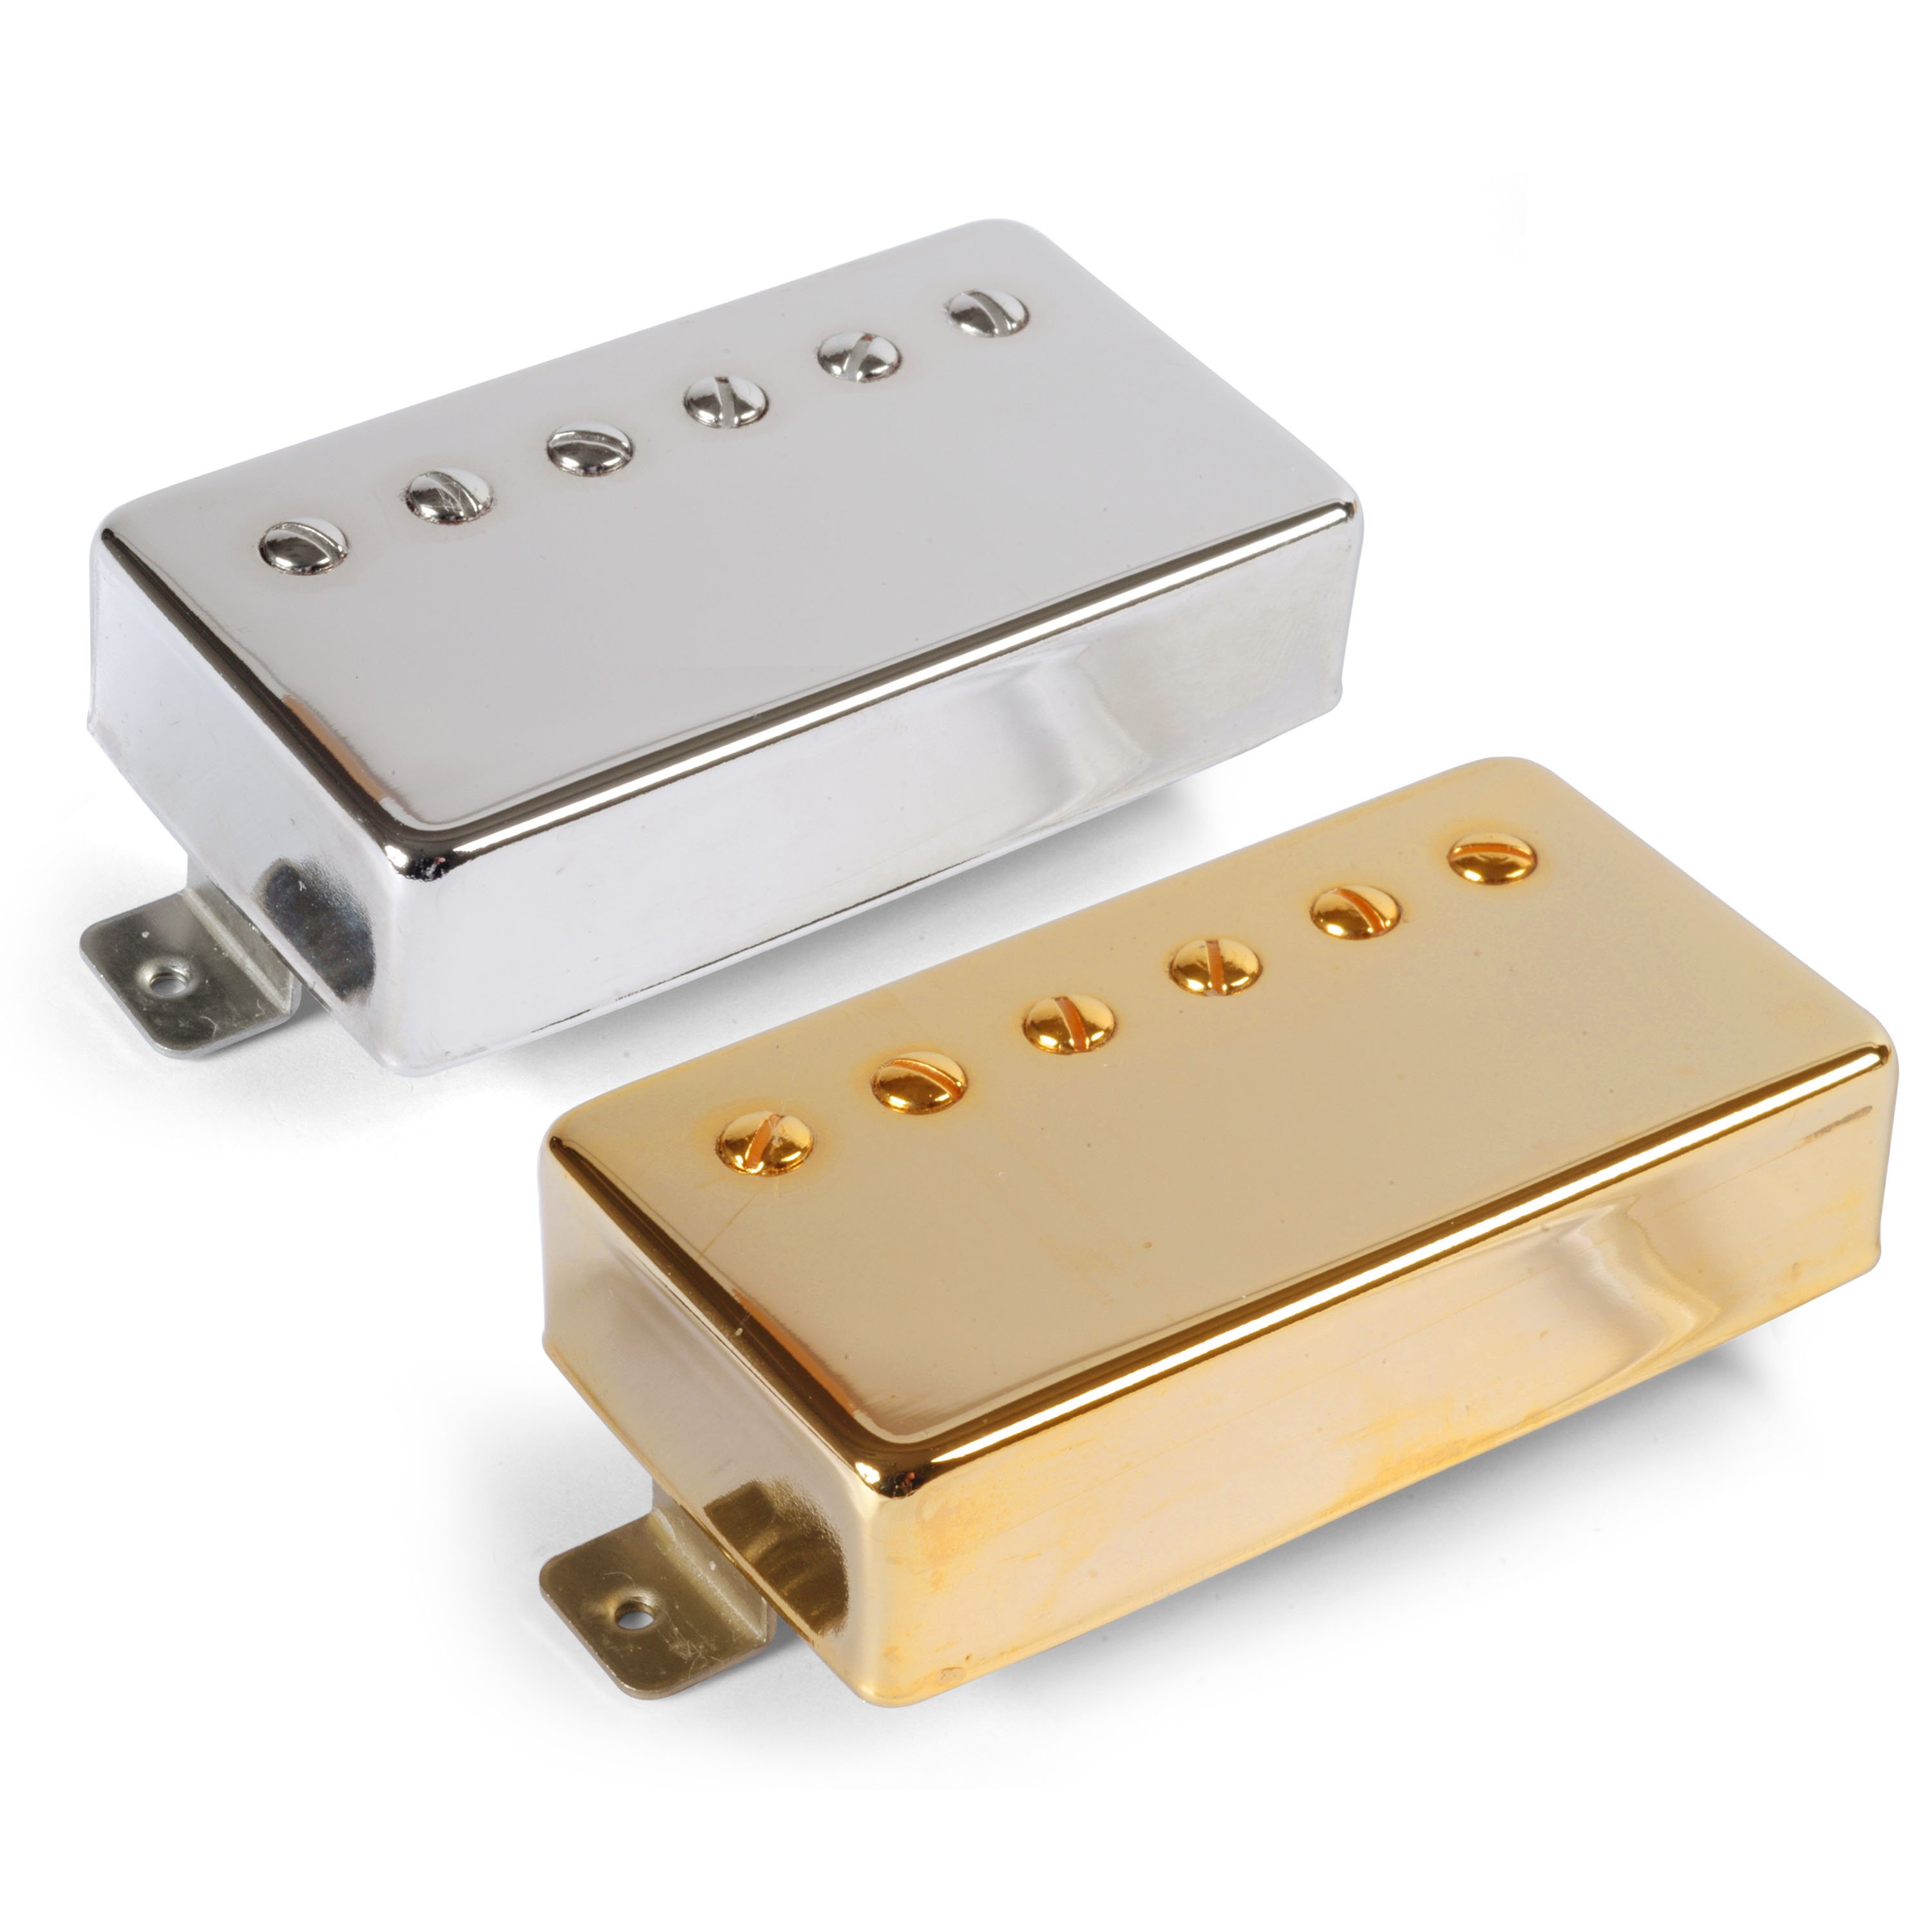
My customer loves his 1996 Korean-made copy of a Gibson 335. He wants to upgrade it, but he’s on a no-frills budget: every dollar spent has to pay back in better sound. To get the biggest bang for the buck, I’m replacing the factory pickups with StewMac humbuckers.

Every Golden Age humbucker comes with enough lead wire to reach the controls, but I’m not using it. Getting the electronics in or out of a semi-hollowbody is tricky as heck — it could take all afternoon!
It wasn’t easy for the factory, either: years ago at Gibson I watched 335 models being wired up. Connections were soldered by reaching through the F-holes — try to do that without damaging the guitar! Every bench had touch-up lacquer and brushes to repair occasional dings and nicks. Start looking very closely at the F-holes on semi-hollowbodies, and you’ll sometimes discover these finish repairs from the factory.
So don't even think about unwiring the control pots. Just clip the wire at the pickup, and reuse the leads that the factory put in there.
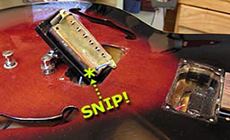
Make the cut right next to the pickup, to leave as much slack as you can for wiring in the new pickups.
I use my fret pullers to cut these delicate wires. They make a clean sharp cut without crushing the wires.
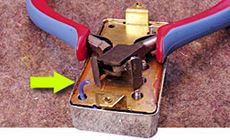
Gain a little slack for working by pulling the wire out through the F-hole to strip away the insulation, then thread it back into place. The felt pads you see here are something I use all day long to protect guitars from parts and tools.

Golden Age humbuckers have a stranded ground wire and two hot leads. The hot lead is red; and the white wire is the series link between the two coils — used if you want a coil cut. I didn't, so I bent the white lead back and held it in place with heat-shrink tubing. Then I bundled up the unused length of shielded wire with a piece of heat-shrink, too. I left this excess wire under the pickup in case the customer ever wants to wire this pickup into another guitar.
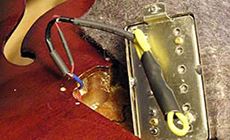
Check it Out!
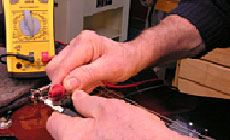
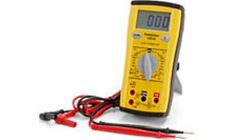
Quick Pickup Test
See if your pickups are up to spec. Plug a cord in the guitar and test with a multimeter at the other end of the cord. The DC resistance of these old humbuckers was 7.81K ohm.
Wait!
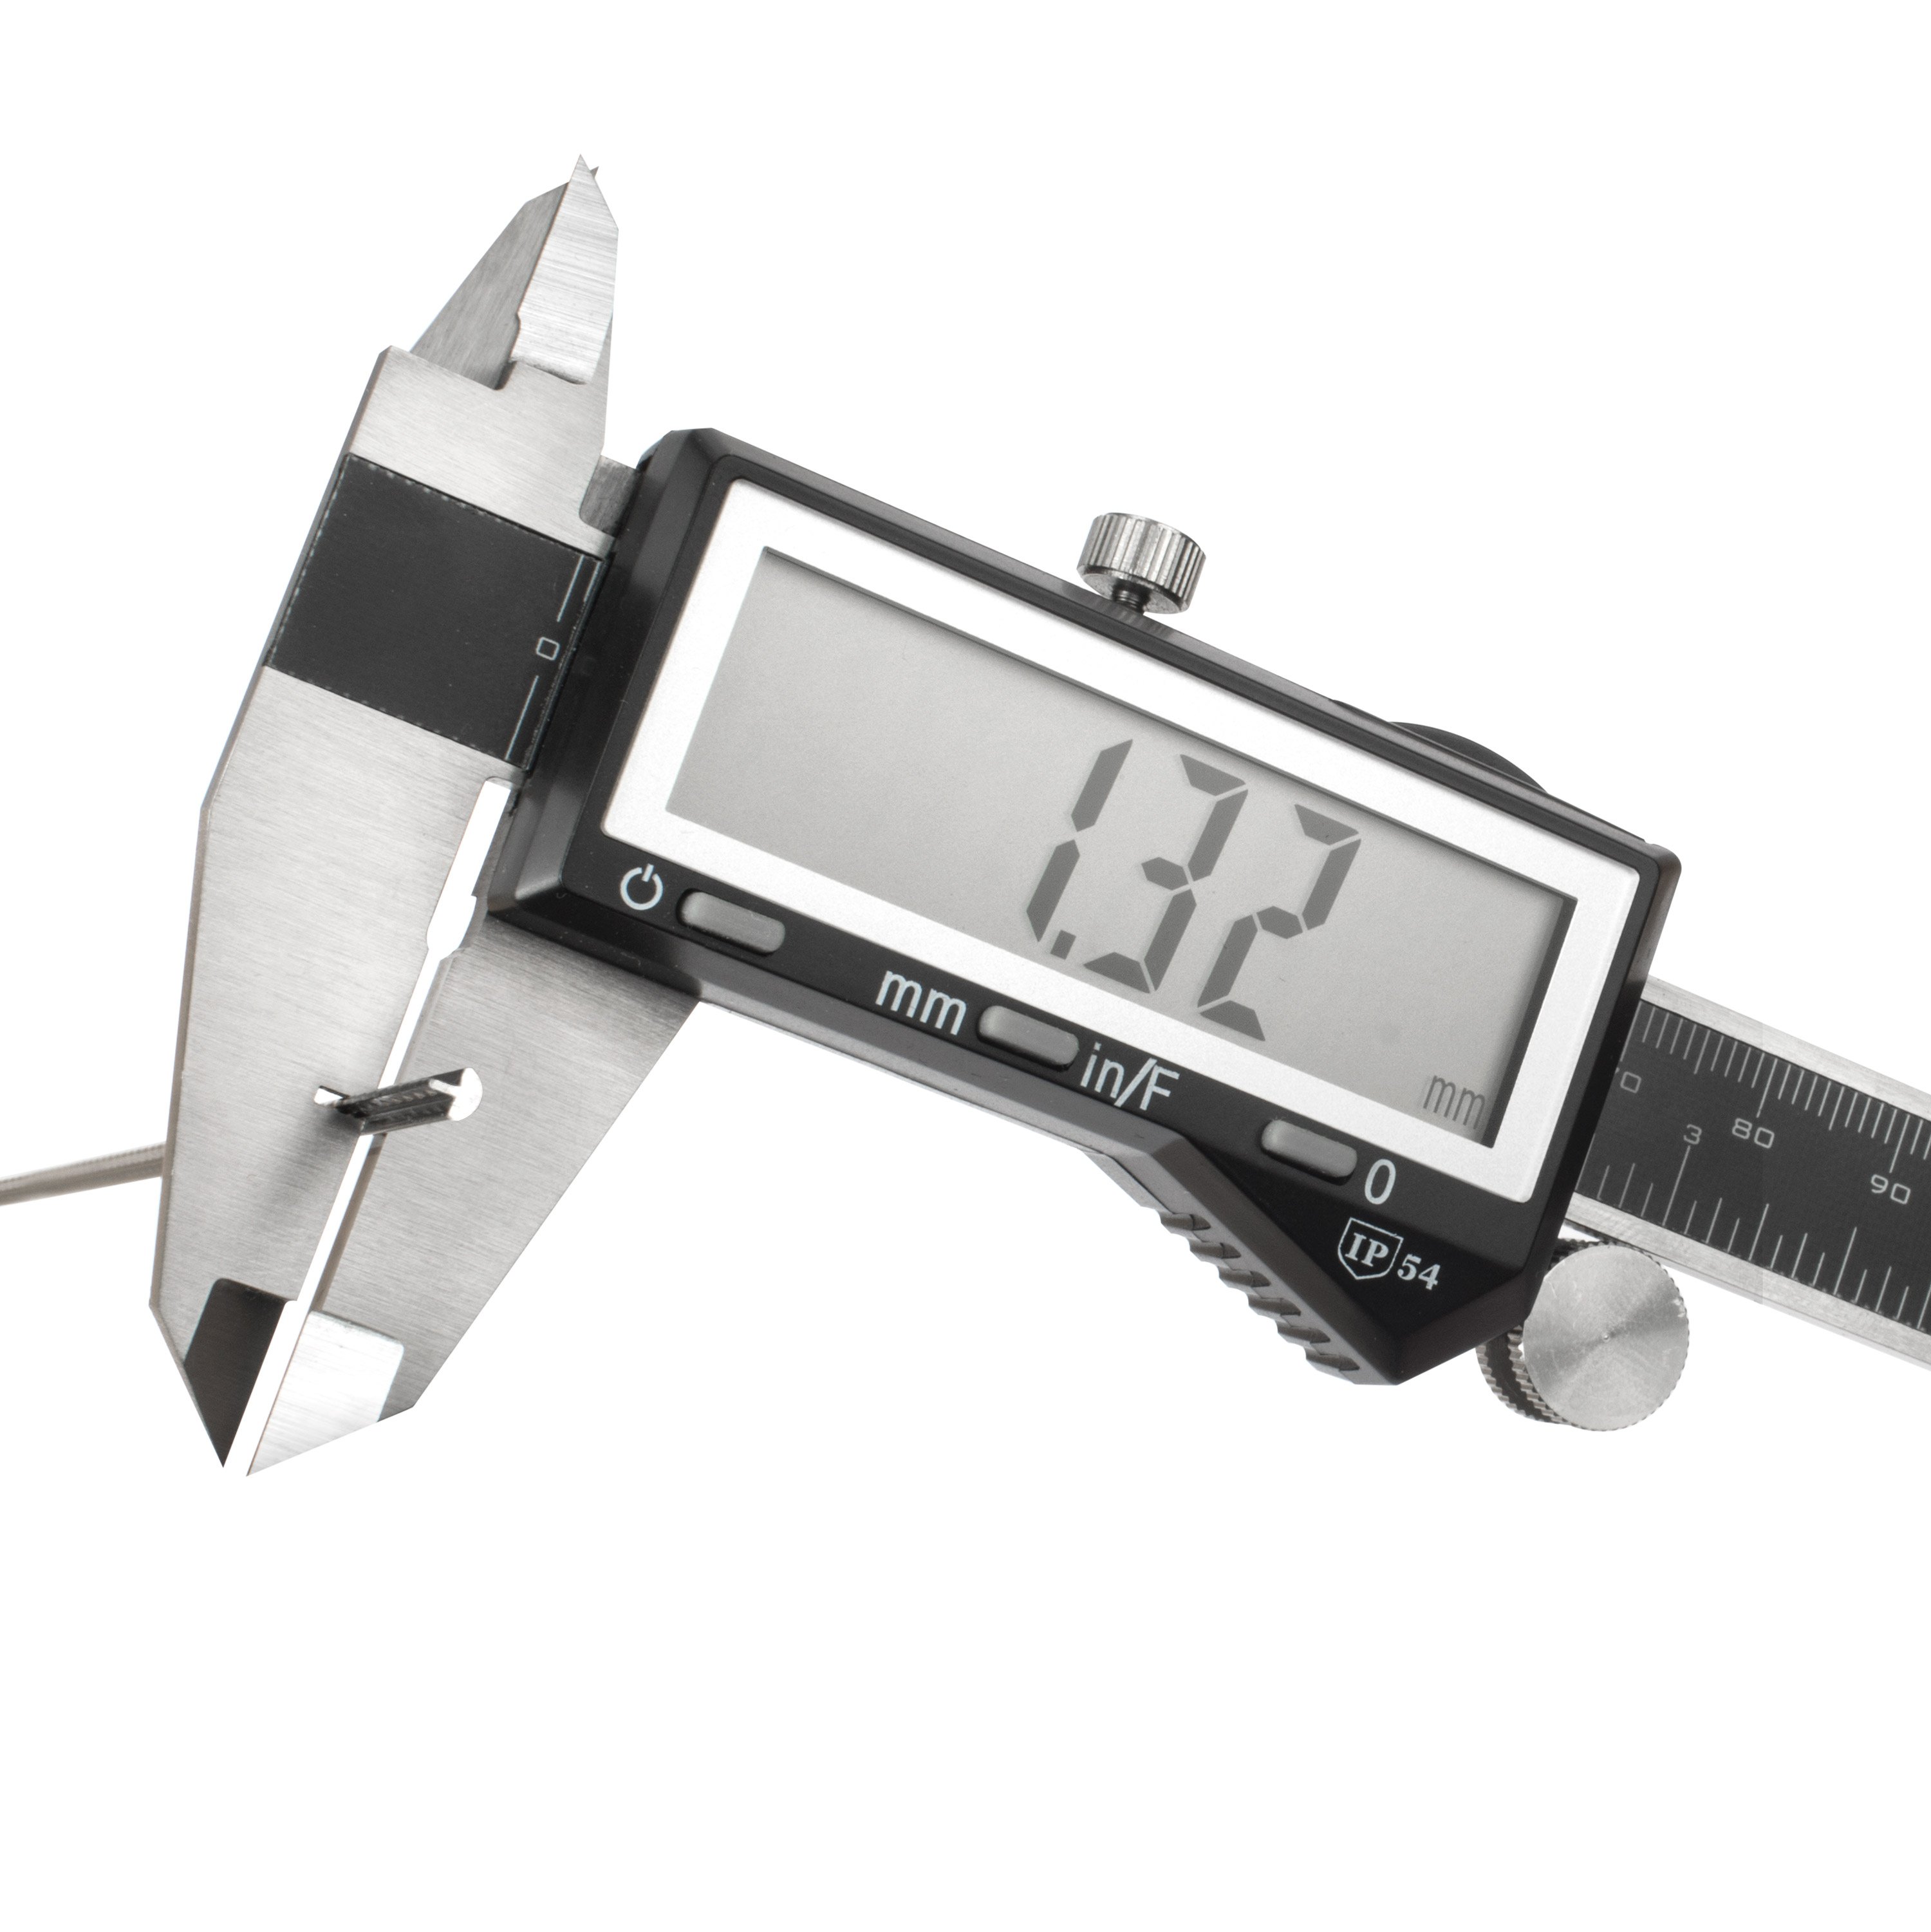
Don’t throw out the old pickup mounting rings! No sooner had I placed the bridge pickup into the cavity than I saw that the mounting rings wouldn't cover the mark left by the factory pickups. The mounting rings on the guitar were non-standard. Measuring with my caliper, the new mounting rings measured 3.178" between the holes, but the guitar’s screwholes measured 3.274". That’s a whopping mismatch of .096", or over 3/32".
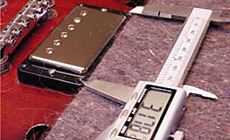
I could plug the holes in the body and re-drill, but even then the new mounting rings wouldn't cover the imprint in the lacquer from the original rings. And this is a short-order-cooking job anyhow, so I mounted the new pickups in the old rings. Another time-saving shortcut.
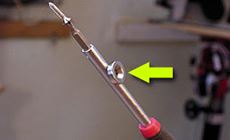
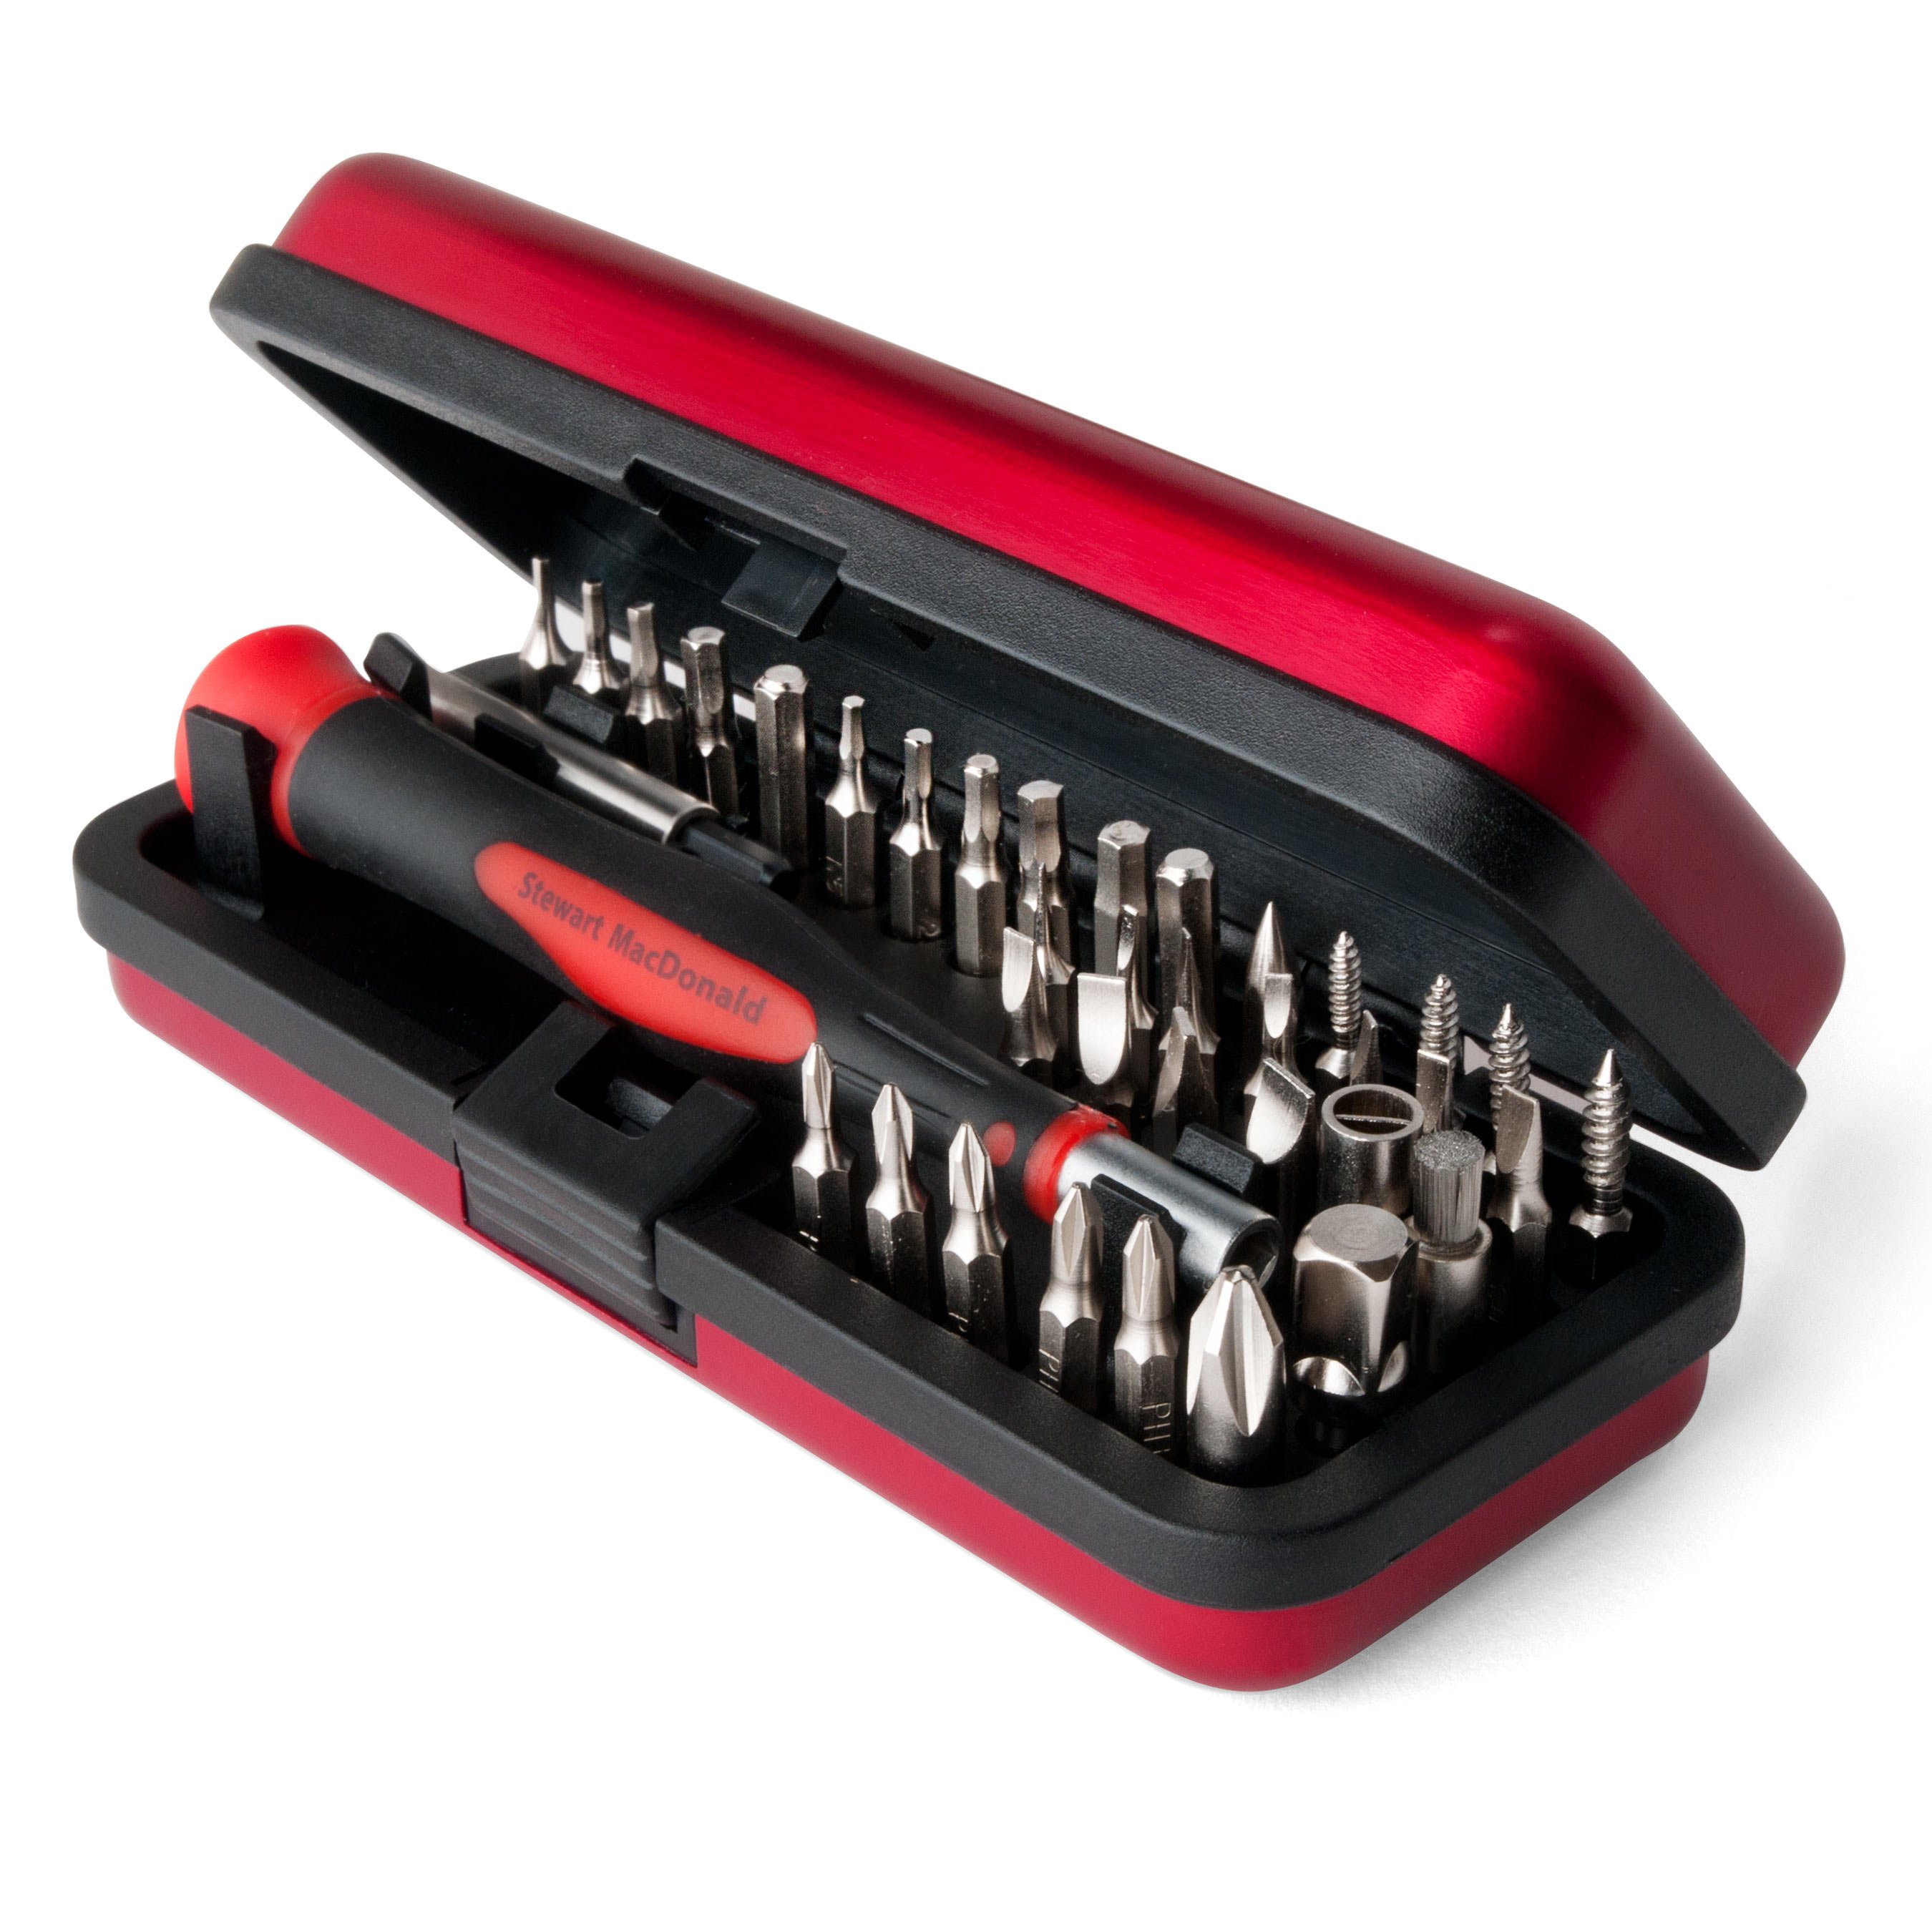
The last step was to tighten things up and take the new pickups for a test drive. One more tip for speeding up installation: put a guitar repair magnet on the shaft, and your screwdriver becomes magnetized. Handling small screws is simpler this way.
