How to Choose and Install Acoustic Guitar Pickups
There are TONS of acoustic guitar pickup systems on the market. Dan and Blake show you how to install 3 of the most popular systems: the Fishman Neo-D Magnetic Soundhole Pickup, the Schatten EP-01 Soundboard Transducer, and the L.R. Baggs Anthem SL. Practically no experience is necessary, and we even do a side-by-side sound comparison at the end.
Video Transcription
[on-screen text reads: StewMac]
Dan Erlewine: At StewMac, we're getting questions all the time about acoustic pickups and how to install them. And for a good reason, because there's so many different types of pickups, they all install a little differently, and they all sound different. So today, Blake and I are going to show you three different systems at different price points and skill levels of installation, so you can decide what's best for you.
Blake: Yep. We're going to be doing all this work on my 1958 Gibson LGO. It's one of my favorite guitars, especially after me and Dan pretty much rebuilt this when I first came to him to be an apprentice. Back braces, top braces, bridge, frets, nut, saddle, the whole thing, and it sounds better than ever. And the only thing we're missing now is a great pickup to help amplify that sound.
Dan Erlewine: I'm really curious to know which of these three you decide you like best, because you get to keep one. So stick around, because at the end, we're going to run a sound test through this Fishman acoustic guitar amp, and you'll really know what these sound like.
Installing the Fishman Soundhole Pickup
Blake: So the first pick we're going to install today is this Fishman Neo-D Magnetic Soundhole Pickup. Like all soundhole pickups, it installs really easy right here in the soundhole. What's great about these pickups is that they're budget-friendly. They don't run on batteries. They're passive, so you don't have to take the strings off and change batteries. And they install super quickly. So I could do this in under five minutes, and I'm about to show you how.
Here we go. So we're going to take screwdriver with the little Phillips head. We're just going to unscrew the wings. You can kind of see the thread there and how the jaw will fall down with it as you back it out. Fishman's going to be facing this direction. Slide her on up in there. Now I'm going to tighten it up. And there you go.
So we're going to run this wire out the soundhole. We're going to tape it down to the pickguard here. And basically, our jack is just going to plug straight into our amp. This is a really great option, so you don't have to drill a hole in the tail block of your guitar. And if you didn't want to have this taped to the outside of the guitar, you could run the wires through the guitar right out the tail block if you want to drill the hole out. We'll be doing that in the next install.
Installing the Schatten Soundboard Transducer
The second pickup we're going to be installing today is this Schatten Soundboard Transducer.
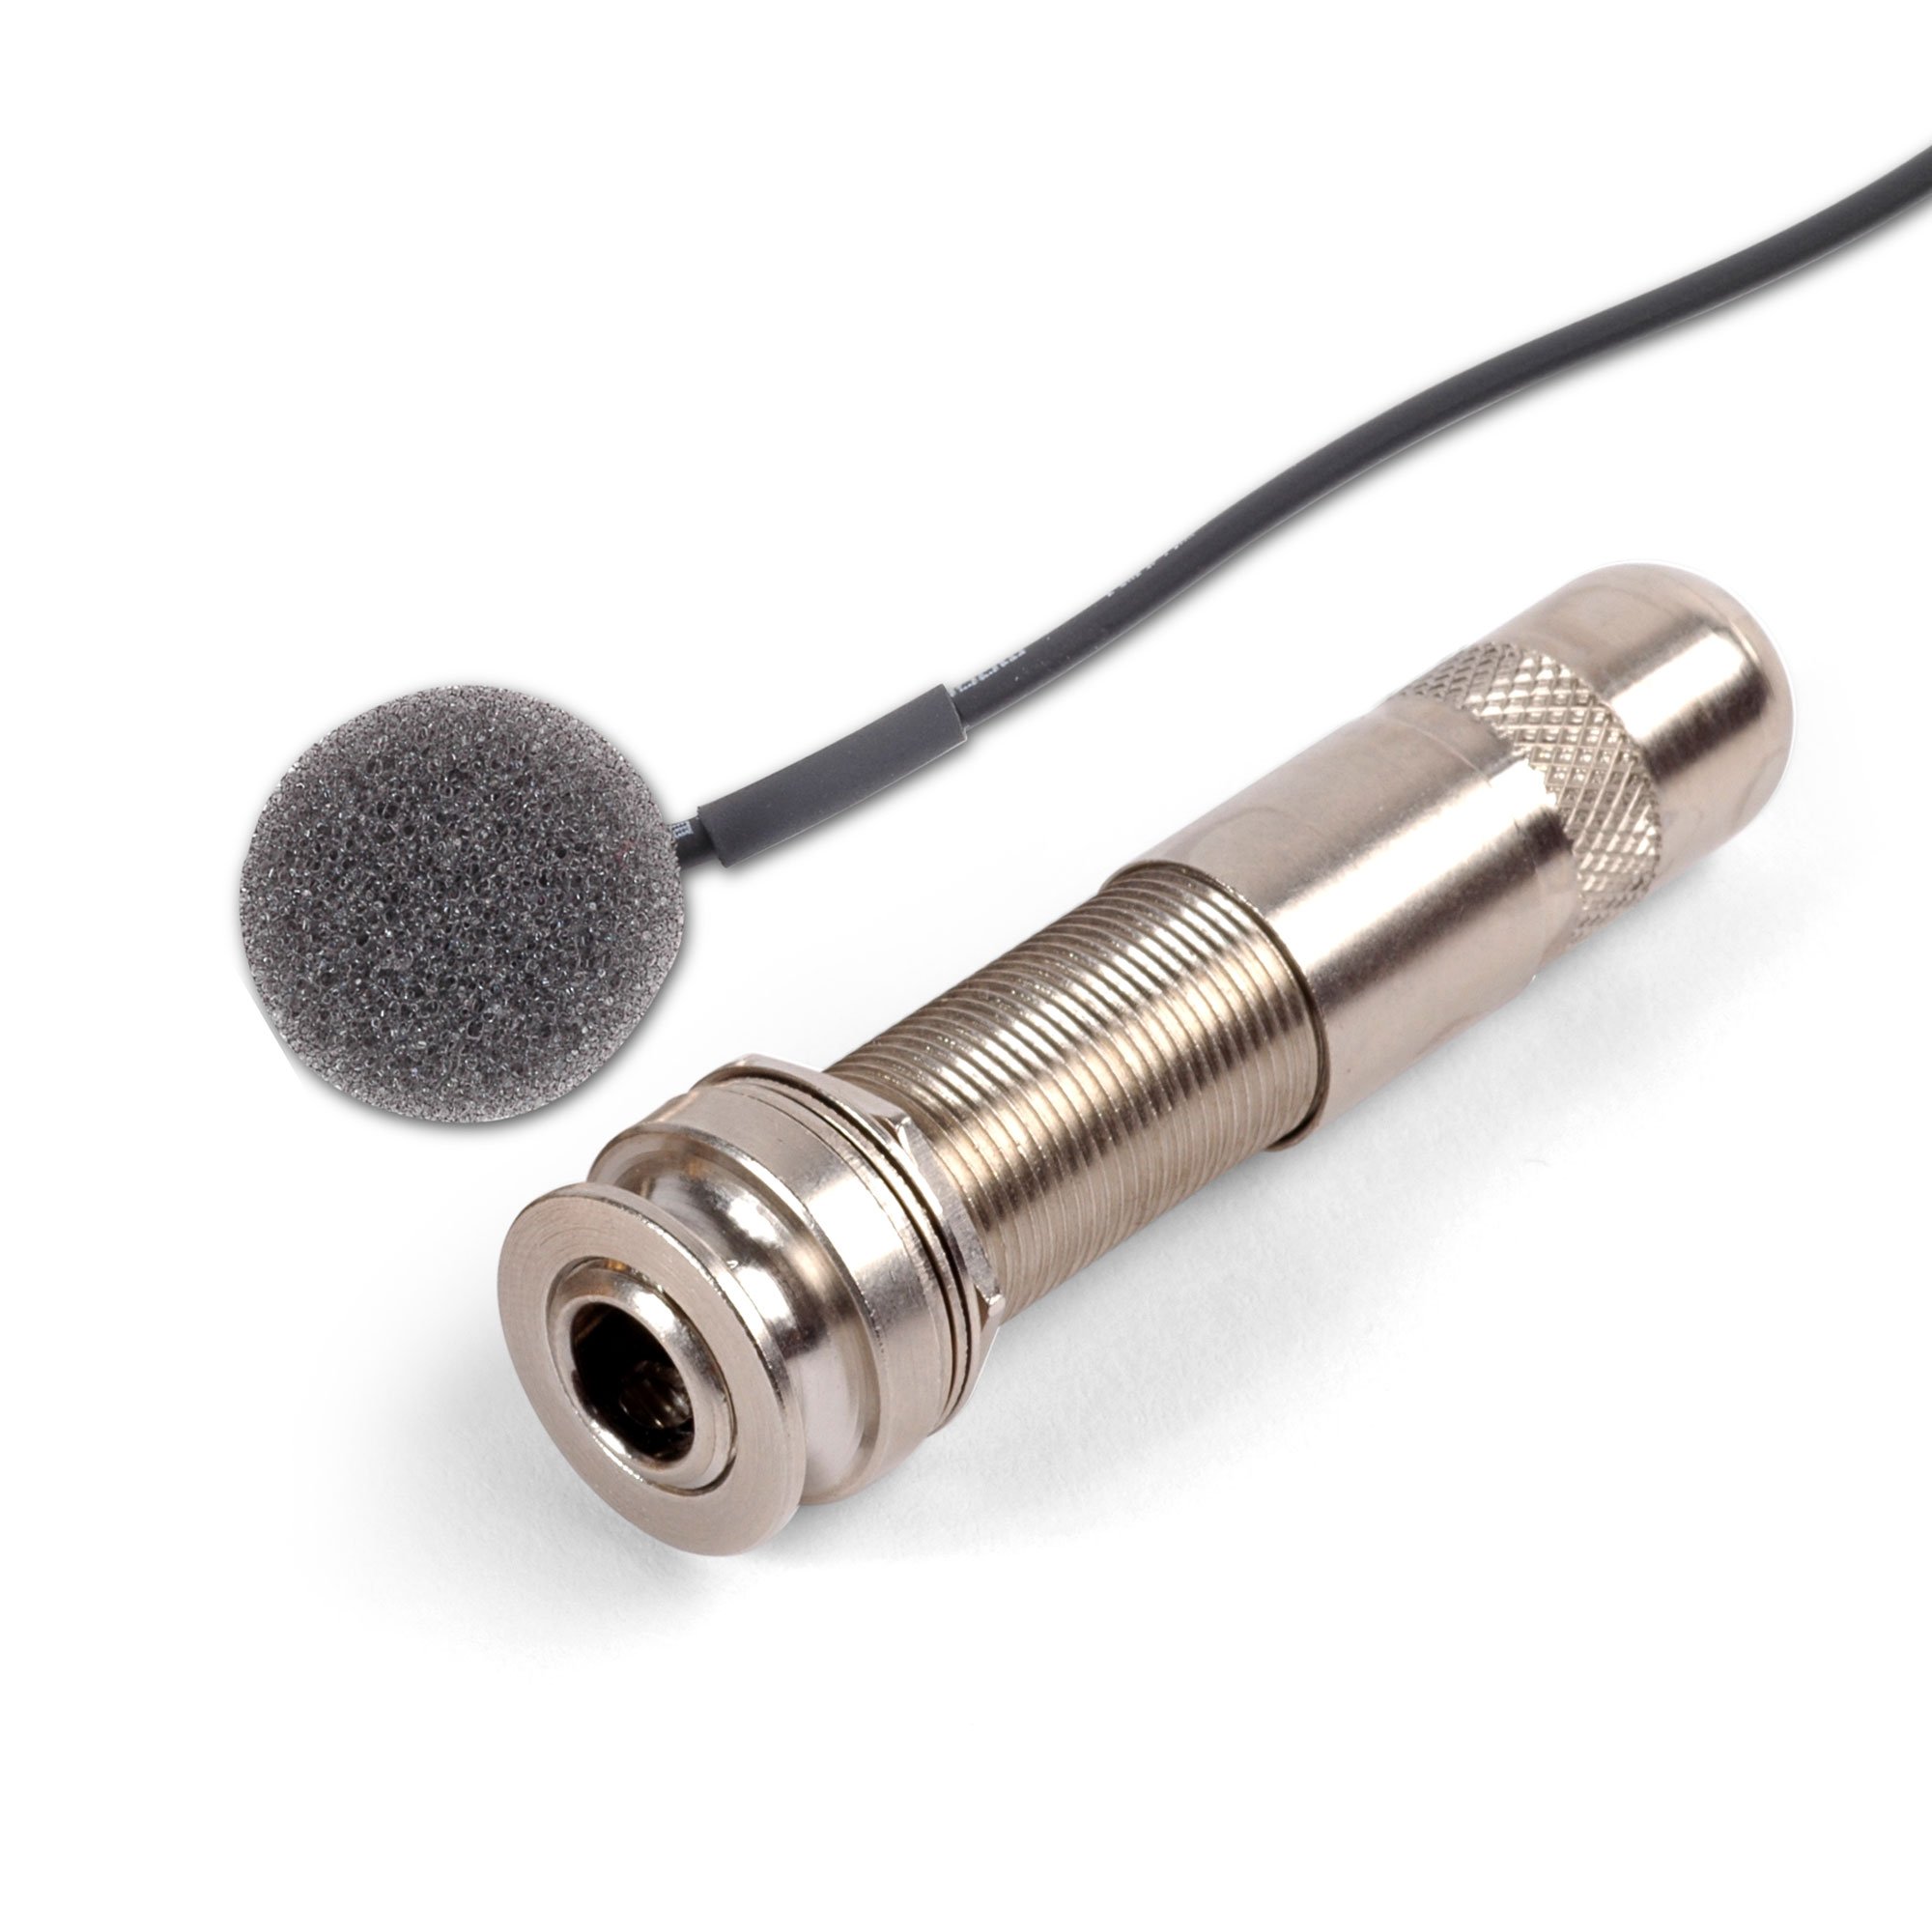
Instead of a coil, like the last pickup, the transducer gets stuck inside the guitar and mounted to the top behind the bridge pad. And that way, instead of hearing the steel sound of the strings, we're going to hear the nice warm, rich sound of the mahogany top. And it kind of picks up the vibrations and the ambient tone that's going on inside the guitar. We also have to solder this to an output jack, or an endpin jack. And this endpin jack's going to get mounted right here in the end block. So we have to drill a hole for that, we have to do some soldering, and then we have to stick this to the top where we can't see. So even though the price point is about the same as the soundhole pickup, the whole level of installation gets taken up a notch. And we're about to have some fun.
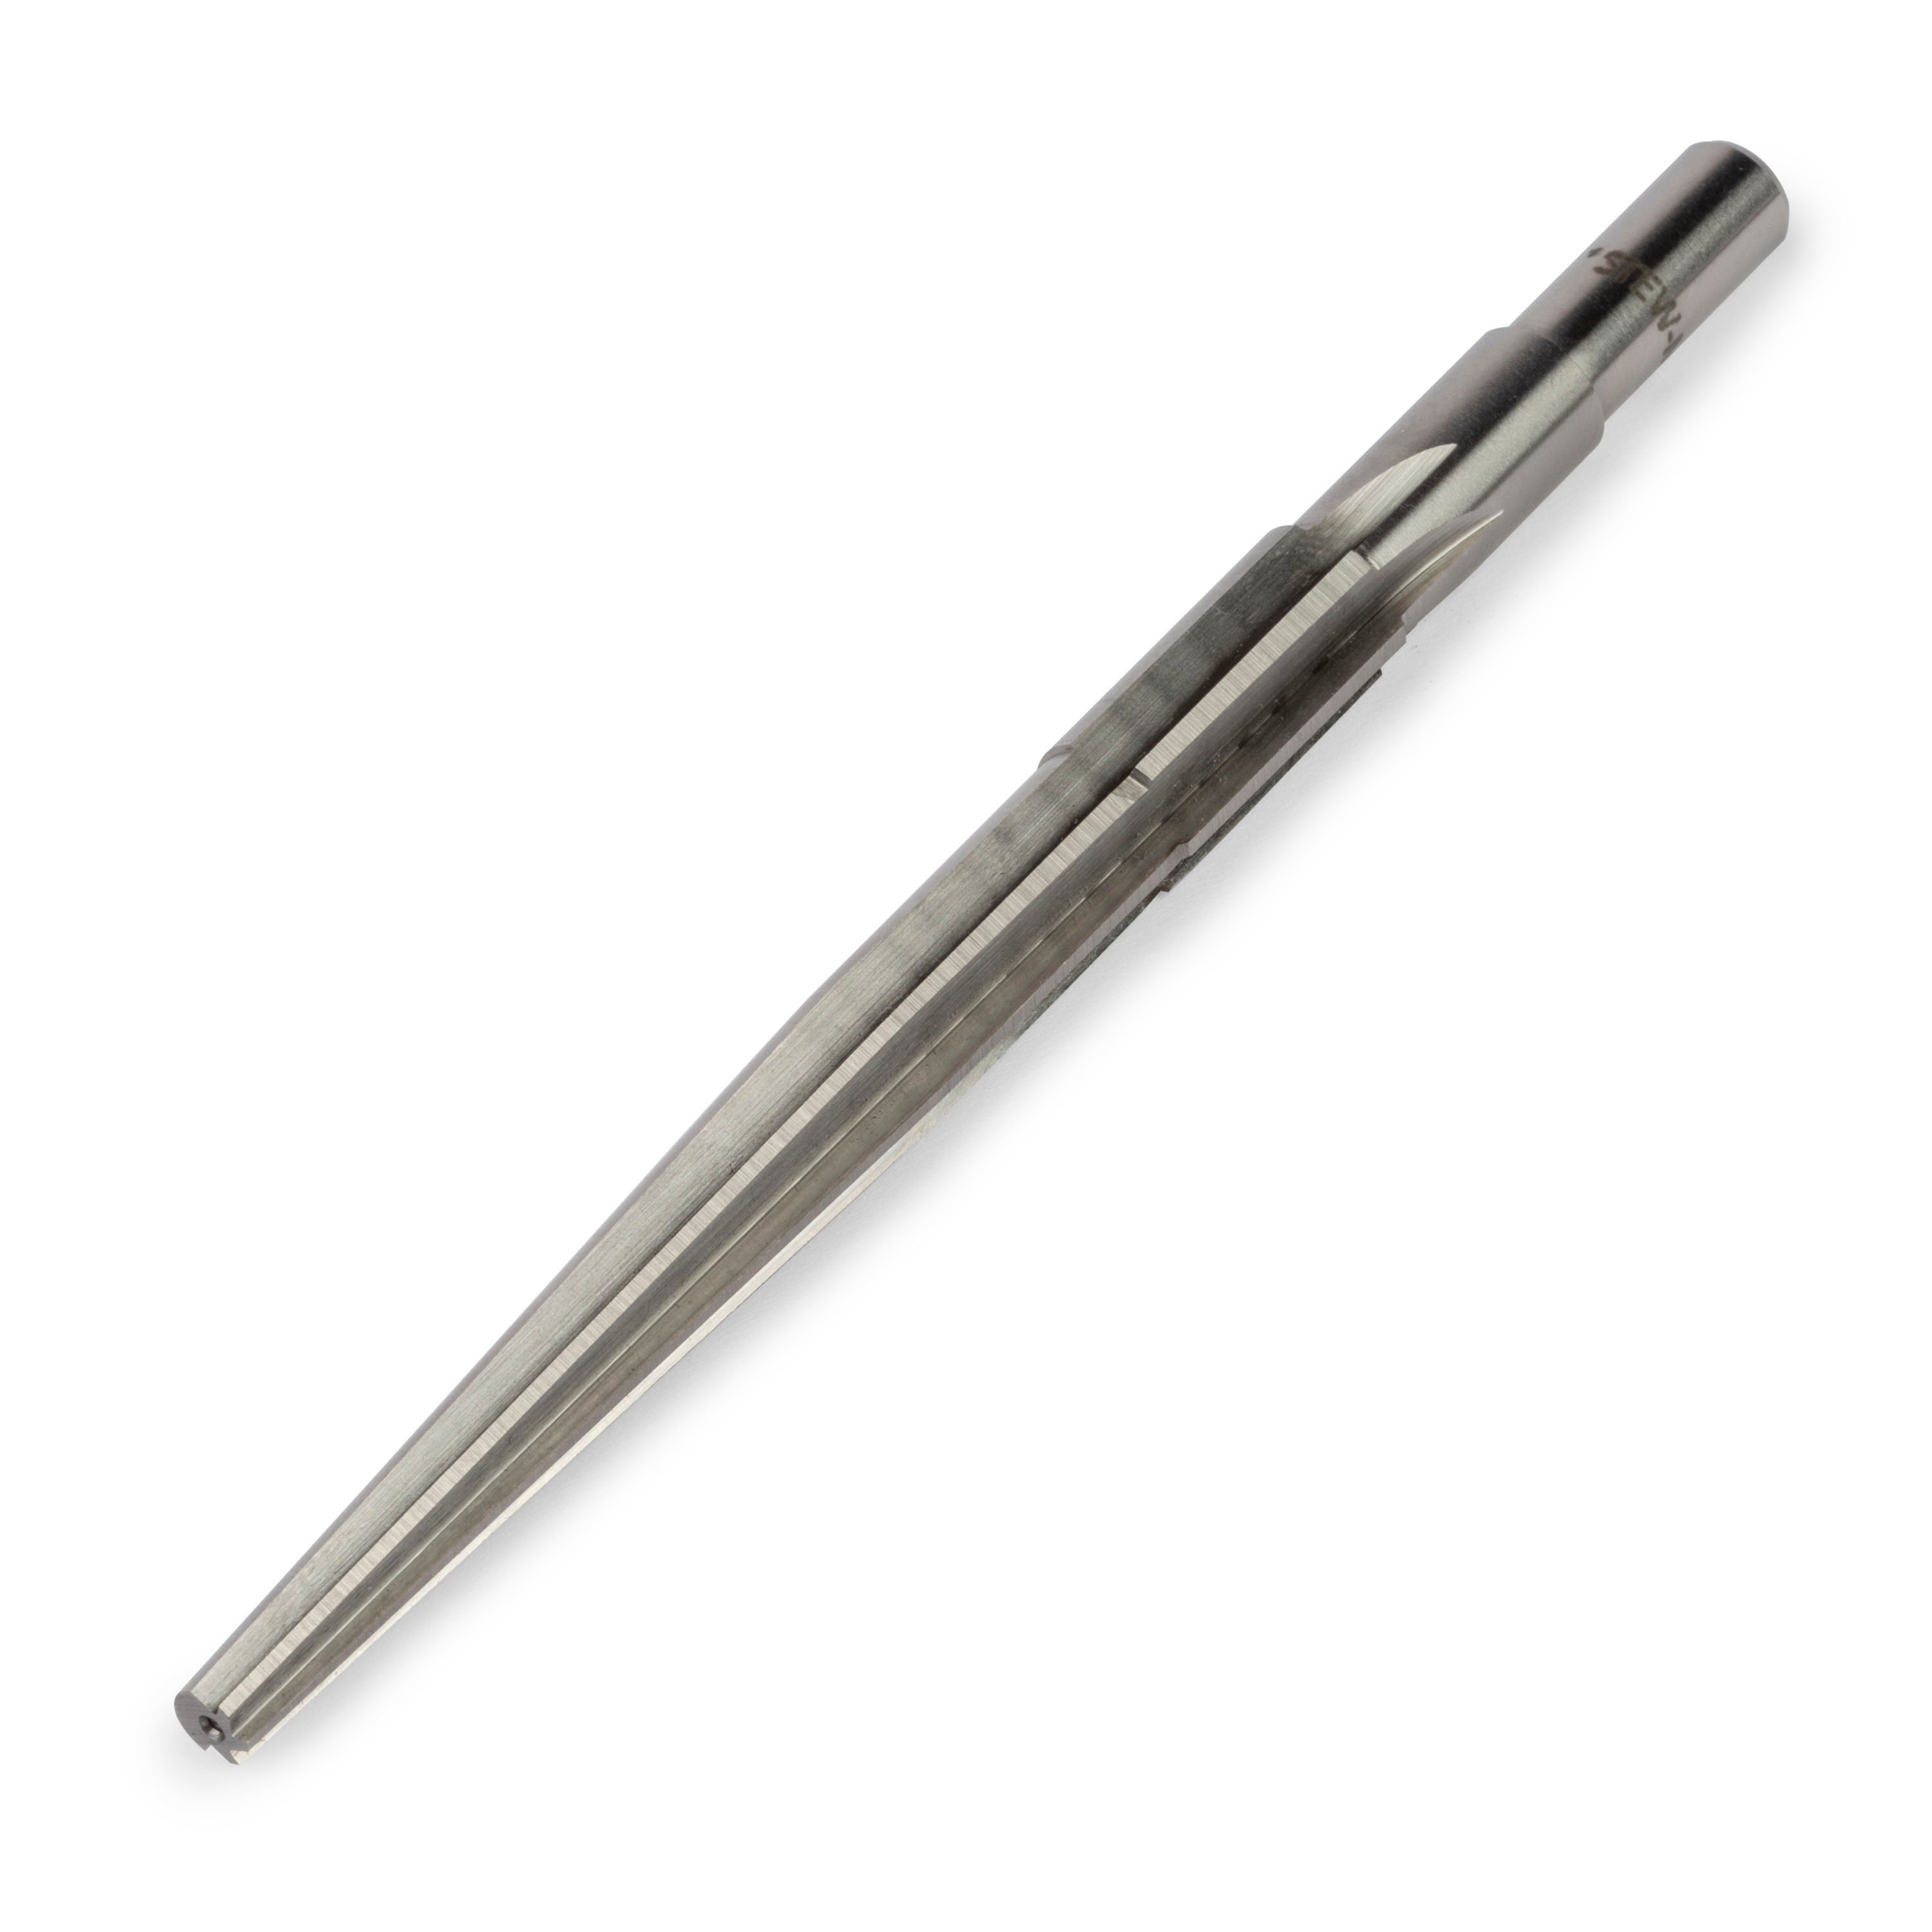
Dan Erlewine: Let's start with making this endpin whole large enough to accept the output jack. We're going to use this Endpin Jack Reamer, it's specially made for this job. It starts out tapered, but once it gets up this far, it has a 15/32" width here, and graduates to a half inch here. That's to account for the two standard sizes of endpin jacks, so measure your endpin jack before reaming the hole. I like to have a buddy spot me from the opposite side while I look from my side, so I don't go in crooked. [Dan starts to drill the endpin hole] Still good?
Blake: Still good.
Dan Erlewine: That's it. That's good mahogany, you know by the color. Honduras, man. I want to save this. You could fill a lot of little holes in a mahogany guitar if you were touching it up with this stuff.
Blake: Now, we have to solder up the output jack. If you've soldered before, this is going to be super easy. There's only two primary connections we have to make today. I'll strip the wires so that you can see them. This is the lead hiding under that clear, white-ish sleeve. And the copper wire here is the ground. I'll solder the ground lug here at the sleeve. I can kind of bend that out of the way, and then I'll solder the lead to this tiny lug right here. That's our hot. I'm going to pre-tin everything, which means I'm going to put some solder on it.
First, the lug, then the ground sleeve. I need to strip a little of that sleeve off the hot and expose that lead. And now I'll pre-tin the wires. Pre-tinning helps make the final connection happen a lot easier. We'll slip the sleeve over the output jack, and I like to put a little heat shrink on it. I'll show you why in a second. And then, I'll make the final connections, the lead and the ground. Bend this back into place and crimp these flared pieces of metal. Then we'll put heat shrink on, which separates our connections from these other two lugs, just like that, so it's isolated. Heat the shrink, and there's our internal sleeve.
Dan Erlewine: Now we have to stick the transducer to the soundboard. When you're using a self-stick adhesive like this to mount parts on wood, vacuum out the guitar free of dust, so it's clean. And then sand a bit and wipe the area clean where you're going to put the pickup. Les Schatten says the sweet spot is an inch behind the bridge and a bit toward the base side. And then put a little super glue or spray shellac on a paper towel and wipe it on the area you're going to mount to pickup. That seals the wood and gives the adhesive a better chance of staying put for longer. Using a mirror inside your guitar body helps you find and press the sticky adhesive right in place. The little trick I use is holding a half inch repair magnet against the foam of the transducer, and locating it with a second magnet on the outside.
Blake: Once you have your spot, press on the adhesive and the transducer is mounted.
Dan Erlewine: Okay, let's install the jack. One thing I do is use these Pickup Clearance Gauges as a measuring tool to figure out how thick the guitar's tail block is. I poke it through and hook it against the inside of the block, and then make a little mark and see where that mark hits on the endpin jack. This is just about perfect, because you want most of the threads on the top part to be exposed.
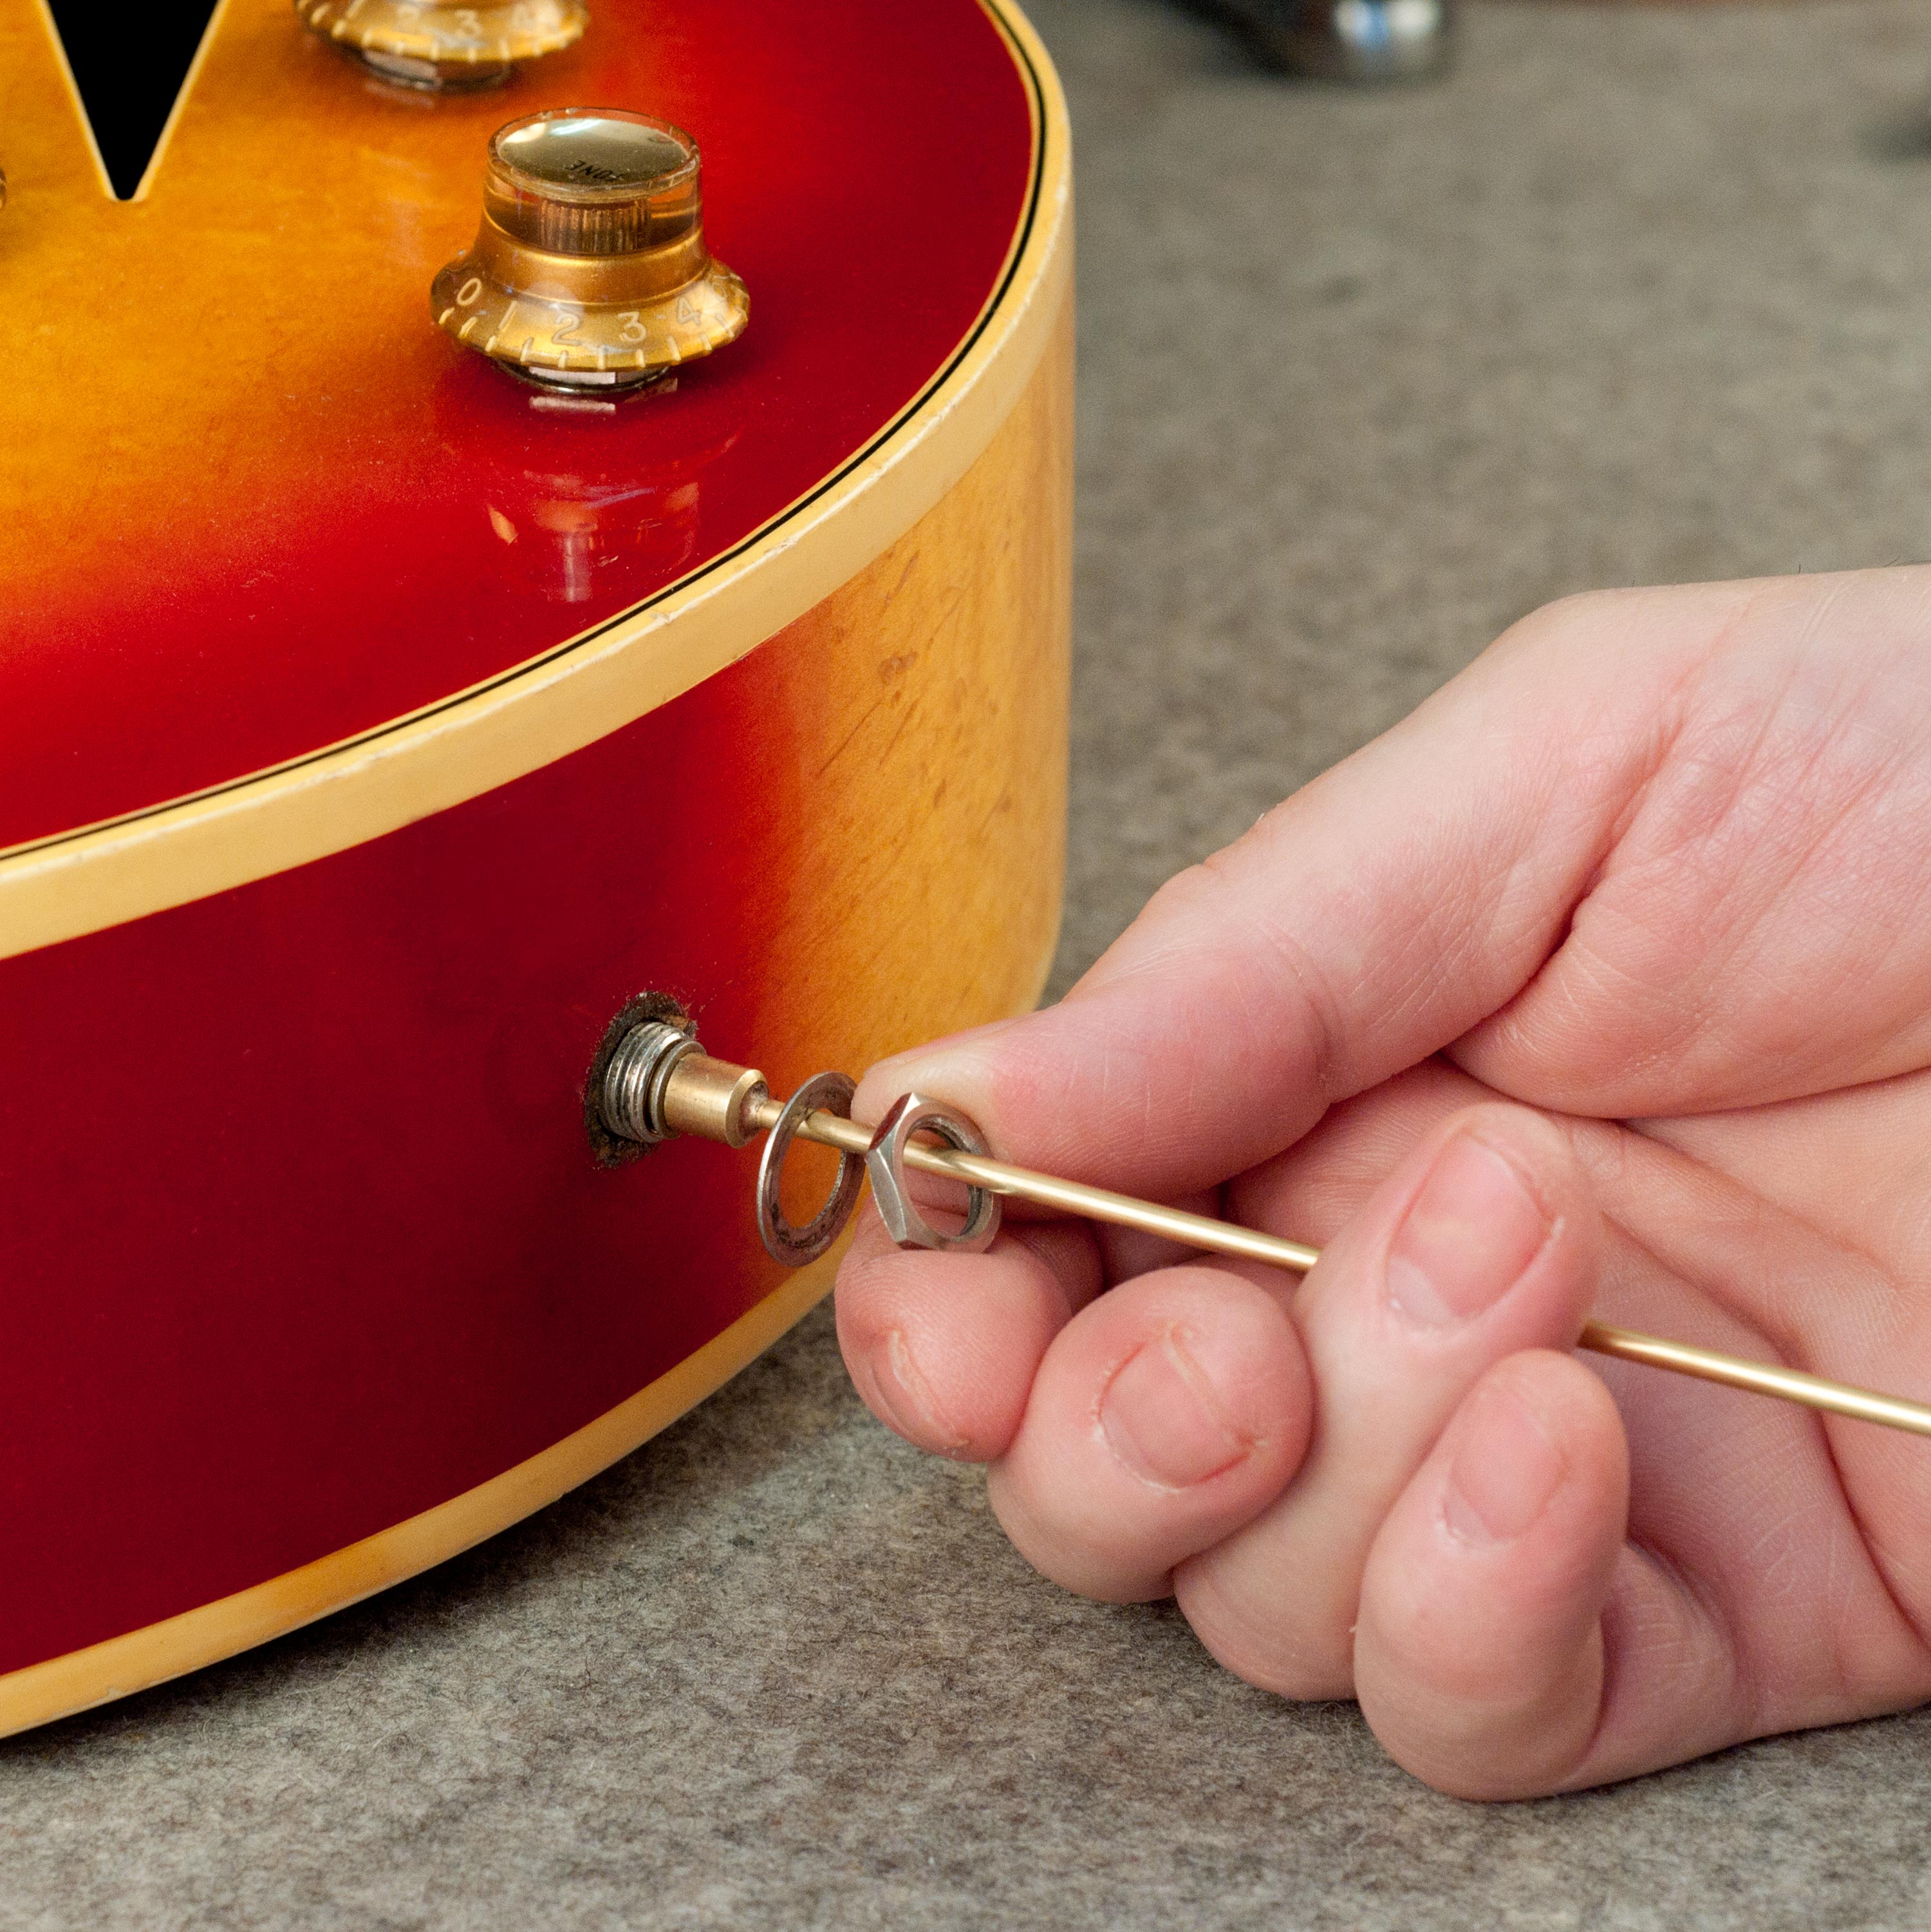
Blake: We're going to pull the jack into place with this long brass Jack Installation Tool. But first, we have to slip on the strap button, the hex nut, and the washer. Once that's all loaded up, I'll bring it through the end block, down to the soundhole so I can see it. The installation tool accepts the jack and I'll pull it right back to the end block, so it loads right into place. Now we're ready to plug in and play.
Installing the L.R. Baggs Anthem SL System
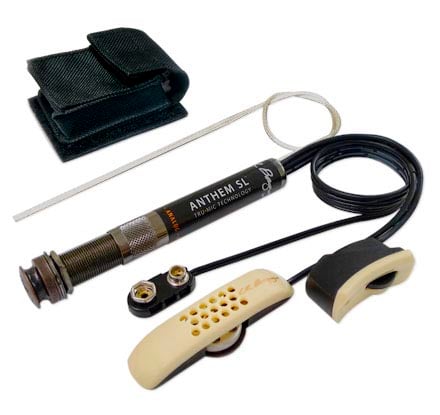
Dan Erlewine: Okay. For the last installation today, it's going to be the LR Baggs Anthem SL System, which is a far more advanced system than the other two. It's a very popular system with professional players, and it's a little more expensive. Like the last one, it has an output jack, only this output jack has a built in preamp and it has two pickups. It's a hybrid system. One is a transducer strip that goes under the bridge saddle, and you'll see how to install that. The other one's a microphone that goes up against the bridge plate. It also has a battery pack that you install through the soundhole. And last of all, it has a volume control with a critical mic gain trim control that mounts right in the edge of the soundhole on the bass side. So Blake's going to show you all how to install this, okay?
Blake: No problem. You want to make sure the bottom of your saddle and saddle slot are perfectly smooth and flat before you install the transducer strip. Gaps or humps mean uneven response or dead strings. First, I'll measure the size of the transducer strip and find a drill bit that matches or is slightly oversized. Now, I'm ready to drill an angled hole at each end of my saddle slot. The one on the treble side is going to be partially drilled just to hold the transducer strip in place. The one on the bass side is going to be drilled all the way through into the cavity of the guitar. Thread the transducer strip up through the hole on the base side, then stick the free end into a small half drilled hole on the treble side. The transducer strip is mounted and ready to go.
Dan Erlewine: Before we go any farther, let me say a couple of things. If you have a saddle that is a lot wider than the transducer strip, like a quarter inch saddle, the type that are heavily compensated, this might not be the best pickup choice for that guitar. You could rig it up and probably get it to work, but you wouldn't get the best sound out of it that you were looking for. Look for a different type of pickup. There's so many out there to choose from. And another thing, if you're working on an older guitar that may have had bridge work done on it, maybe a guitar that had high action and really needed to have the neck set back, but instead they shaved the top of the bridge, that's very common. That doesn't leave a saddle slot deep enough to put both a transducer strip in and then have room for the saddle without it falling right out, so don't try it.
Blake: I'm going to go ahead and install the jack now, just like we did before, and get it out of the way. It's nice and easy, because it's all wired up for us.
Dan Erlewine: So that's in, and we can go on to mounting that microphone on the bridge plate. The goal here is to install it under the saddle of the guitar in front of the bridge pin holes and string ball ends, and parallel to them. The first time I tried to do that, it was pretty awkward, so I came up with this little jig to help me. Just a piece of wood with two holes drilled and plugged with three sixteenth dowels, they'll fit snuggly into the A and B bridge pin holes. From underneath inside the guitar, when I reach in with a pickup, this silver part of the microphone will nestle right into the round notch in the center of the jig and it'll be square to the pins and perfectly in place.
Blake: So I'm going to give Dan's jig a trial on the Gibson. I've got it in there, peel the adhesive back on the microphone, and try to find that rounded notch. There it is. Press it firmly into place, remove the jig, and pickup is installed. From here on out, it's pretty easy peasy. Install a nine volt battery into the battery pack and stick it to the inside of your guitar in a place you can easily reach. I like to put my near the head block. And then the volume and trem control, that's going to Mount right on the edge of the soundhole.
Dan Erlewine: The last thing we need to do is clip back some of these wires, so they're not rattling around. These Self-Stick Wiring Clips are perfect for that.
Blake: I think I'll put one up here and just one more right down here. And that's it. Ready to play.
Dan Erlewine: All right. Let's do a little sound demo of each of these options.
Sound demo
Blake: I've got my amp set for some pretty neutral settings here, so we can really get a comparison between these pickups.
Dan Erlewine: First, the Fishman soundhole pickup. [Blake plays acoustic guitar with Fishman Soundhole Pickup]
Now, let's hear the Schatten Transducer. [Blake plays acoustic guitar with Schatten Soundboard Transducer]
LR Baggs. [Blake plays acoustic guitar with L.R. Baggs Anthem System]
Fishman. [Blake plays acoustic guitar music with Fishman Soundhole Pickup]
Schatten. [Blake plays acoustic guitar music with Schatten Soundboard Transducer]
LR Baggs. [Blake plays acoustic guitar music with L.R. Baggs Anthem System]
Well, Blake, I think you owe us a decision. Which one of the three would you choose now after that?
Blake: If I was going to sell this guitar as a vintage guitar and I didn't want to modify it at all, I'd go with the soundhole pickup. I was pleasantly surprised.
Dan Erlewine: Me to. Actually, I was. I wouldn't mind hearing the Fishman humbucker one. You'd probably hear less of that-
Blake: 60 cycle hum going on. Yeah.
Dan Erlewine: Because we had to get Blake to find the sweet spot to make that hum go away. That's typical of a Tele or a Strat or any single coil pickup.
Blake: I think it's a really good pickup for its price. Even with the heavy handed or the lighter playing and stuff, it maintained its clarity the whole time.
Dan Erlewine: That soundhole pickup, to me, sounded like I had a J200 in the early sixties and I put a P90 pickup in the soundhole. That's what it sounded like to me.
Blake: Right.
Dan Erlewine: Like an electric guitar, didn't have that ambiance, but very workable
Blake: Right.
Dan Erlewine: You could go play good with that.
Blake: Yeah, it was nice how fast you could install it. But the Schatten Transducer now, if I was on a tighter budget, but wanted a better quality sound, I'd definitely go with that Schatten Transducer.
Dan Erlewine: You like that better than the soundhole?
Blake: I think so.
Dan Erlewine: To me, that was a more natural sound than the last one.
Blake: Yeah, I agree. And there was-
Dan Erlewine: Sounded more like the woody guitar that it is.
Blake: There was no hum either. But finally, the LR Baggs system. The sound that you get and the control that you get from these two pickups, it's just unbelievable.
Dan Erlewine: What the strings are doing to the saddle in the top, you're getting that sound that you'd hear as a player. And you're getting the inside of the guitar. You're getting that push of that sound that comes out the soundhole.
Blake: Yeah. Being able to dial in the difference between the microphone and the transducer and get that sweet spot where you have the attack, but you also just have the breath that's inside the guitar, I haven't heard an acoustic pickup that sounds better. At least not yet.
Dan Erlewine: That's the one I'd want out of the three. I'm thinking of putting one in one of my Gibsons.
Blake: Let's do it.
Dan Erlewine: Thanks for being with us. And Blake and I hope that we've helped you understand how these pickups sound, how they install, and how you can better make a decision about what you want in your guitar.

