Guitar Shielding
An overview of guitar shielding with the Self-Adhesive Shielding Kit, including a list of required tools.
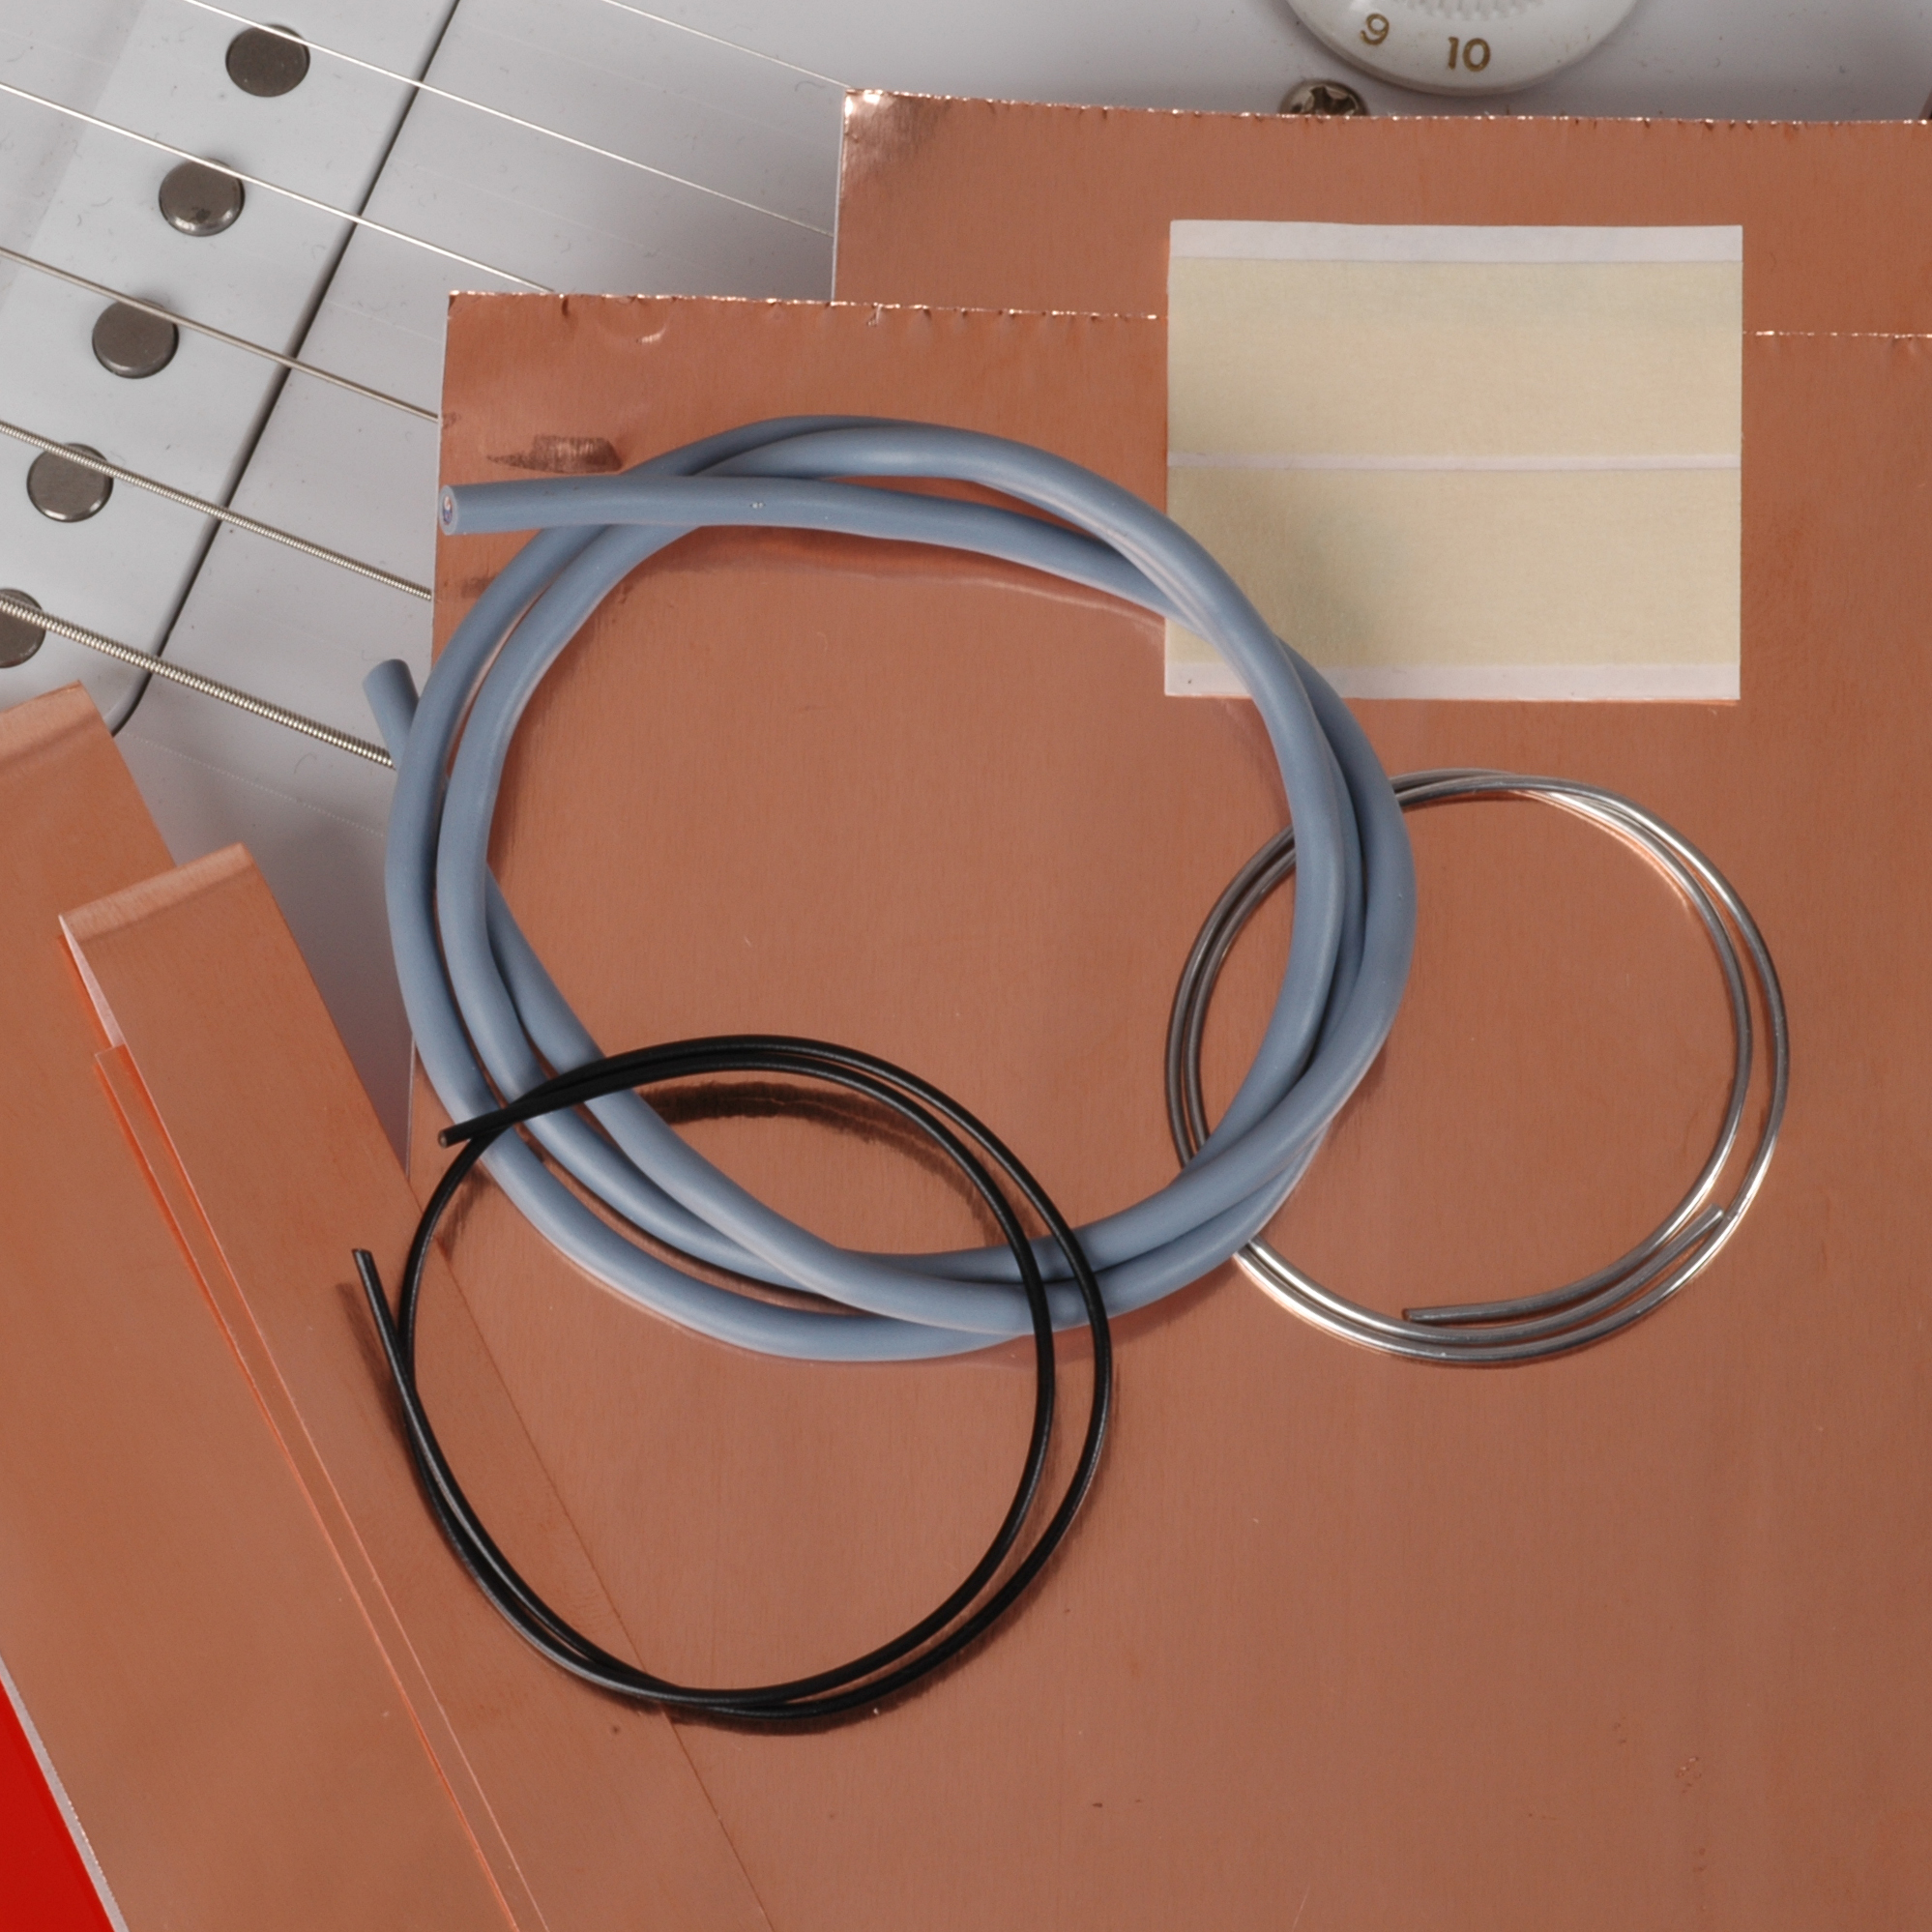
Shielding allows you to substantially reduce all unwanted interference and hum. This kit is even beneficial for most production instruments as it lets you completely encase all of the pickups and controls with a grounded foil. Also included is a special wire for shielding non-shielded pickup leads. This allows you to eliminate unnecessary interference, as well as being able to switch the phase of a shielded pickup independently from its grounded shield.
Unless you feel completely competent in soldering, desoldering, and a basic understanding of guitar wiring, you should take your instrument to a qualified luthier or repairperson. There is no warranty extended to cover damage caused during the installation of this product. If you wish to learn more about guitar wiring and electronics, we recommend #0570 "The Guitar Player Repair Guide" by Dan Erlewine. Any shop doing guitar wiring and setup should have these books in its reference library.
In order to completely shield your guitar you will have to dismantle and desolder a majority of the guitar's components. It is highly recommended that you make detailed notes on how every component was wired, as well as marking specific wires and solder points with tape labels to help in rewiring the instrument. Be very thorough. One mislabeled or unlabeled wire could cause a great deal of confusion when you are rewiring the system.
All of the shielding must be in contact with ground. There are several ways to apply a ground to a shielding network; when dealing with copper shielding foils, the ground wire can be soldered directly to it. If your volume pot housing is in contact with the foil, a ground jumper is not necessary.
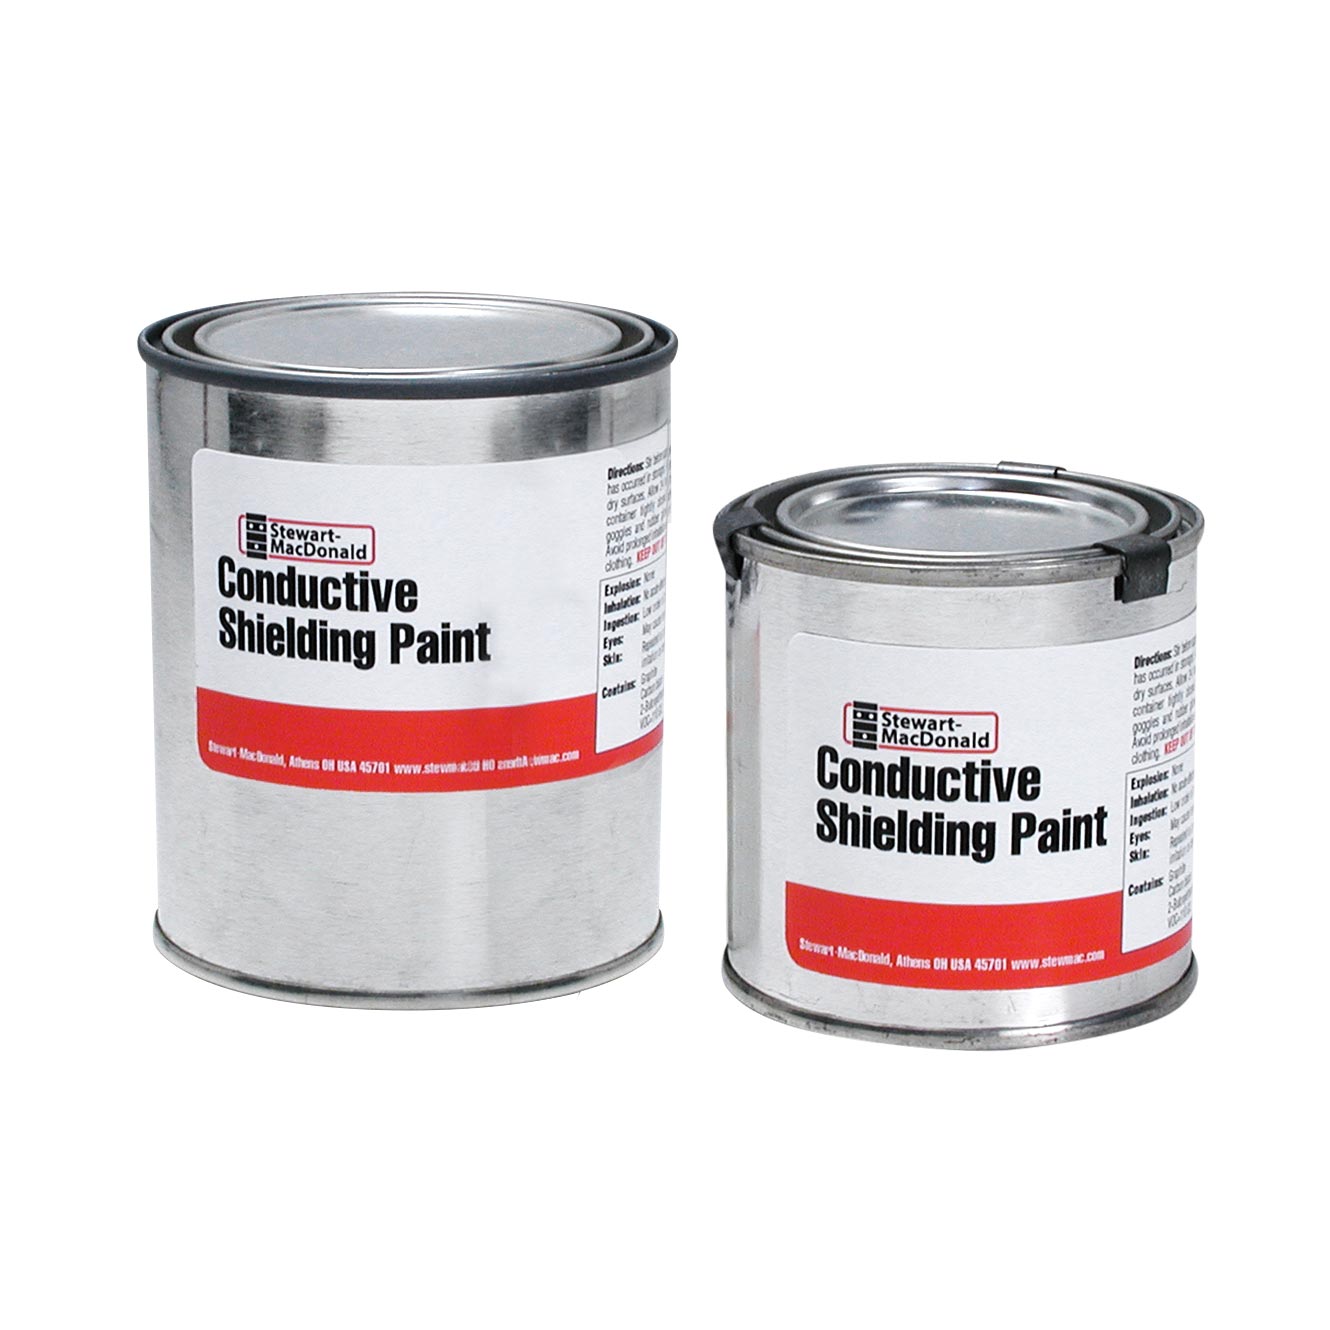
Shielding paint (#0029, not included with the Self-adhesive Shielding Kit) is also very good for shielding control cavities, pickup routs, and drilled holes. The paint is very easy to apply in small, tight areas.
Applying ground to a Strat type guitar is very simple. Bring the foil over the top of the body in the area that would be under the pickguard and around the pickguard screw below the bottom tone pot. The foil on the pickguard should surround this screw hole so, when the pickguard is screwed into place, the grounded foil on the pickguard will come in contact with the cavity shielding.
Another method is using a solder lug screwed into the cavity's side wall. Make the solder lug out of a scrap of brass and use a small wood screw to affix it to a cavity's side wall. Just solder a wire from the volume pot's casing to this lug for a good ground.
This is not recommended on vintage or rare pickups. This is a delicate job that may be better left up to a professional. This may also reduce some high end frequency from the pickup.
A great deal of the hum and buzz associated with single coil pickups can be eliminated by using this shielding kit as you will shield the coil as well as the output wire. The shielding of the output wire also allows you to switch the phase of the pickup (swap hot for ground) while still maintaining your shielding network.
Remove the pickups from the pickguard assembly and make note of which lug is hot and which is connected to ground. Be sure not to damage the two fine copper wires that exit the windings and are soldered to the wire lugs on the base of the bobbin. Carefully remove the pickup cover to expose the windings and/or protective tape. If the cover appears to be glued to the lower bobbin plate, stop and consult with an expert.
Wrap the coil with a strip of black electrician's tape. Start in the area of the two lugs on the lower bobbin plate and be sure to overlap the tape at least 1/2". Prepare to wrap the coil with the 1/2" copper foil tape by trimming it down to 7/16" then cutting a piece long enough to wrap once around the windings and overlap itself by 1/4". Remove all but 1/2" of the protective backing and start to wrap the foil around the bobbin. Start with the end of the foil that still has 1/2" of backing on it in the area of the solder lugs. Wrap the tape around the bobbin and overlap it over the part that still has the paper backing. From outside to inside in the area of the wire lugs you have the following layers: foil, foil, paper backing, black tape, black tape, windings. The paper is left in the area of the overlap because it reduces the risk of getting the area too hot when soldering and shorting out the windings. Before soldering you will want to check to be sure the cover can still be installed.
Cut a piece of the two conductor plus shield wire (included) the same length as the pickup's lead wires. Strip back 3/4" of the outer gray insulation on both ends and separate the outer braided shield from the blue and white wires. Twist the outer braid into a stranded wire and strip back 1/8" of the insulation off the blue and white wires. Carefully tin these wires by coating the tips with a small amount of solder. Using your VOM (Volt/Ohm Meter), check for shorts that may have occurred due to overheating one of the wires.
Very carefully desolder the two pickup lead wires from their lugs. Be sure that you made notes as to which lug was attached to ground and which was hot. Now solder the blue wire to the ground lug and the white wire to the hot lug. The outer braid is soldered to the copper foil where you overlapped the paper backing to protect the windings. It is also recommended to solder the point where the foil overlaps itself. This will ensure that the foil will not loosen with age and makes for a better shield. To hook up the pickup: solder the white wire to the selector switch; the blue and outer braid to the back of the volume pot (unless you are using a phase switch). Check your shielding for continuity with your VOM and make sure that the hot wires are not shorted to ground.
Depending upon the type of humbucker(s) in the instrument, you may not need to do any additional shielding. For example, Gibson-type humbuckers with their metal covers in place do not require any extra shielding. A Precision bass which uses a split humbucker and plastic covers could benefit from additional shielding.
P-bass pickups generally do not have a shielded output wire, so you will want to replace it the same as outlined in the single coil instructions. Most other humbuckers have a shielded output wire, so the only additional shielding will be around the coils and/or in the covers. If you have a Gibson type humbucker without a cover, you may want to obtain metal or plastic covers for them. The metal covers are soldered in place to the frame or base plate of the humbucker. Plastic covers require the same treatment a Strat type single cover would get.
Before shielding the instrument's cavities, remove all of the electrical components, pickups, pots, switches, jacks, etc. Be sure to make notes on how these parts were oriented and hooked up. Start by applying some of the copper foil to the bottom of the cavity. To size the piece, lay the foil on top of the cavity and drag your finger around the edge of the rout. This will crease the foil and give you a guideline for cutting a properly sized piece. Cut the foil 1/4" outside your crease mark. This will give you some foil that will extend up the sides of the cavity and will be overlapped by the foil applied to the sidewalls. Make several cuts from the outside edge of the foil to the crease mark in the areas that will be in corners or curved portions of the rout. They will allow the foil to go down smoothly on both the bottom and the sidewalls. Before you stick the foil down, remove any excess dust or debris from the rout with compressed air and/or a clean rag and window cleaner.
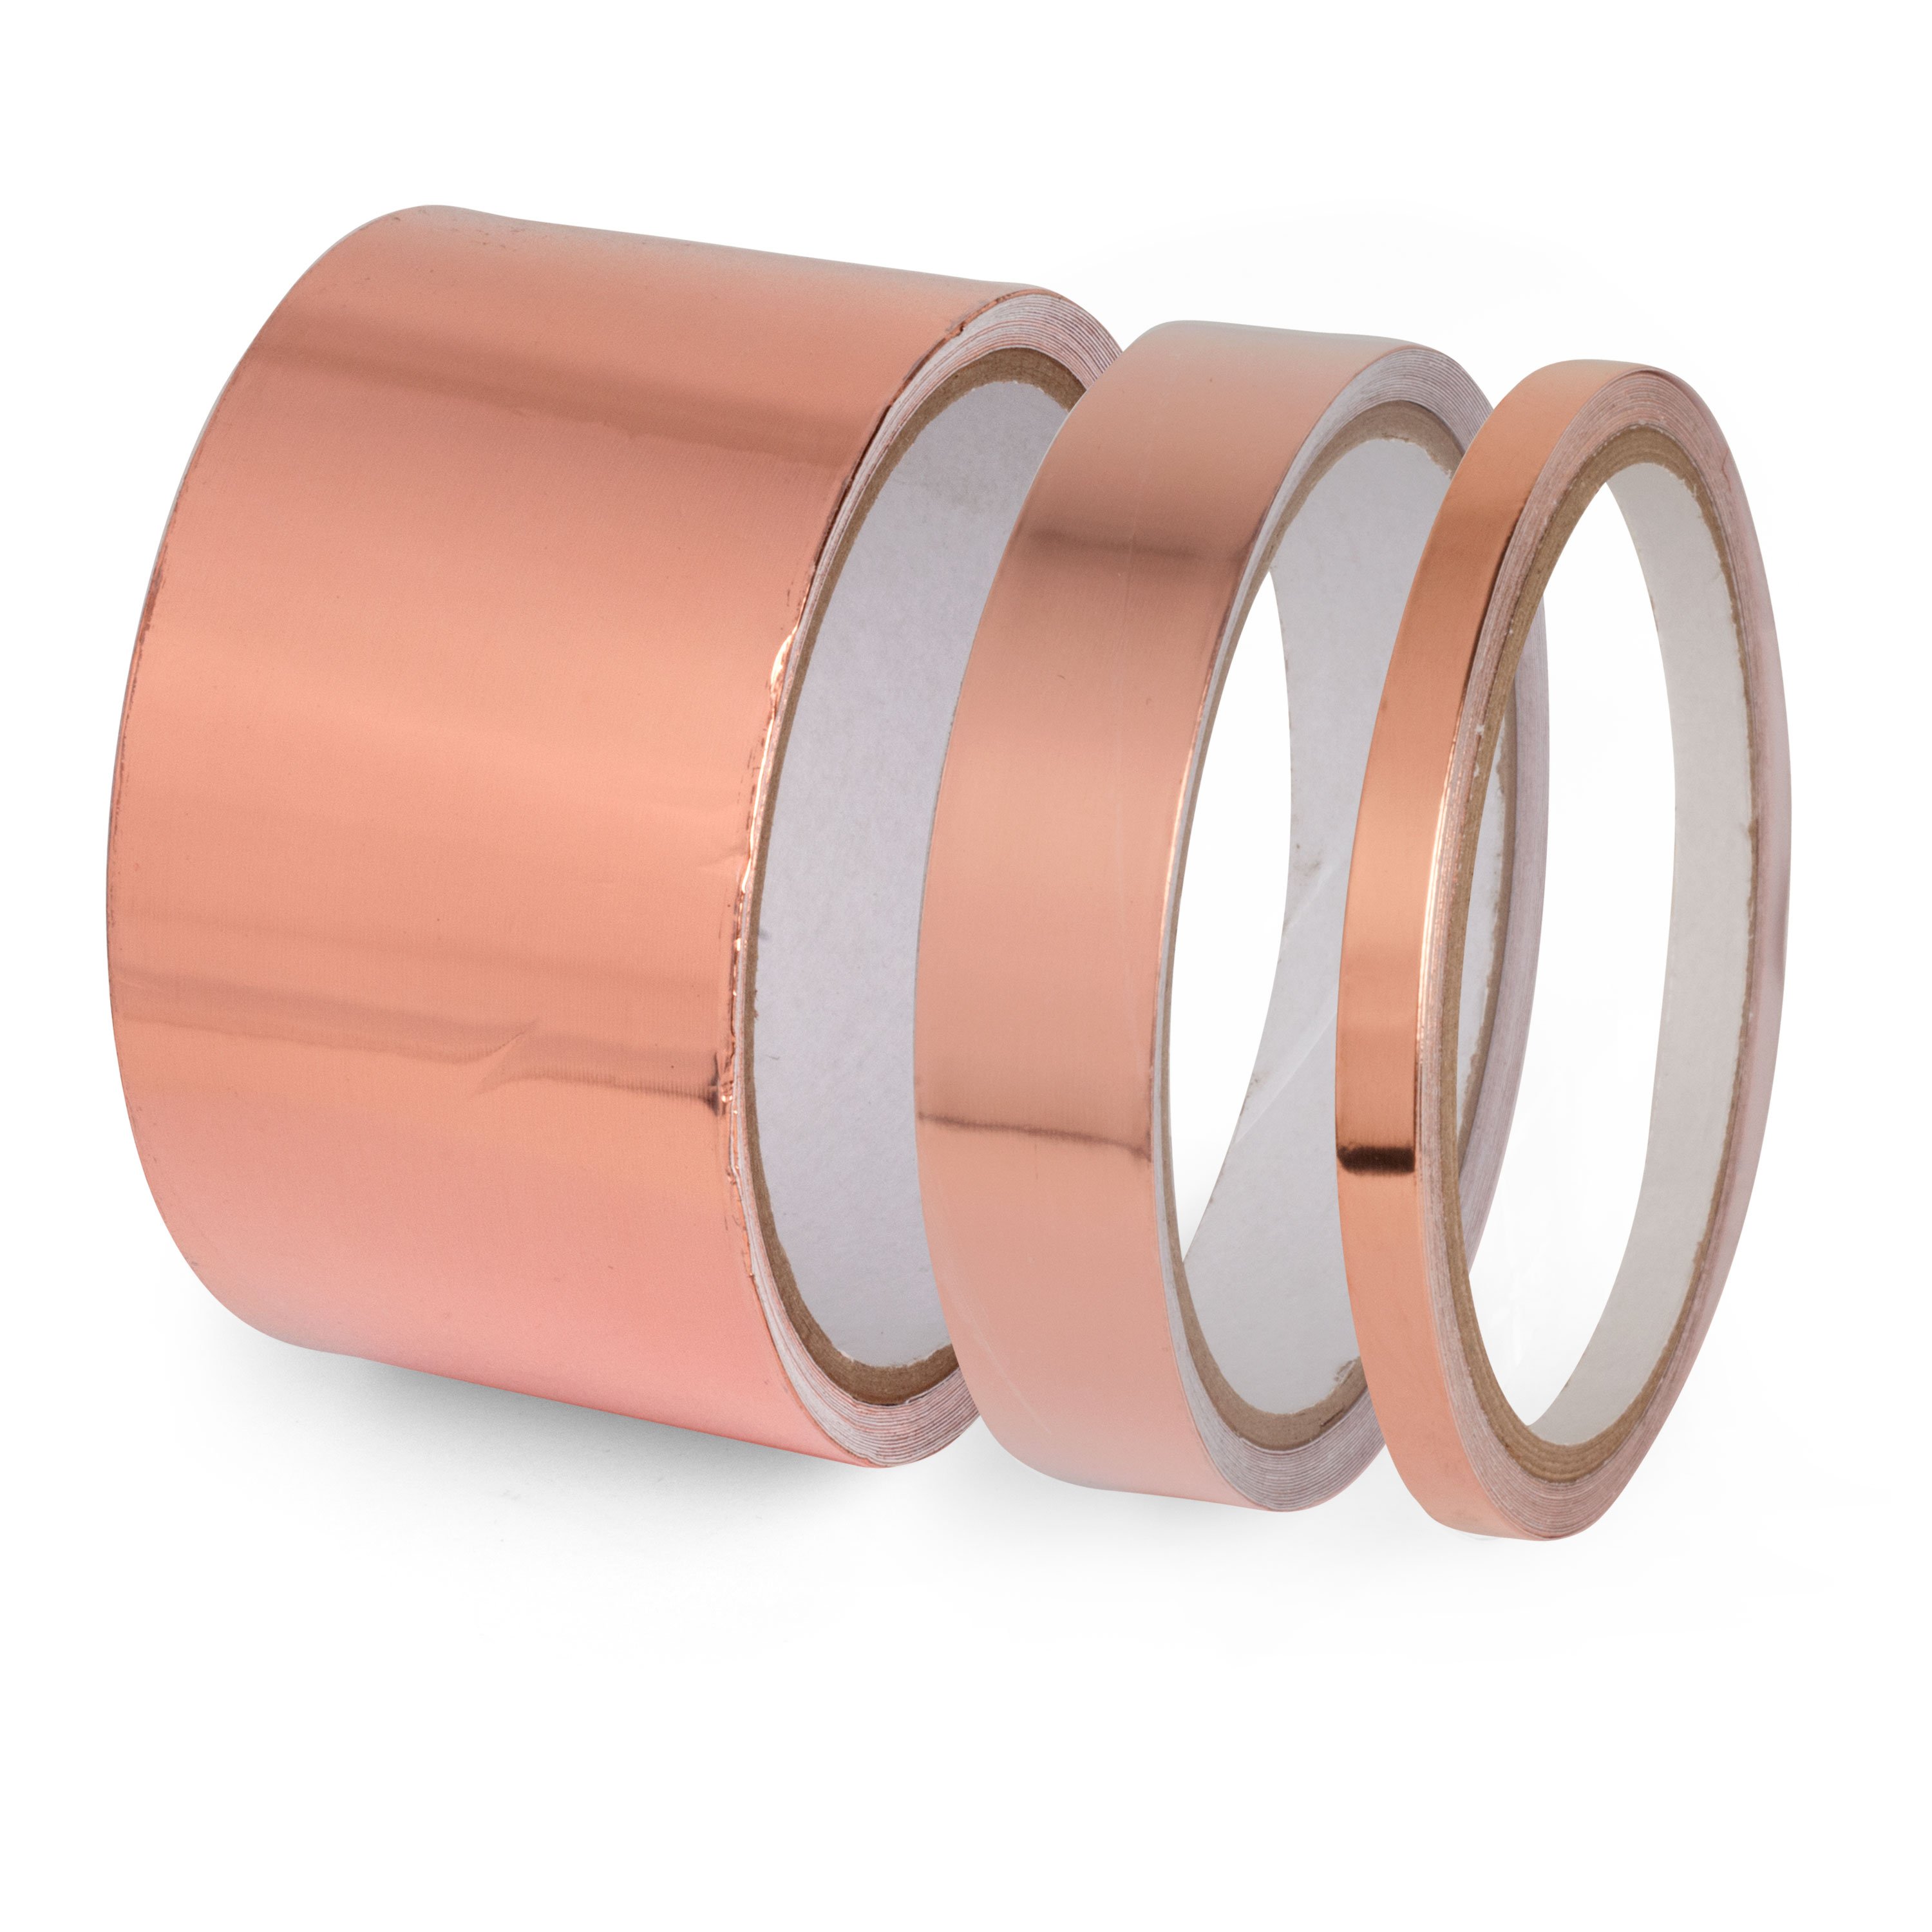
After you apply the bottom foil, you are ready to affix foil to the sidewalls. Use the 1/2" wide copper foil on the walls of the rout. Three strips is usually enough to cover the sidewalls and be sure to slightly overlap the strips so that the shield is complete. Lightly solder the overlapped areas at a few points to ensure a total shield. We also carry a 2' wide copper foil (#0028, sold separately) that is very useful for shielding. Make sure the copper foil overlaps the 1/4" of copper on the sidewalls. Check for continuity between the copper and the copper when you have finished. If you do not get a good reading, press the copper down against the copper again to make the contact complete. Bring some 1/4" wide tabs of copper foil over the top edge of the rout in control cavity areas to come into contact with the cover plate or pickguard. If the shielding is in a pickup rout, be sure to connect it with ground.
Use the self-adhesive copper foil on the back of control cavity covers and pickguards. Be sure the foil on your cover plate or pickguard will come in contact with the shielding applied in the cavity it covers. When shielding pickguards, the foil only needs to be applied in the area of the control cavity.
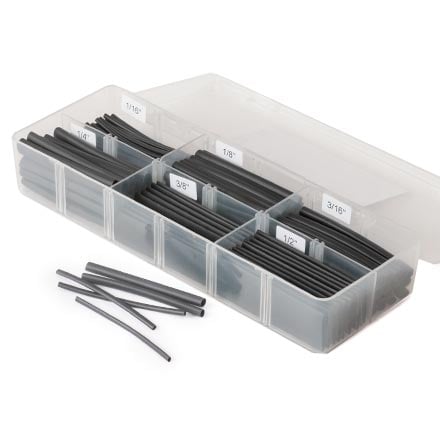
Check your notes frequently so that everything gets wired correctly and use caution when soldering to pots and switches. It is easy to get them too hot which would cause a malfunction. Be sure that no hot connections come in contact with your shielding as this would cause a short circuit and there would be no output. Heat-shrink tubing or black tape will protect hot connections from touching the shielding.
Rout and solder the hookup wires neatly as this will aid in replacing pickguards or tracing faults. Do not make the wires too short. A little slack aids in making other connections and troubleshooting. Run a string ground unless you are using active pickups.
Pickups shouldn't be adjusted too close to the strings. For single-coils, there should be about a 1/8" gap between the top of the low E pole piece and the bottom of the low E string fretted at the highest (21st or 22nd) fret, and 3/32" for the high E. Humbuckers can be adjusted closer (3/32"-1/16"), since they don't have as much focused magnetic pull as single-coils.
Adjusting pickups any closer (especially with single-coils) can cause false notes or "wolf-tones." If you've ever played a Strat that sounded like you were getting two notes from one string (usually the wound strings) in the upper registers, you have witnessed this anomaly. It is most often referred to as "Strat-itis" and can cause a lot of head scratching unless you know what is happening. To cure the problem, simply back the bass-side of the neck and middle pickups further away from the strings.
Basic skills required
Tools required
Overview
Single coils
Humbuckers
Control cavities
Cover plates & pickguards
Reassembly
Notes on pickup adjustments


