Fixing a loose bridge on a yard sale special
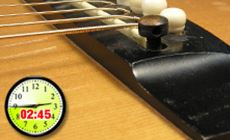
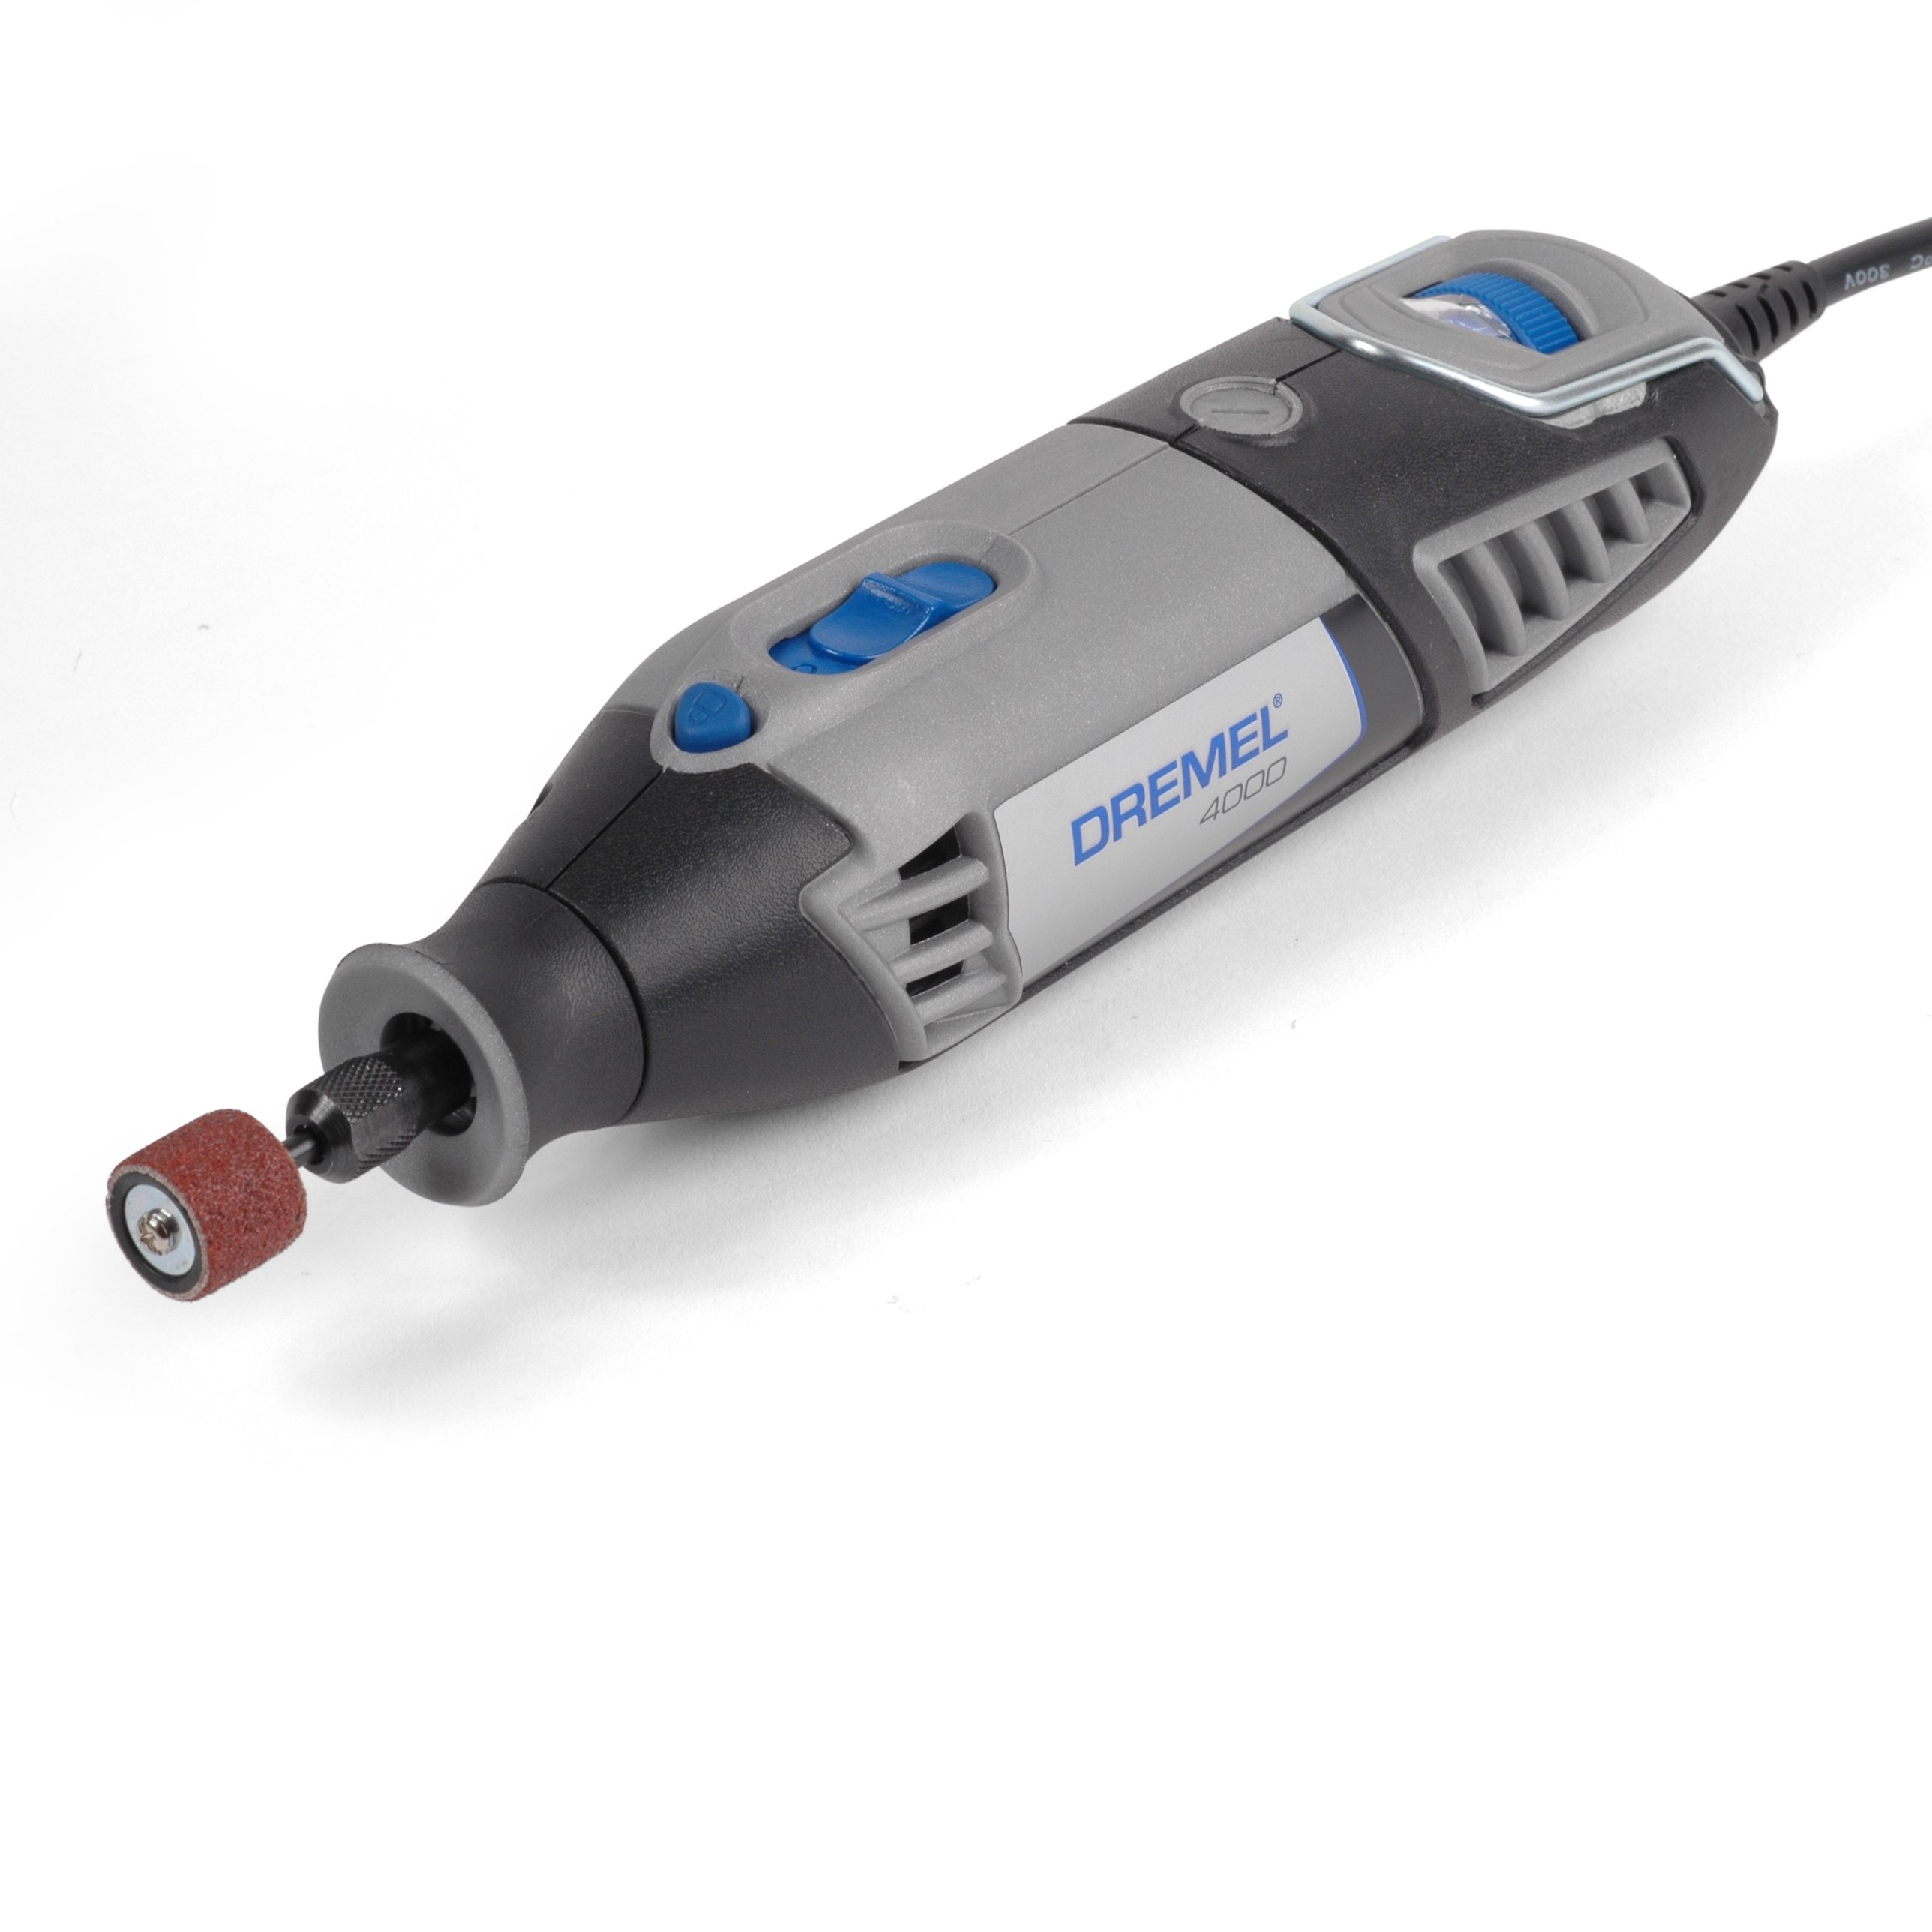
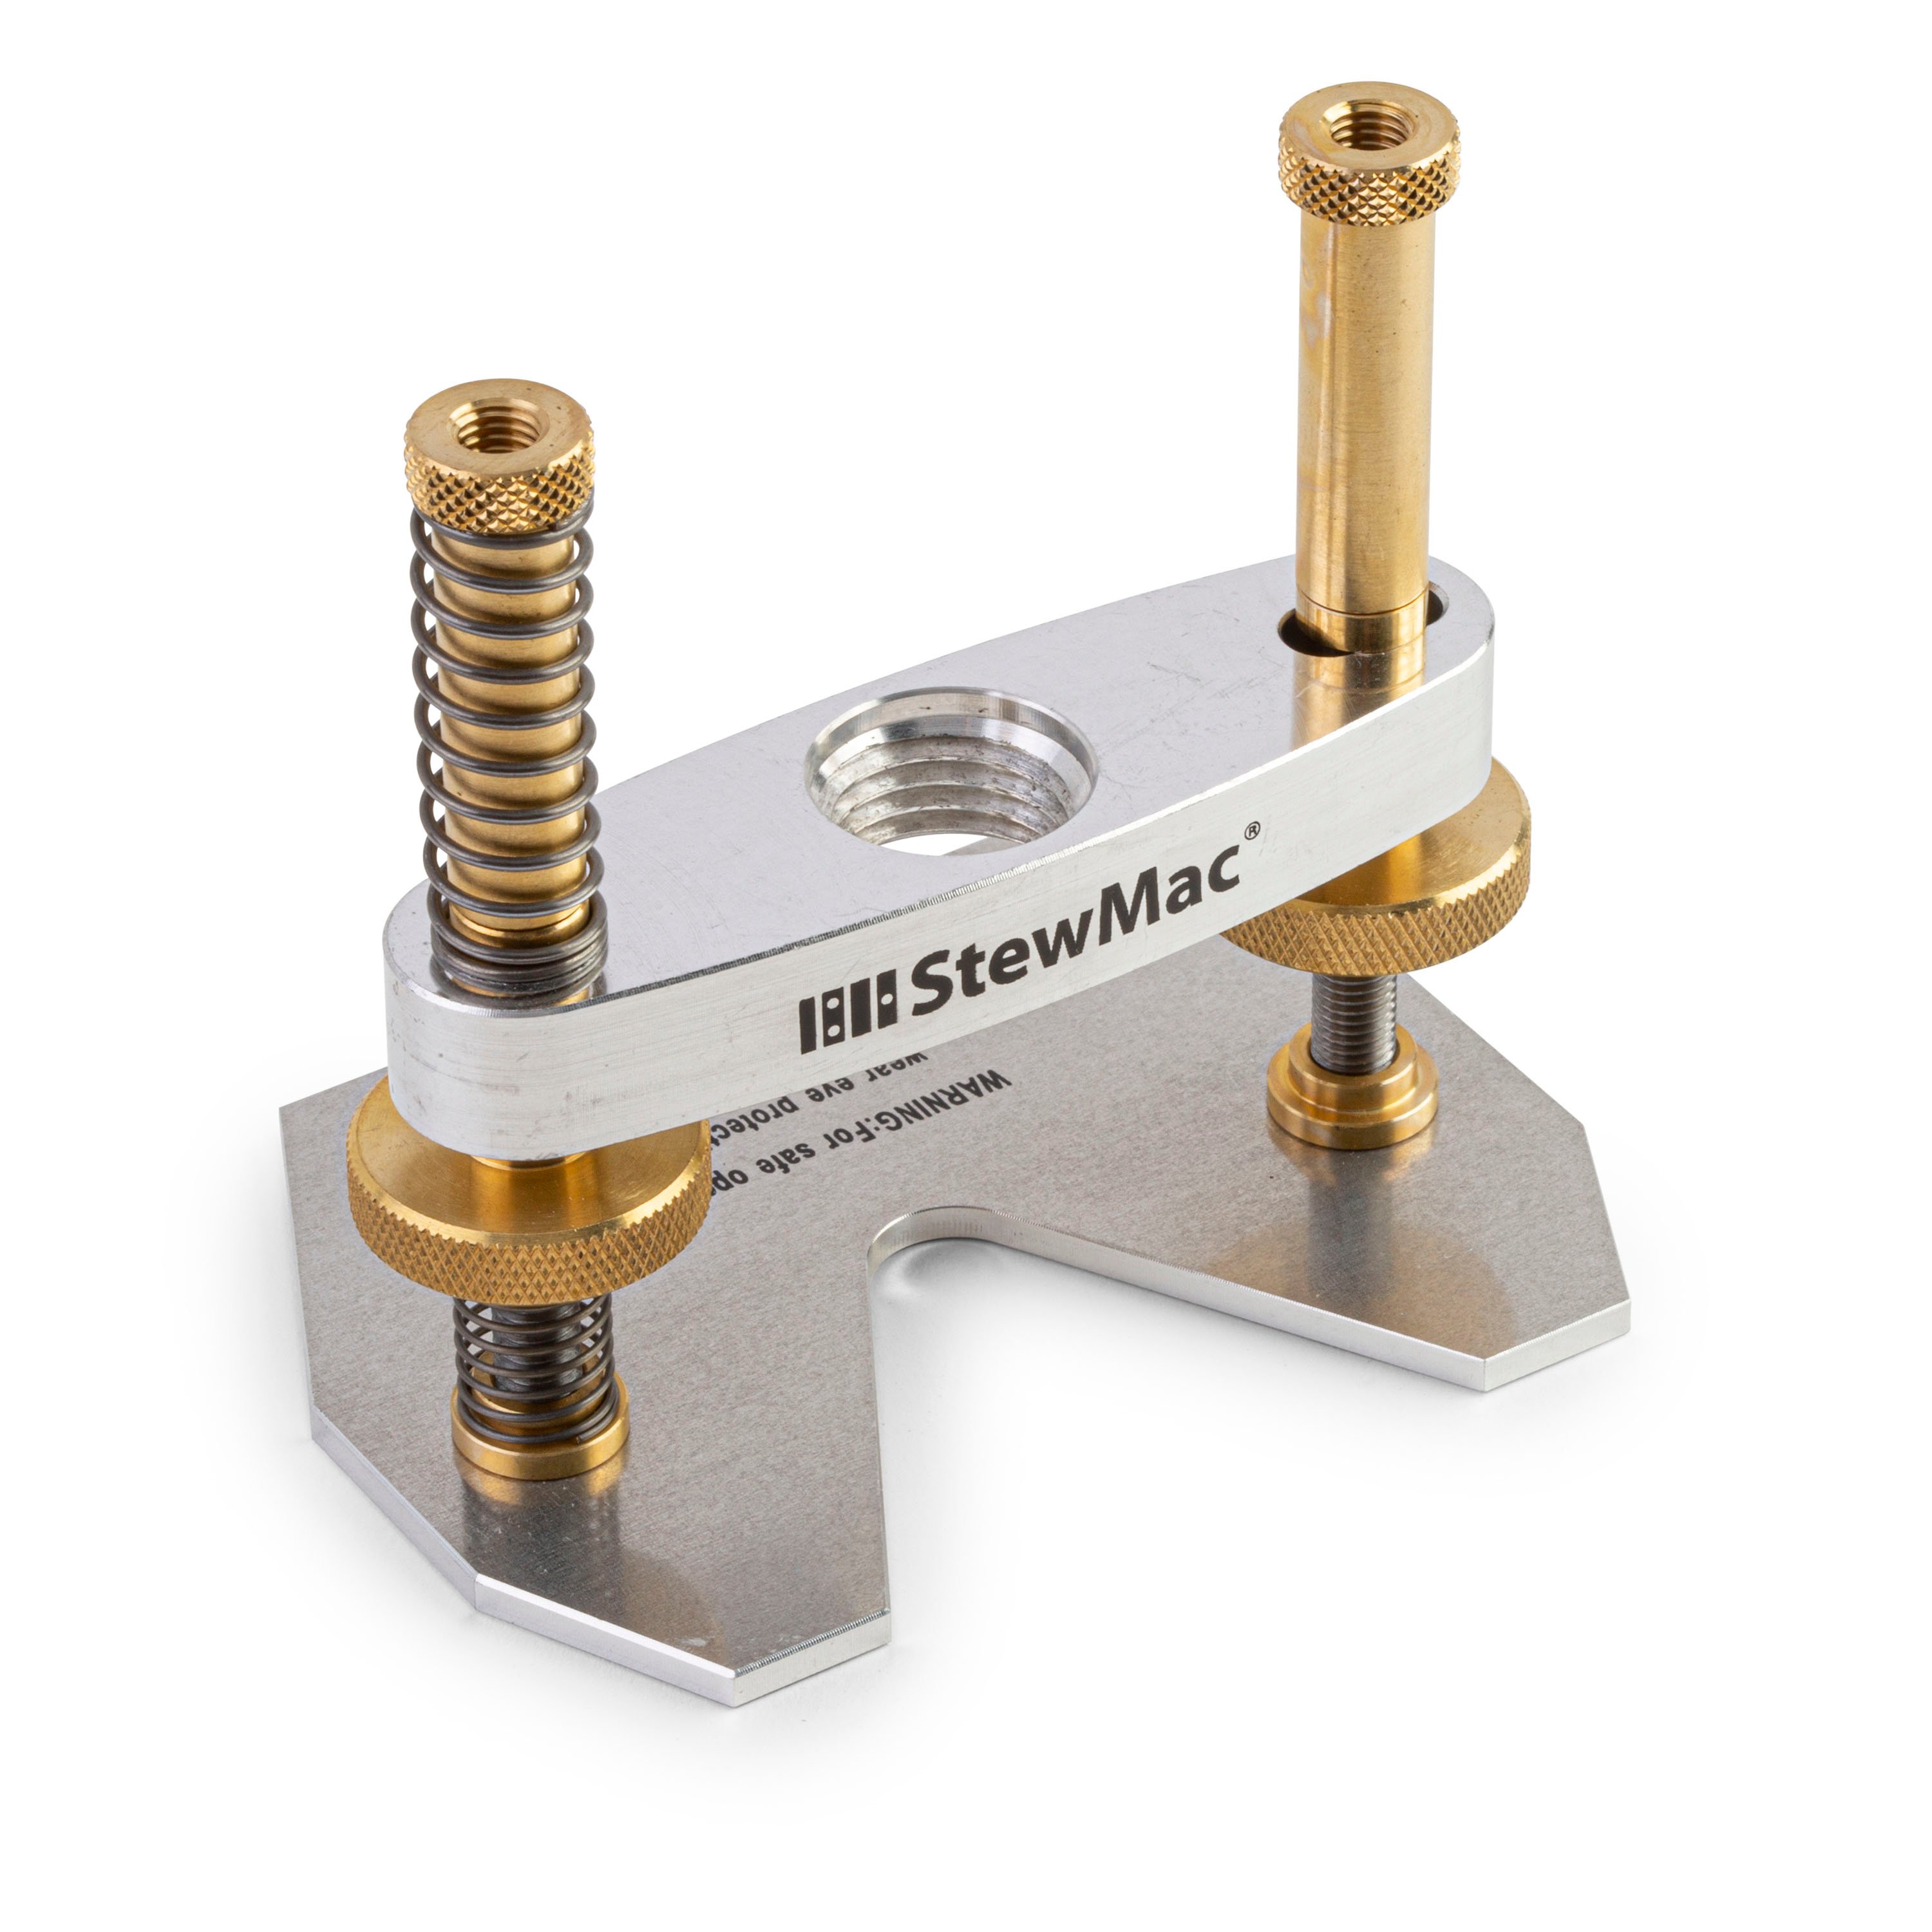
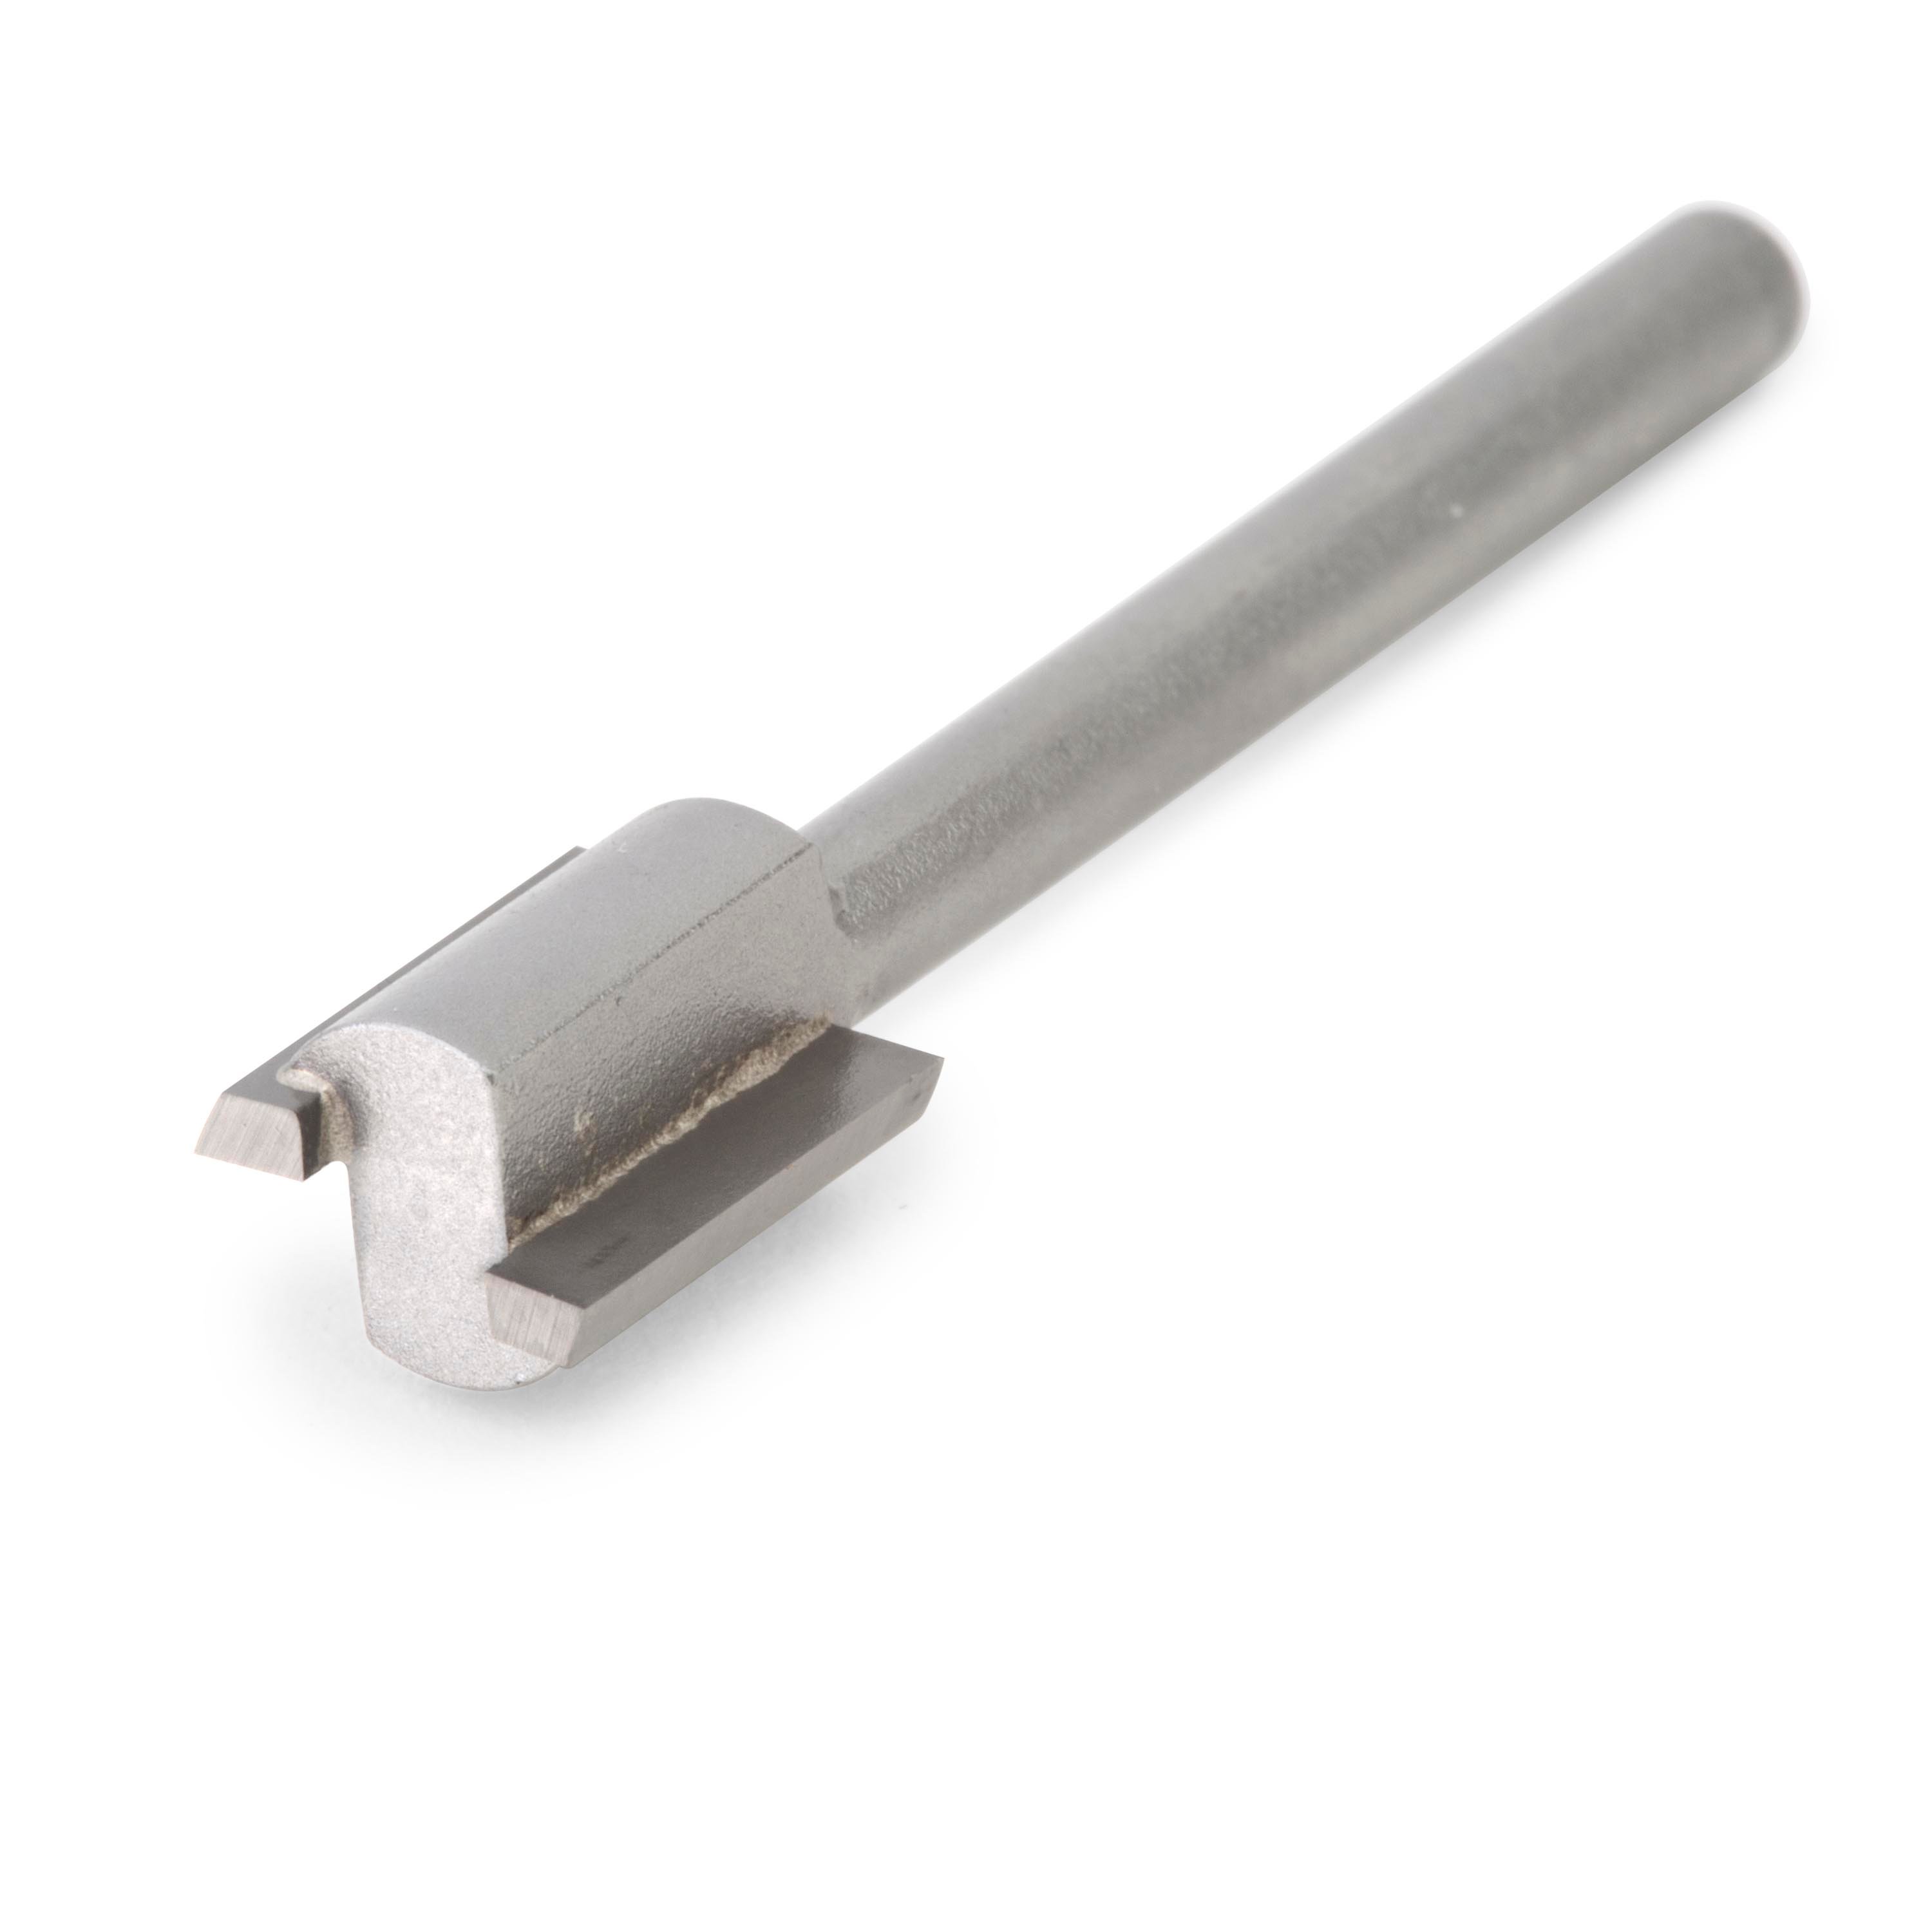
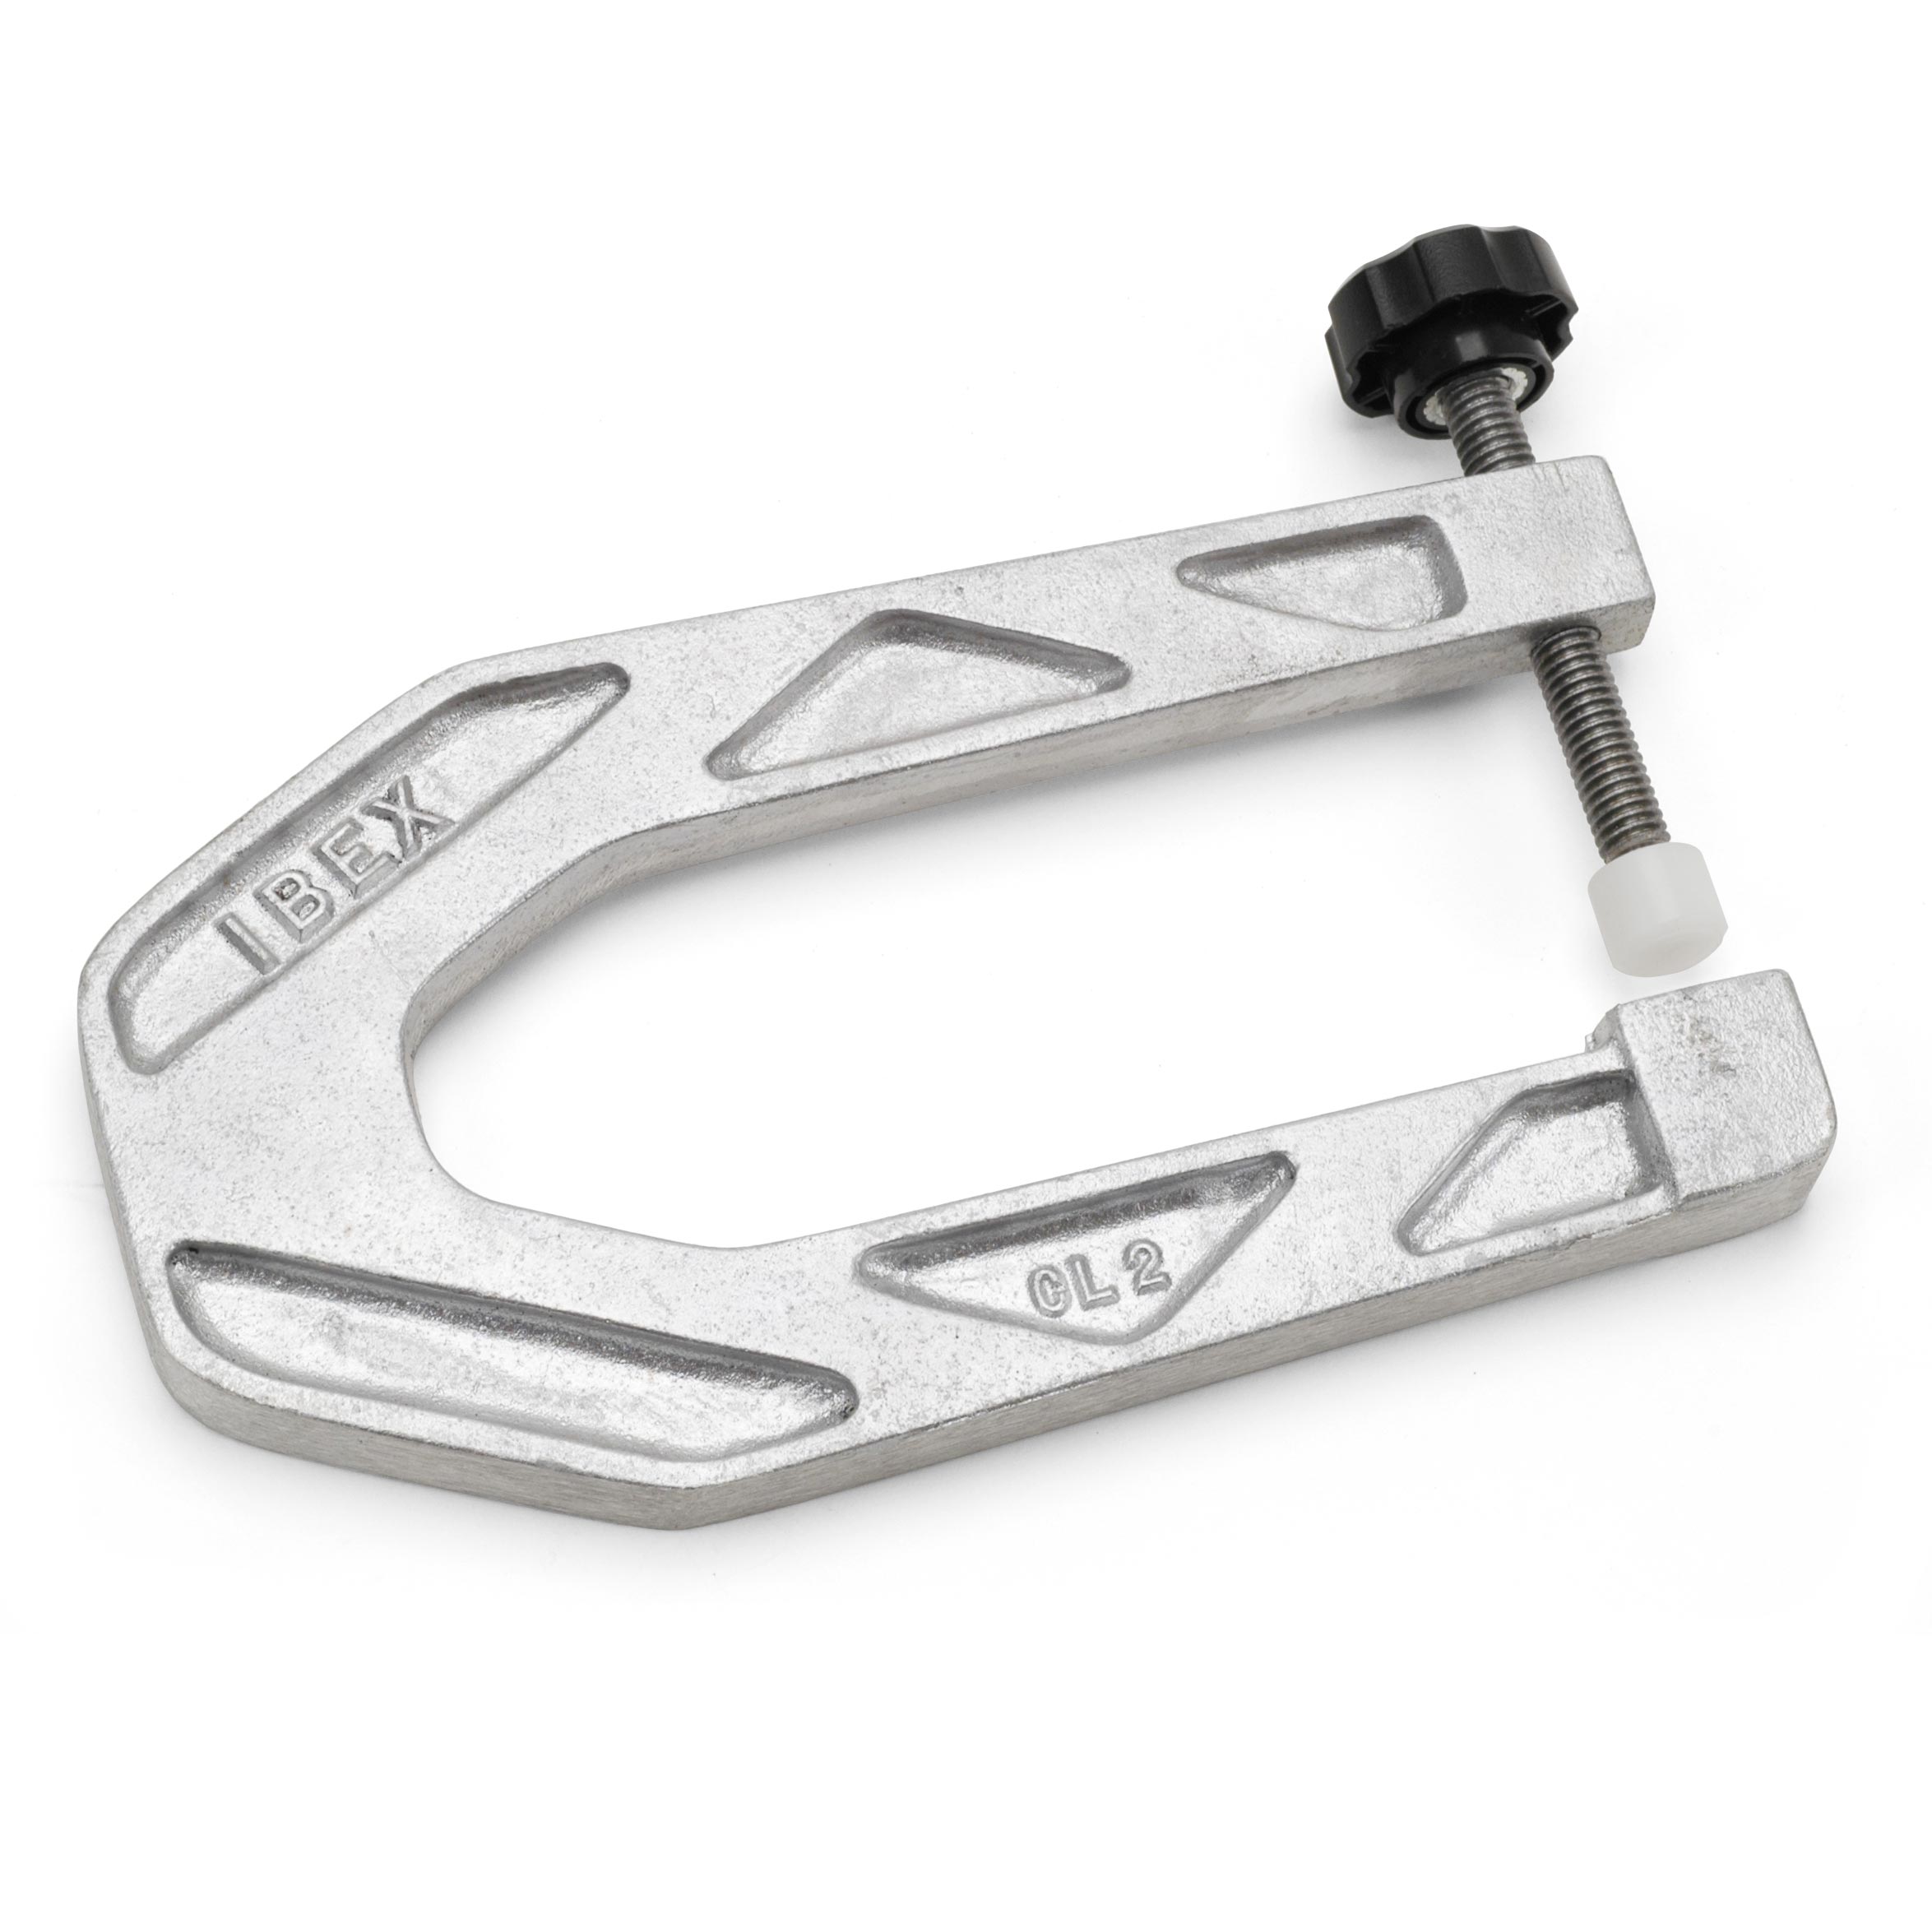
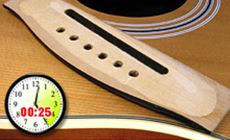
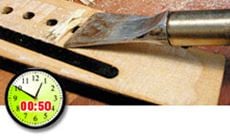
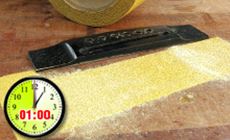
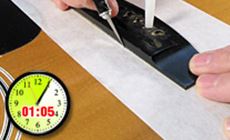
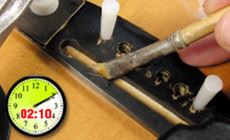
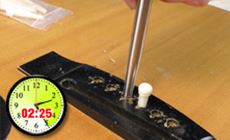
This 1980s Harmony cost $60 at a local yard sale. My customer bought it for his son's 13th birthday. Before wrapping it up, he brought it to me to install a new set of strings. The first thing I saw was the loose bridge you see above. Fixing this would take several hours, and cost more than this customer could afford. I didn't want the 13-year-old to miss out on his first guitar, so I took this job on for its Trade Secrets value. I told the customer, "This is an easy $20 fix, no problem." When the profits are slim, the game to play is "Beat the Clock." I want to see if I can fix this within three hours. So let's start the clock. Time spent talking with customer: 20 minutes. When I removed the strings and bridge pins (5 minutes), the bridge fell off. It had a hardened smear of epoxy or super glue underneath, as though the glue had been squirted onto the finished top like a cake decoration before the bridge was clamped on. The glue came off nicely with this electric "burn-in knife" made for melting stick shellac in finish repairs. It does a great job of melting and scraping off glues. The finish softened, shriveled and turned to powder as I scraped with the hot blade. This shriveling tells me it's epoxy. Other glues react differently to heat, by smoking or burning. Epoxy will smoke and burn too, but it powders first and that's a good time to remove it. Glue removal: 25 minutes. I cleaned up the knife marks and remaining glue with 120-grit Stikit Gold sandpaper stuck to the bench top. I was careful not to over-sand, because that would have removed wood along with the glue. Since the sides of the bridge are angled, removing wood makes the bridge smaller than its footprint on the finish. Sanding took 10 minutes. (The job's taken an hour so far.) With adhesive signpainter's tape protecting the top, I pinned the bridge temporarily in place with acoustic bridge locating pins and carefully scribed around the bridge with an X-Acto knife — cutting through the tape and also through the finish. (5 minutes.) Then I used a Dremel tool in a router base to remove the thick, hard polyester finish where the bridge would be glued (regular paint stripper won't dissolve this finish). I worked carefully up to my knife-scribed line. This took another 30 minutes. I chose Titebond glue because it has a fairly long clamping time (about 10 minutes). That allows enough time to clean up the slot for the adjustable saddle. Any glue left there would be hard to remove once it dried. I used the bridge locating pins again to index the bridge and hold it in place. My clamps and gluing cauls were all ready to go before I applied the glue. I clamped up with three strong Ibex bridge clamps with padded wood cauls to protect the bridge from clamp marks. Time: another 20 minutes. Cleaning up excess glue, I had to remove the center clamp three times to clear out the saddle slot. Each time I cleaned it, more glue squeezed out. This took 15 minutes, and at this point, I've been at it a little over two hours. After overnight drying, I cleaned out the glue remaining in the bridge pin holes with a bridge pin reamer. I also reamed the holes to fit a new set of bridge pins since the others were warped and bent. (15 minutes.) Restringing and adjusting the action was easy with the adjustable bridge saddle, although the height-adjust screws were ridiculously long for their intended purpose. (What were they thinking?) I took them out and trimmed them shorter. (20 minutes.) And there you go — a birthday present fit for a kid! Total time spent: 2 hours and 45 minutes.Let's Play Beat the Clock with this repair
Bad news:

25 Minutes
50 Minutes
1 Hour
1:05 Minutes
1:35 Minutes
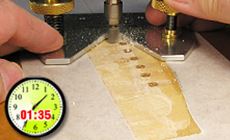
1:55 Minutes
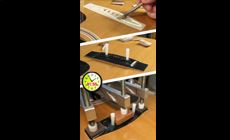
2:10 Minutes
2:25 Minutes
2:45 Minutes
