Christine's inexpensive guitar needs a bridge repair: fix it or pitch it?
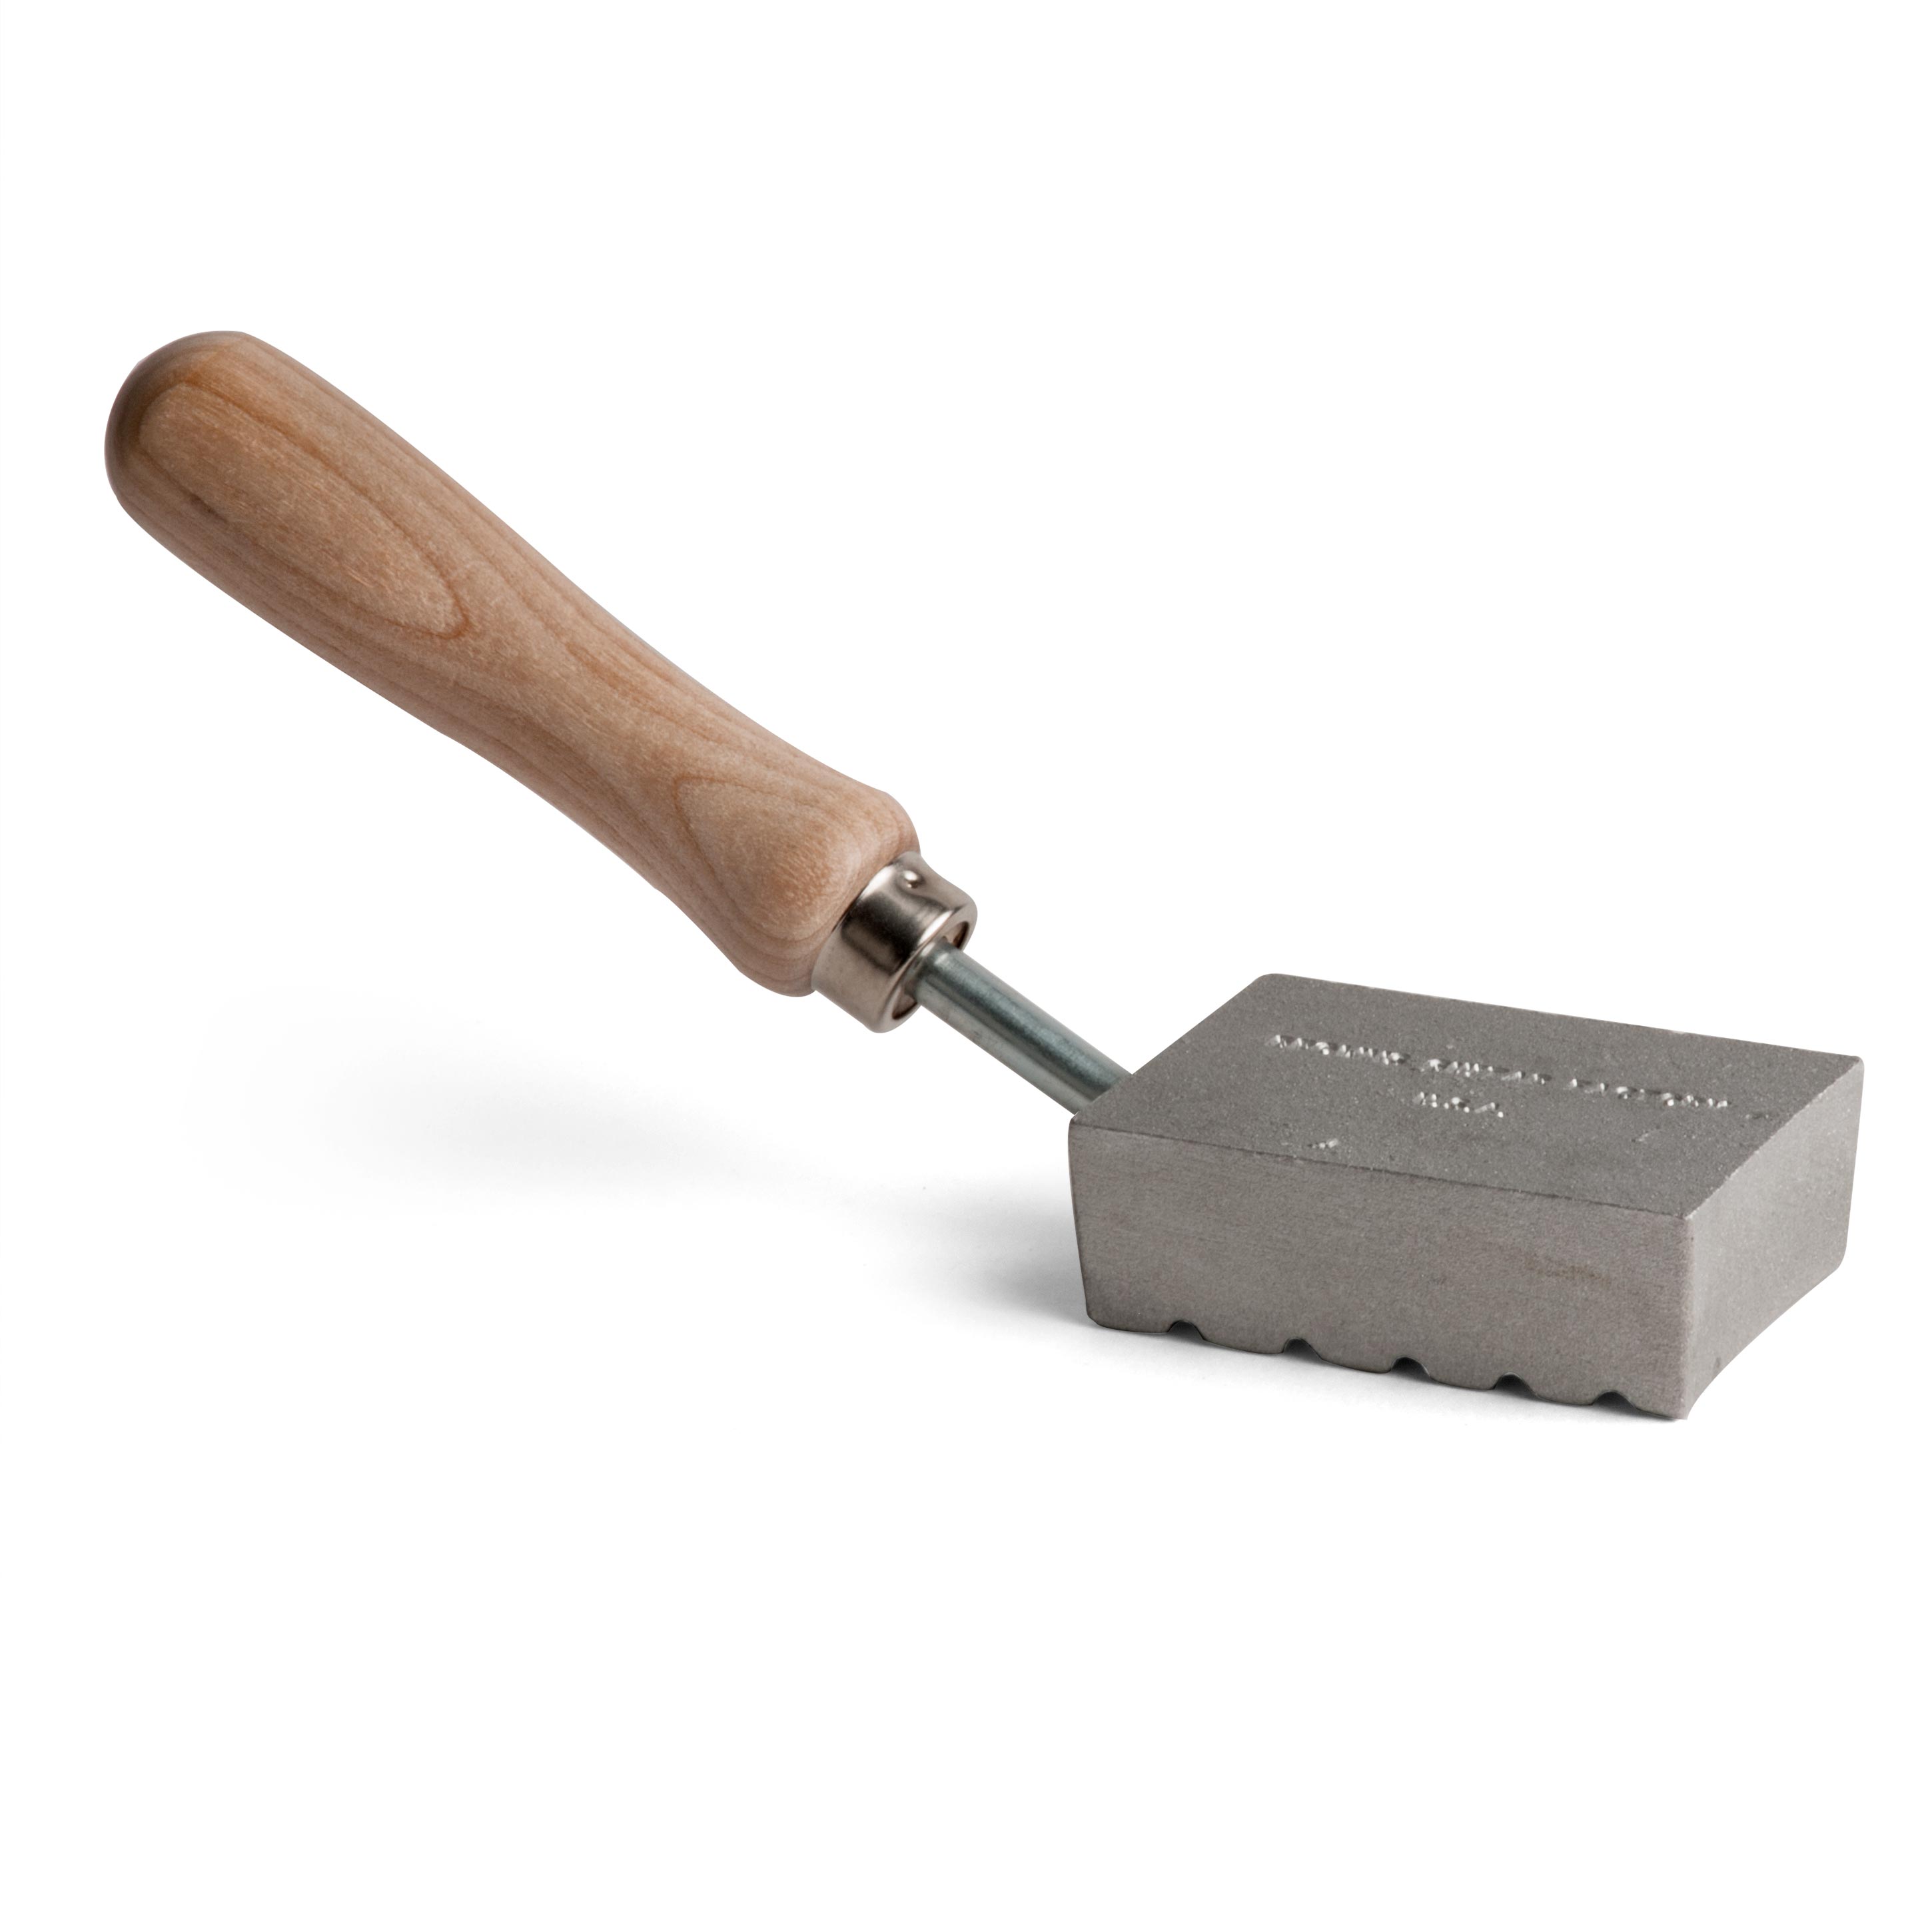
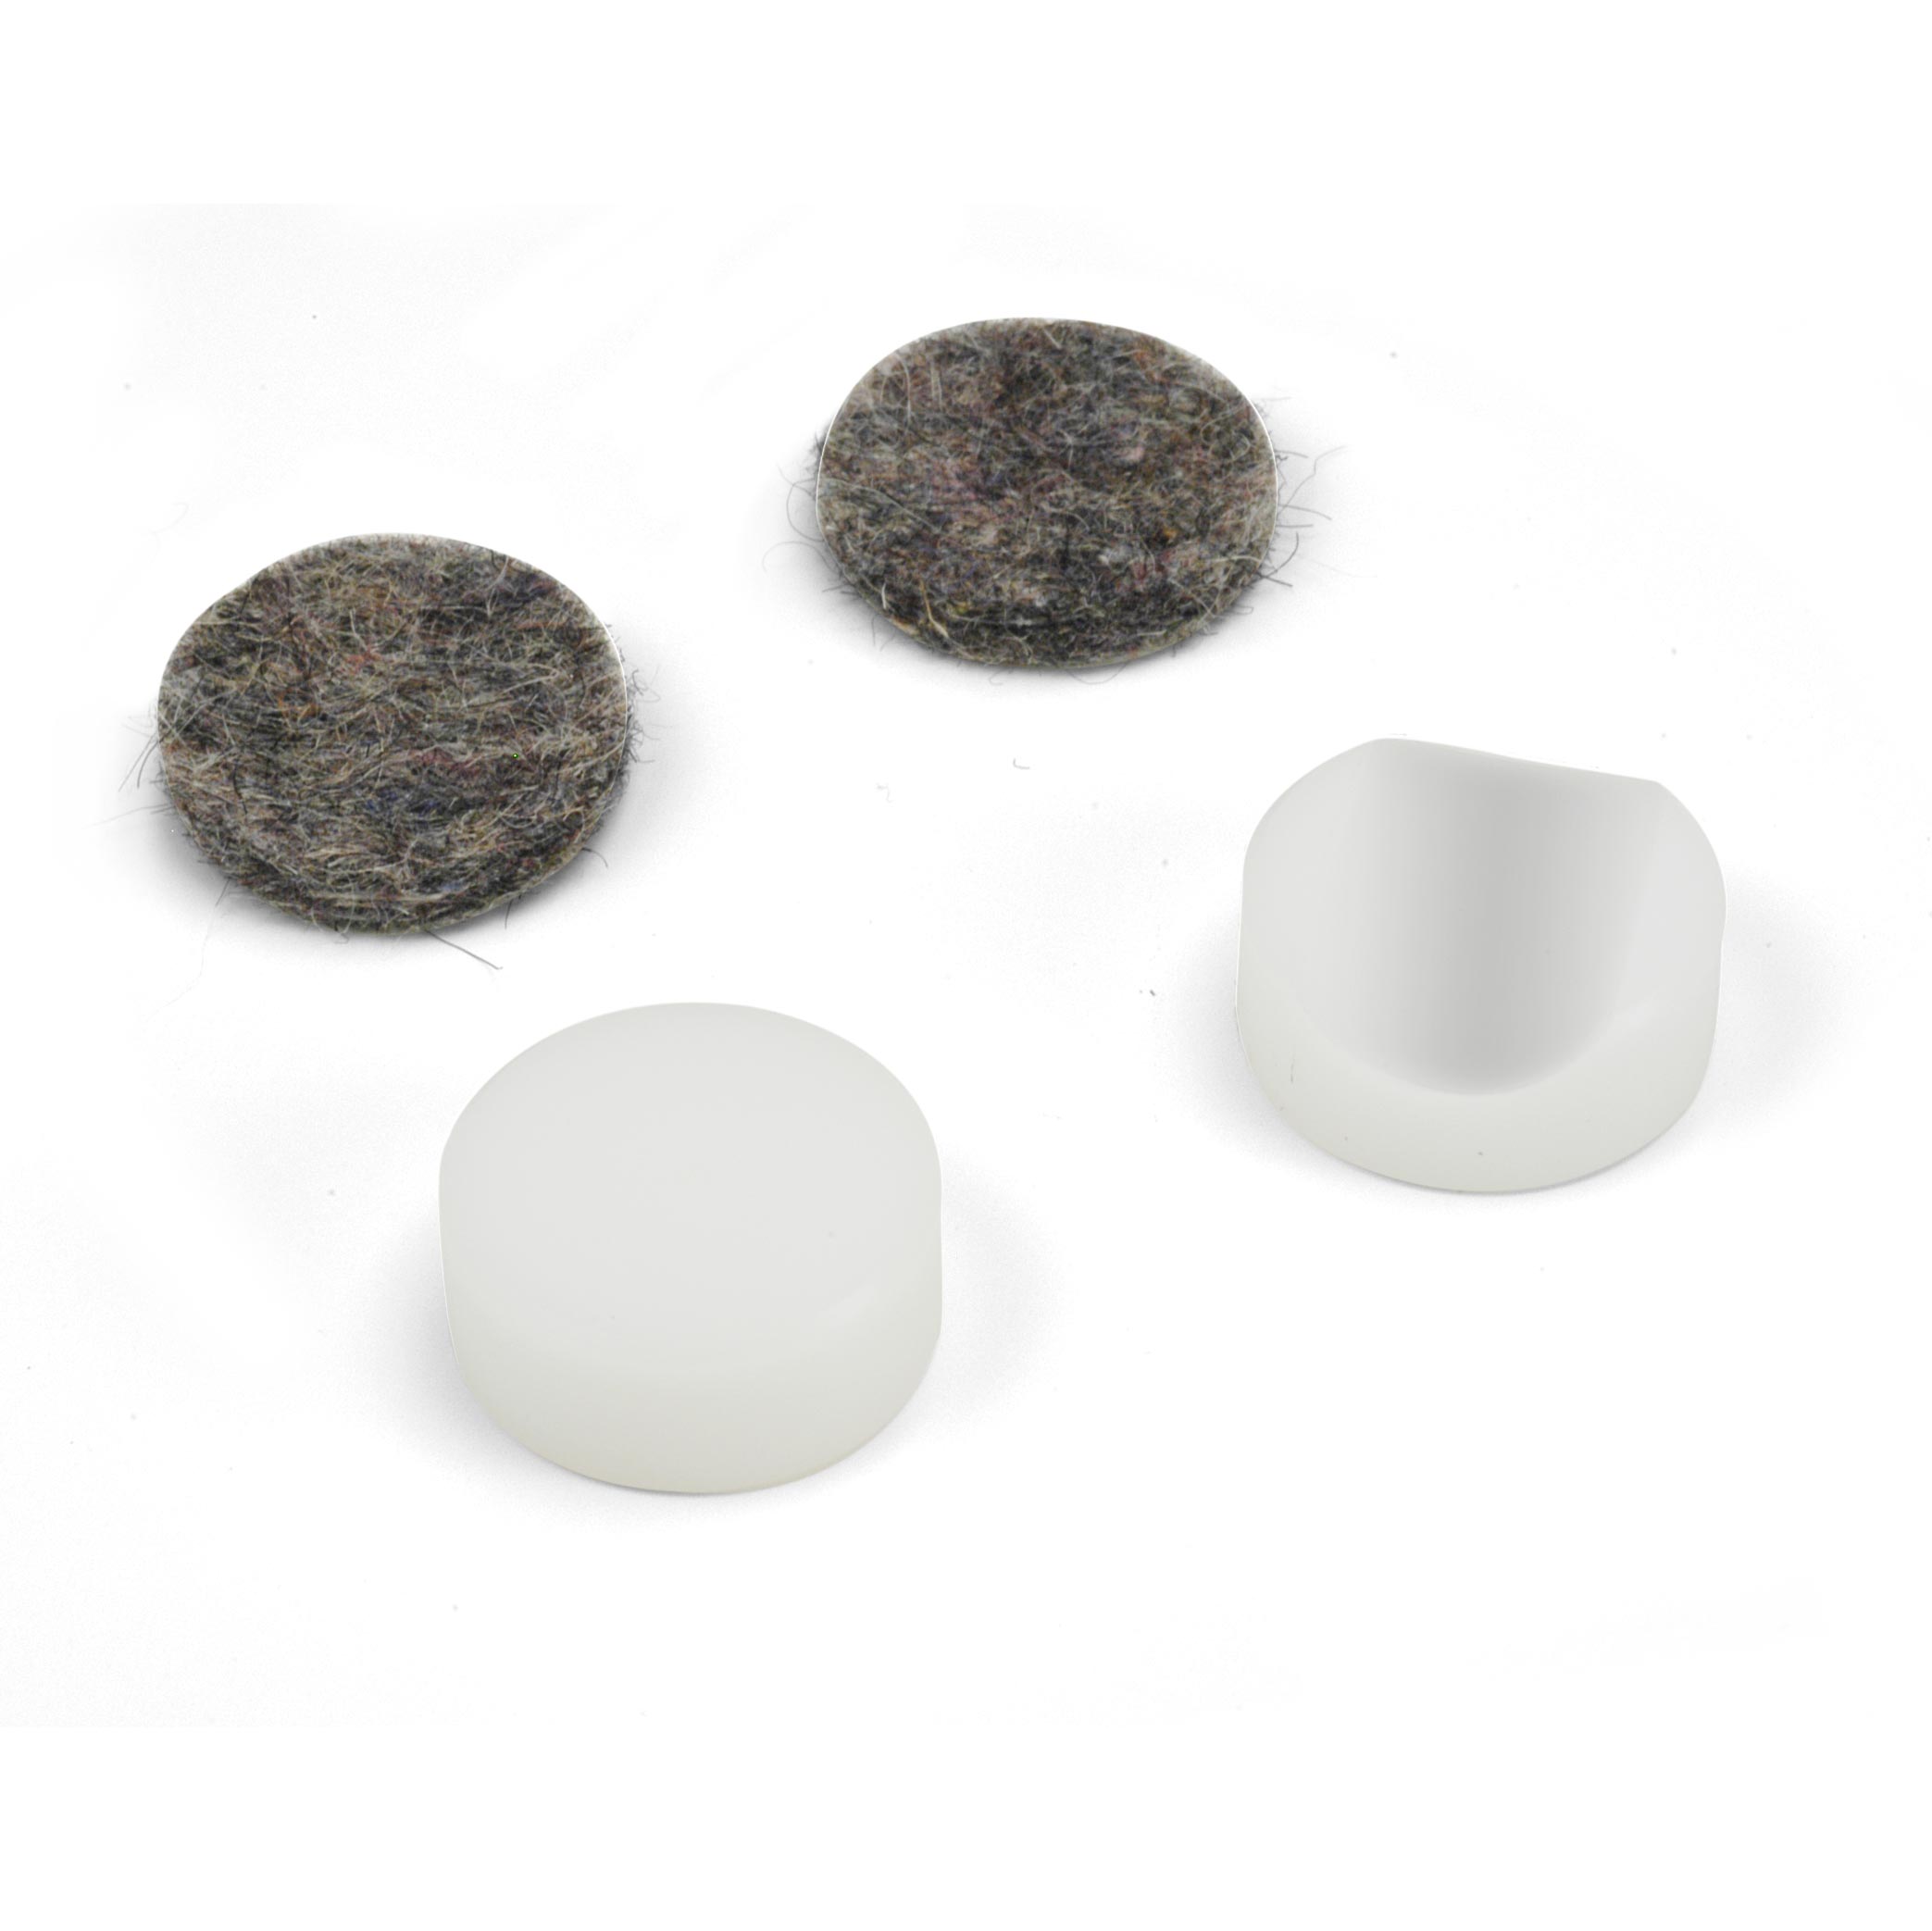
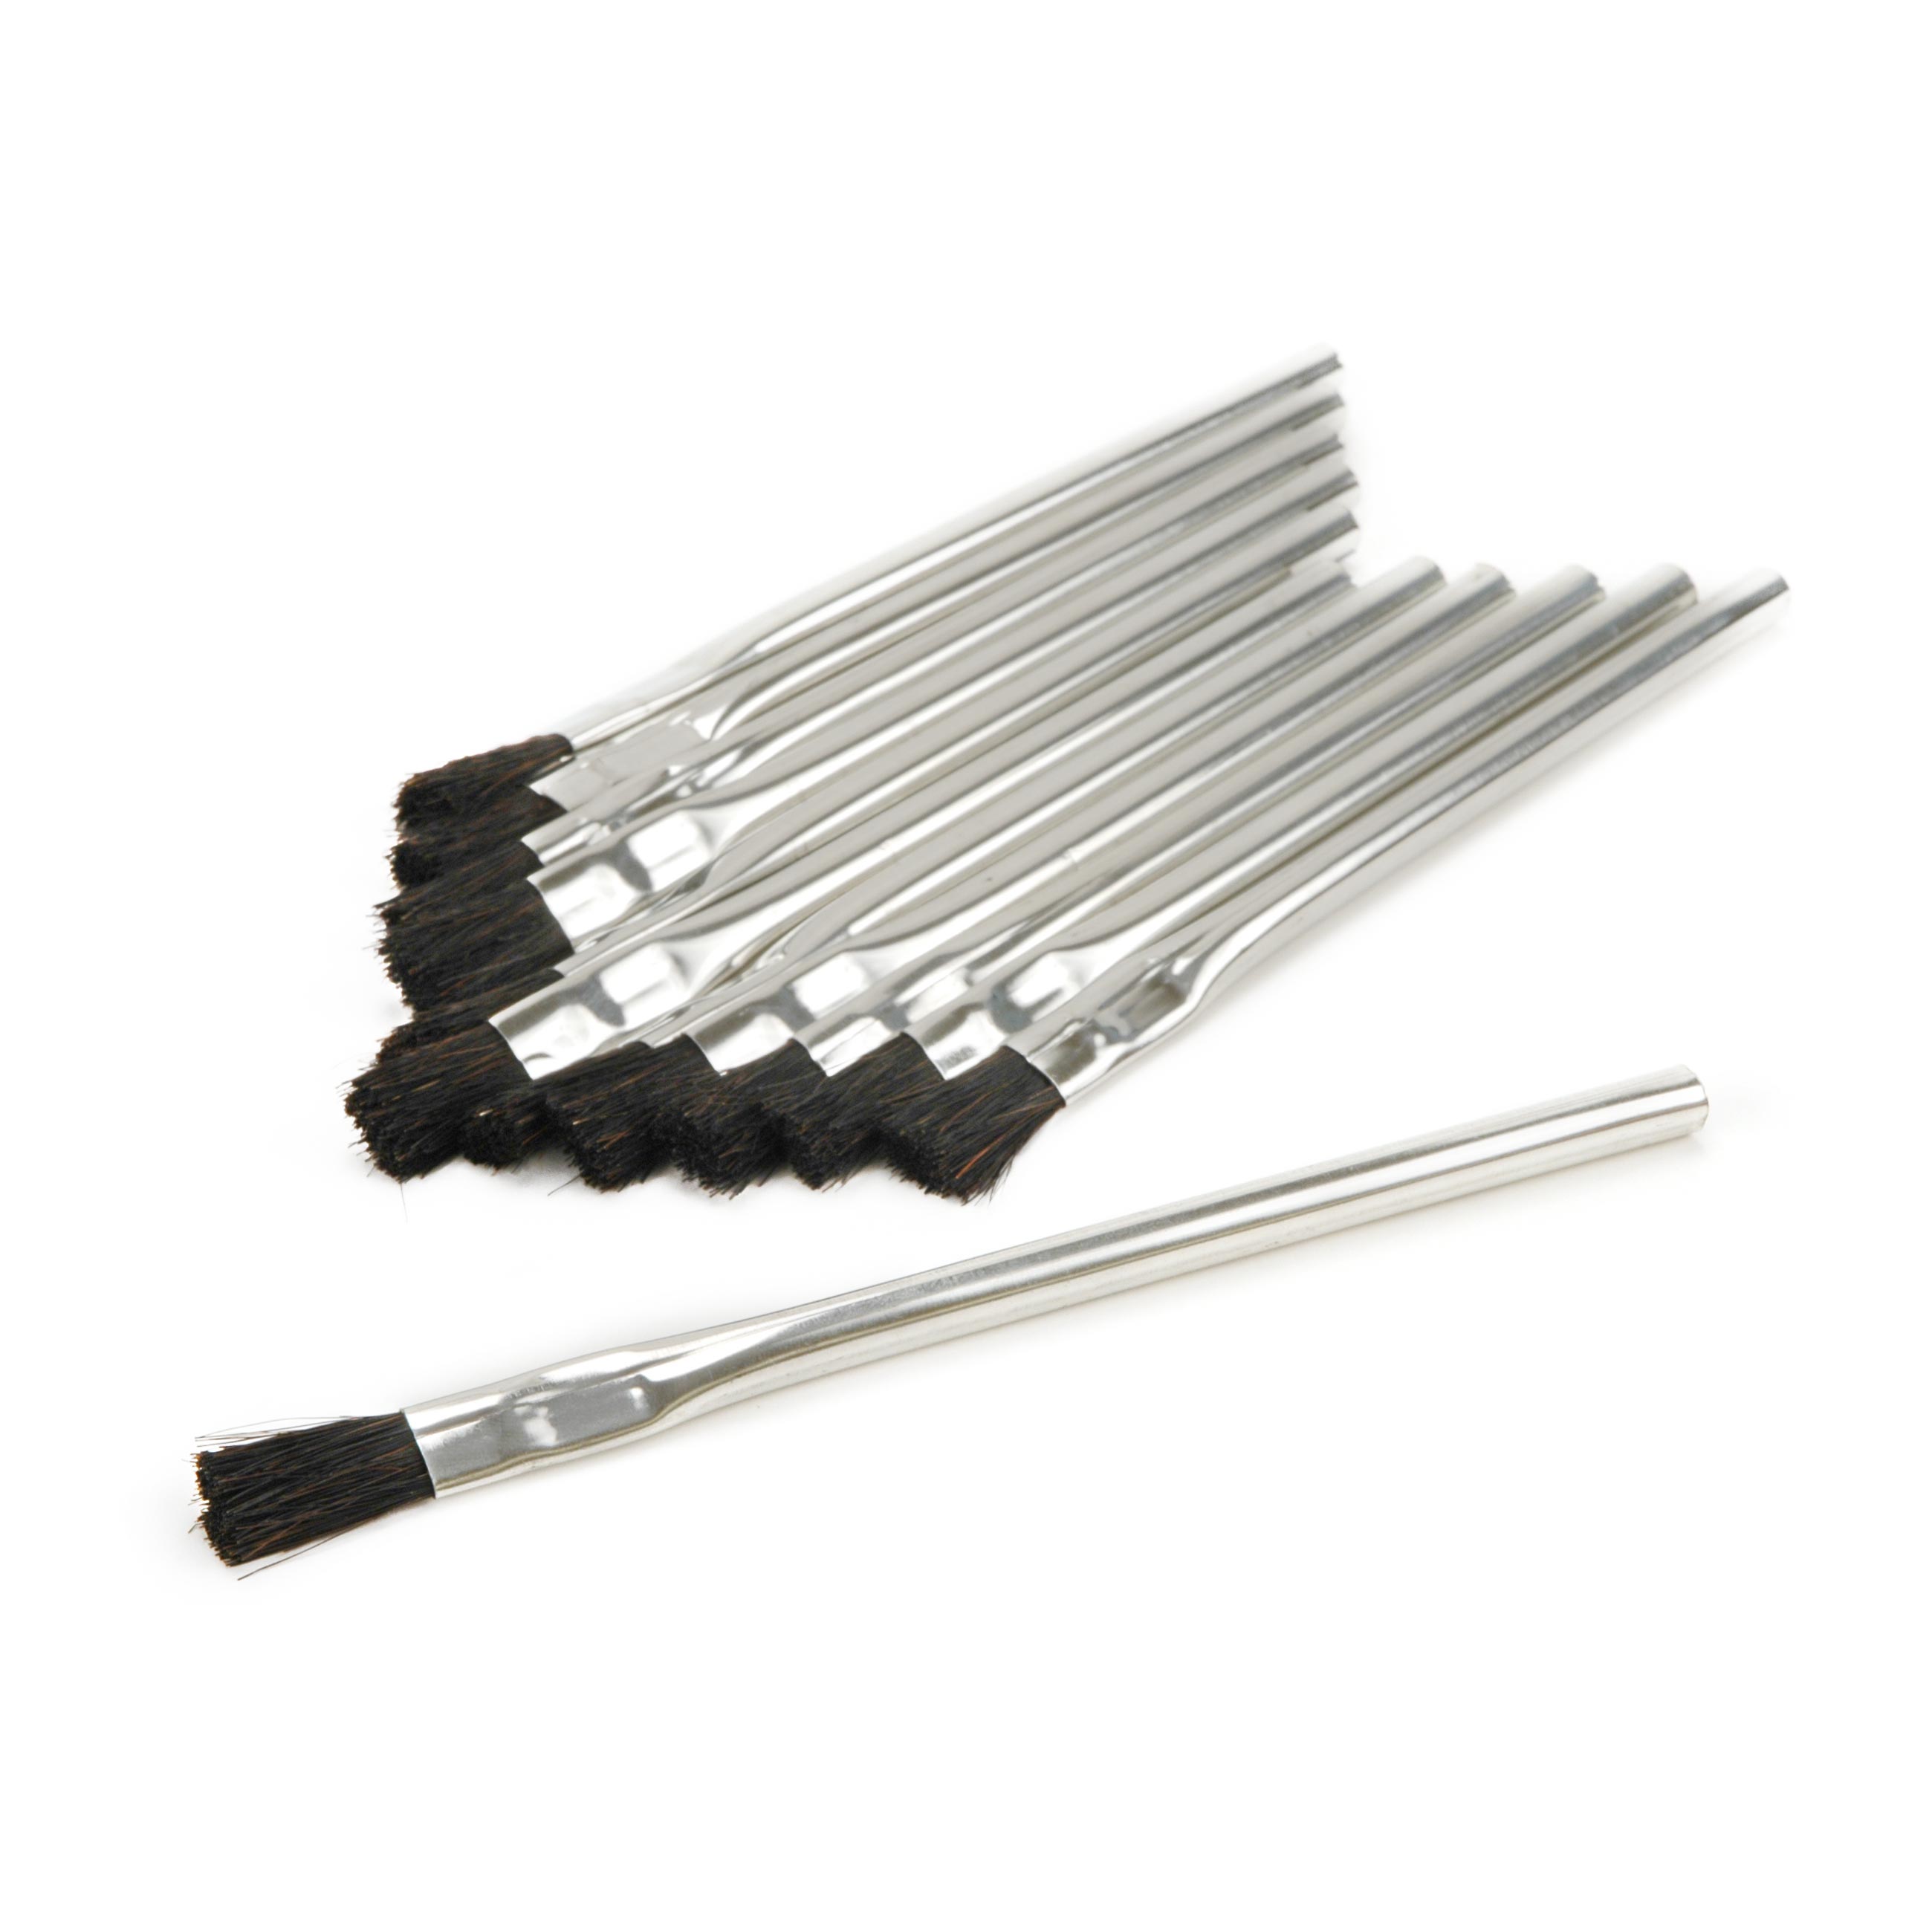
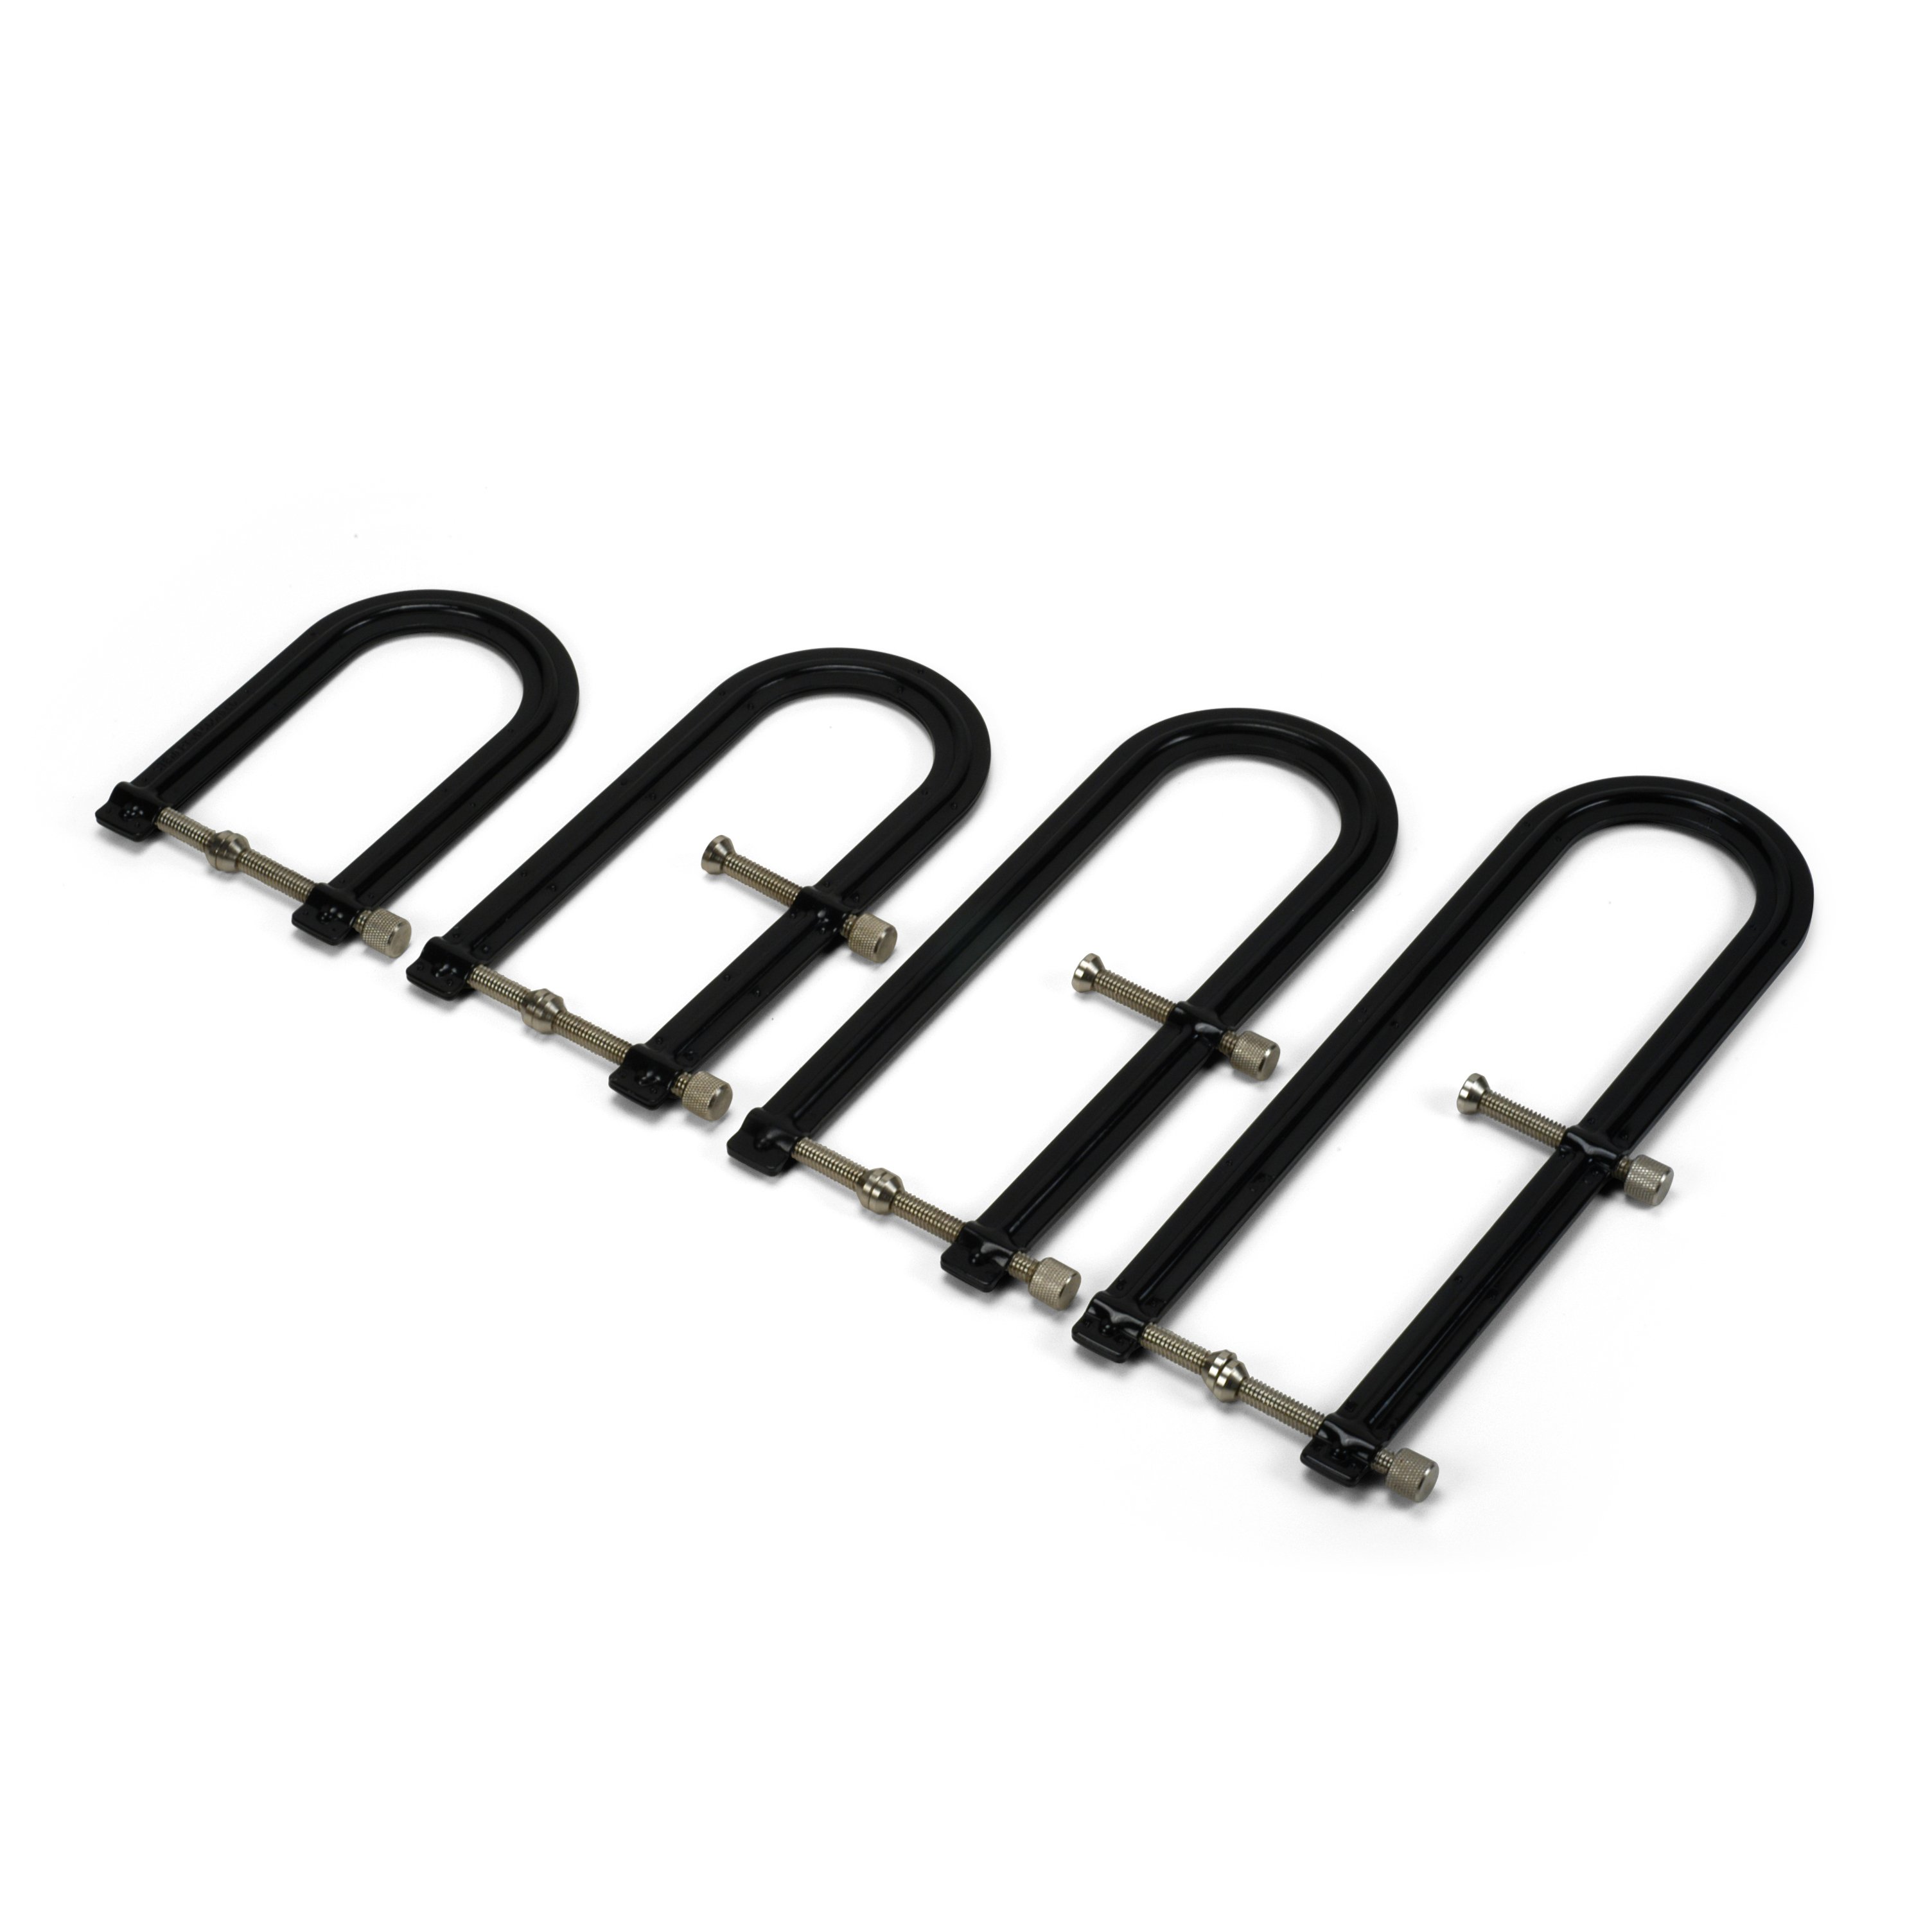
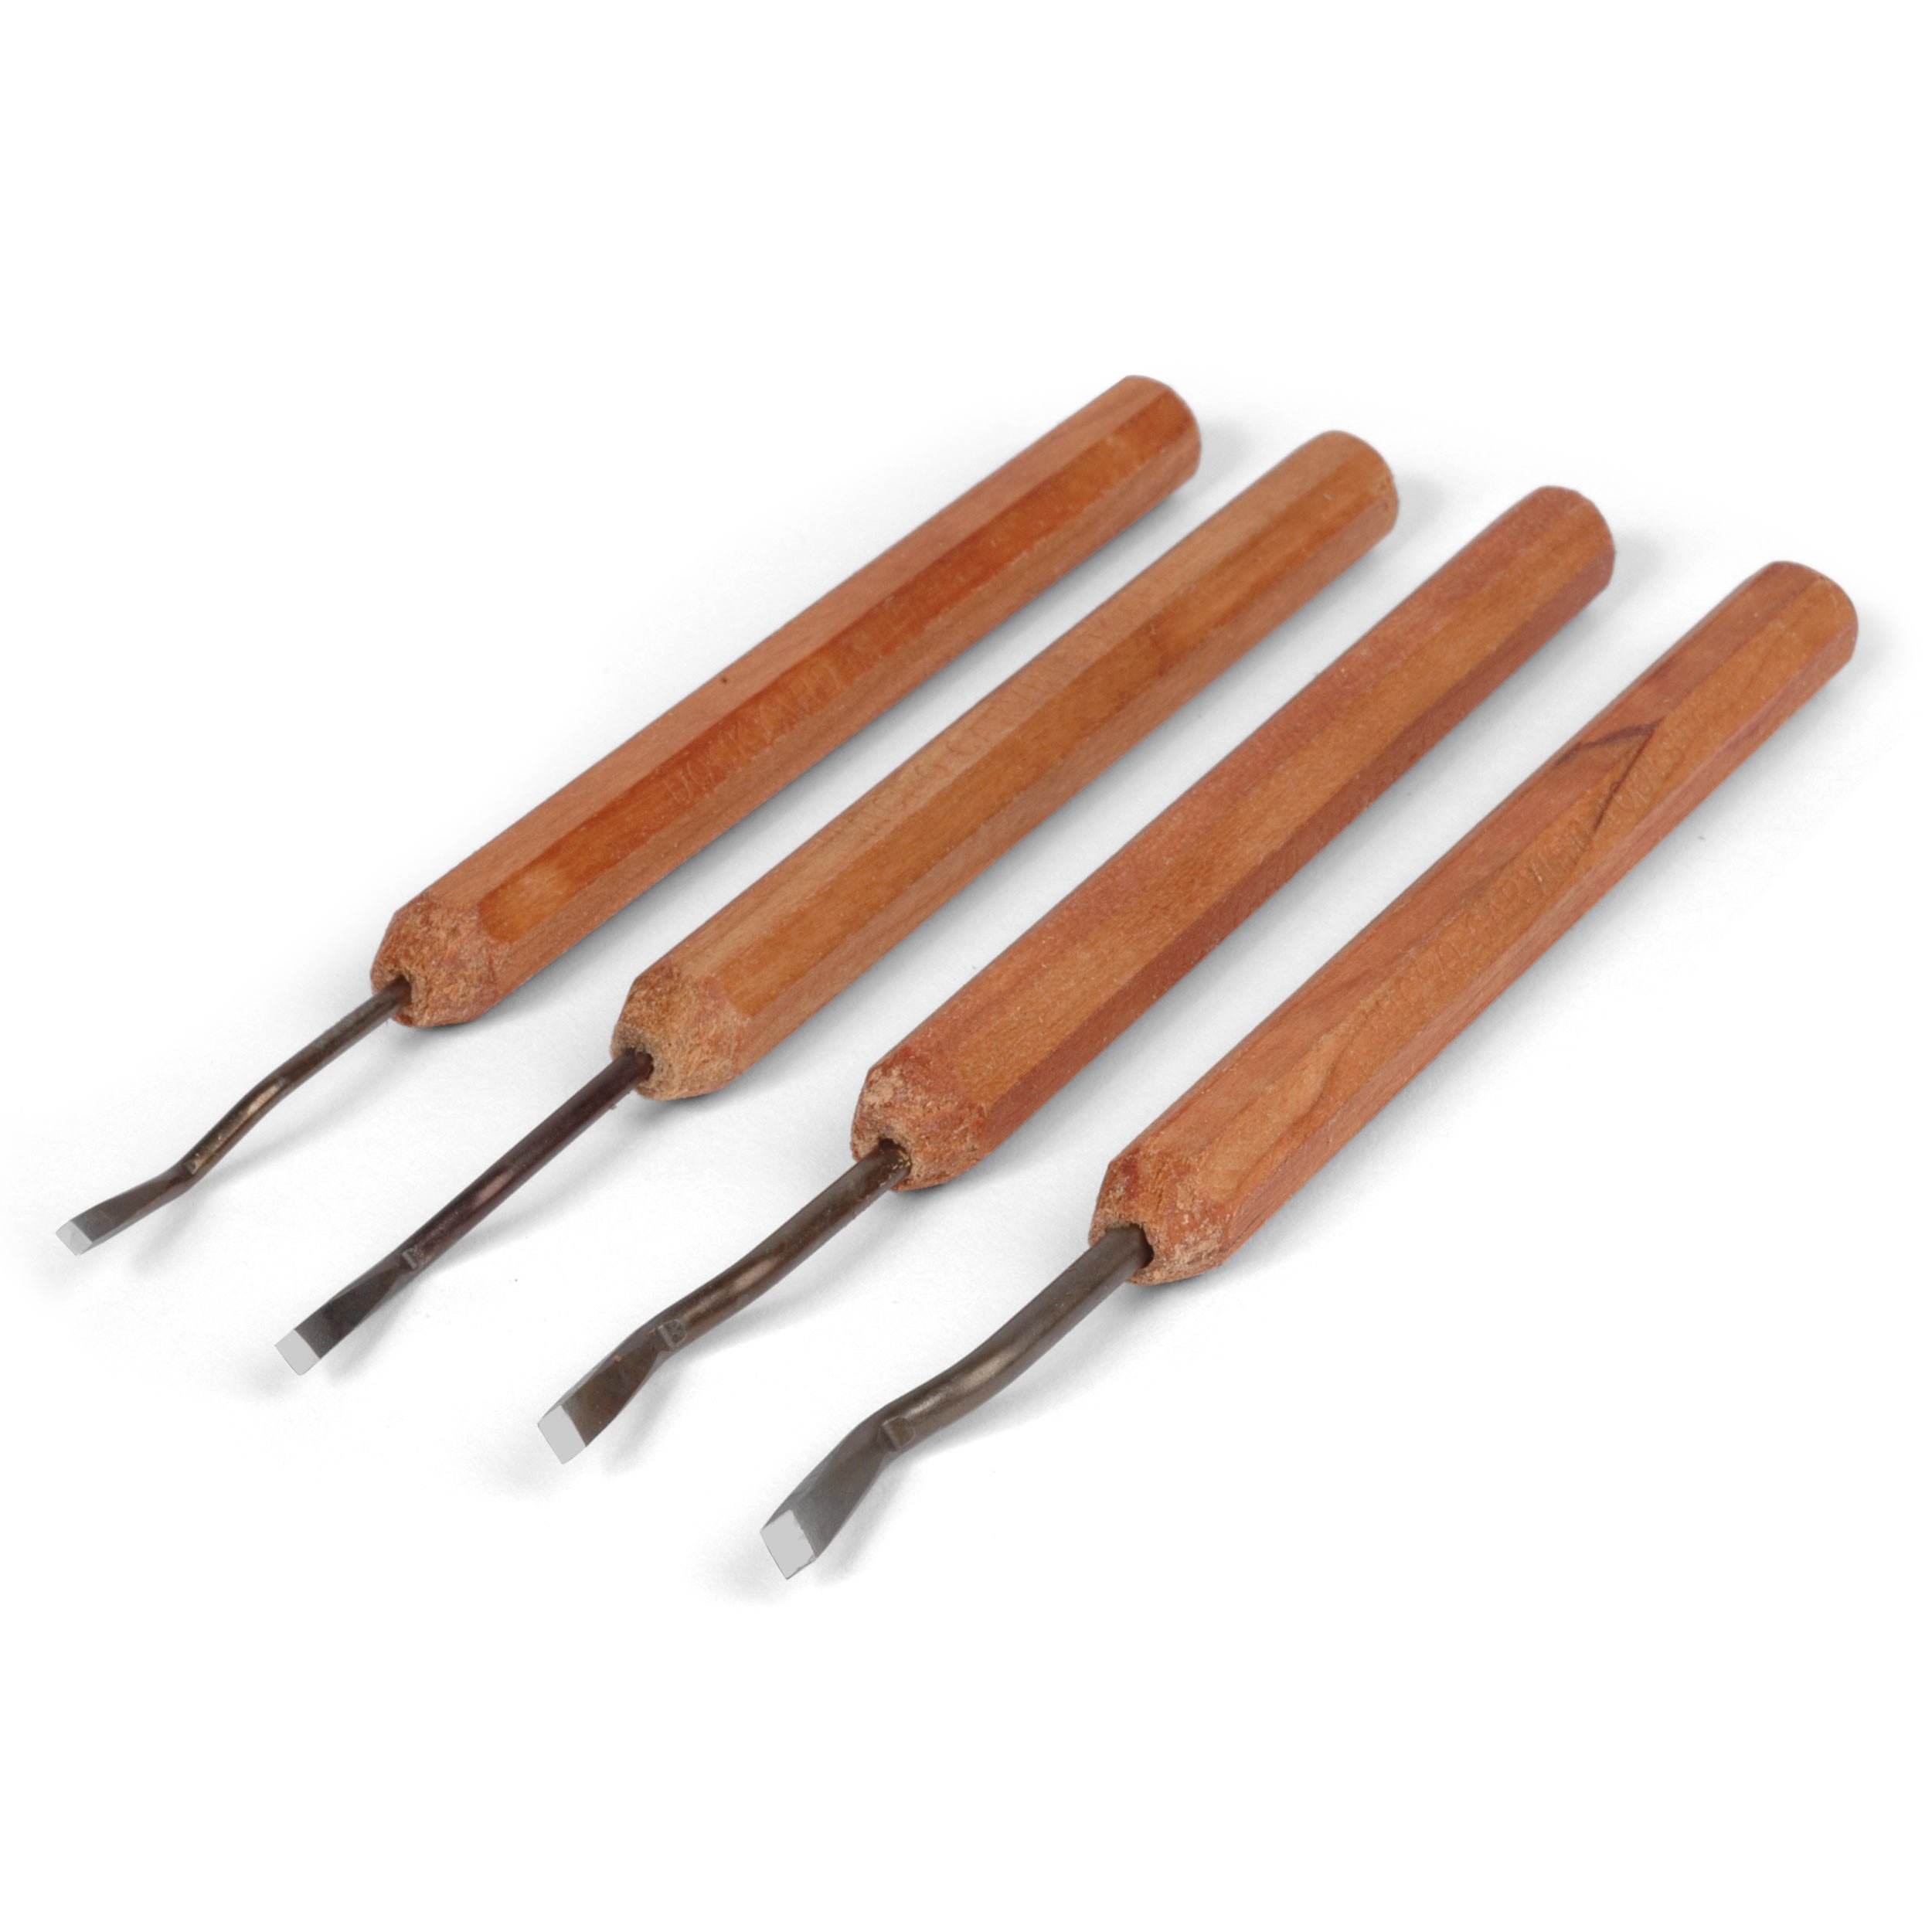
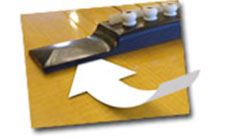
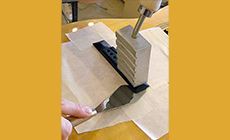
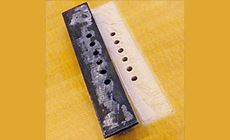
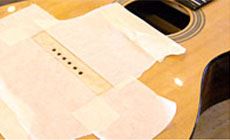
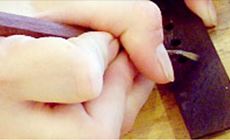
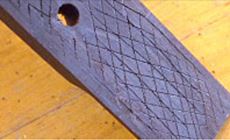
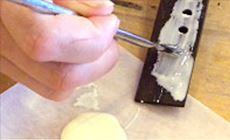
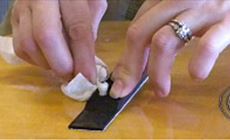
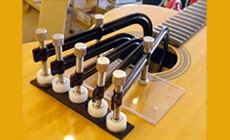
Should Christine do $100 worth of repairs on her $160 guitar? She recently bought this acoustic for playing around the house. The guitar sounds good, and for $160 it was a good deal, too. Christine noticed this gap under the back edge of the bridge, showing that the bridge was coming loose from the top. This is pretty common; bridges pull up for lots of reasons. Heat can be the culprit, or maybe the bridge was glued to a finished top instead of bare wood, preventing good adhesion. We can't know this bridge’s story without taking it off to look. At United Lutherie, the shop I share with my pal Gene, a repair like this starts at $75 and goes up from there depending on what other issues are present. Bridge re-glues are bread and butter jobs, and we see a ton of them. But sometimes customers have a tough time swallowing the fact that the repair could cost more than half the guitar’s purchase price: "Why should I pay $100 to fix this? I can buy a new guitar for $200!" "Well, the bridge is likely to pop off your next bargain guitar, too. It happens all the time..." Christine opted to fix it, then her curiosity kicked in: she wanted to watch the repair. It’s such a basic job that we decided it'd be fun to have Christine do the work herself, while I supervised. On a hotplate, she heated the bridge heater to around 400 degrees and moved it around the bridge surface, slowly heating the entire bridge. Periodically reheat the caul (or use two, heating one while using the other) and keep it moving. Don’t linger long enough to scorch the wood. As the glue softened, Christine slowly worked the removal knife under the bridge from a variety of angles. With the bridge off, you can see what the issue was. The manufacturer simply didn't use enough glue to hold the bridge on in the first place. Note that there's no glue coverage at the edges. This bridge came off easily, bringing a few splinters of wood up with it but nothing too bad. It’ll go back on nice and clean. With some scraping and warm water, this remaining glue wiped off the bottom of the bridge. A chisel removed any glue left on the guitar top, then Christine masked around the gluing area. With all surfaces clean, she used a micro chisel as a toothing file to give the glue a little more to bite into (below). Christine used a brush to apply plenty of glue to the bridge and the guitar top. I might have used hot hide glue, but chose Titebond for its lengthy working time: on Christine’s first time out, no sense making her race against time. She used the two E string bridge pins to position the bridge, then pressed down firmly to squeeze out as much glue as possible. A damp rag wipes it away. Using soundhole clamps and a bridge plate caul (to protect the bridge plate and spread the clamping pressure), Christine clamped the bridge in place.
A simple bridge repair

Christine works the front desk at StewMac.
At this point, I had a “Fix it or pitch it?” talk with Christine.

Anyhow, I'm biased: I don’t like the idea of guitars in dumpsters.
Prepping:
Gluing:
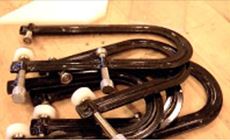
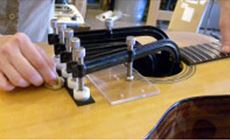
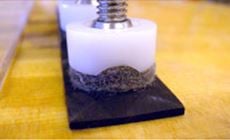
The grooved soundhole clamp cauls work great for clamping pyramid bridges like this one. The grooved recess settles nicely over the peaked shape.
Clamped Up
We let this sit overnight. When I came in the next morning I removed the clamps and cleaned up any dried glue with a warm damp rag. Everything looked great!
This bridge is fixed, and the guitar’s ready to go home to Christine.
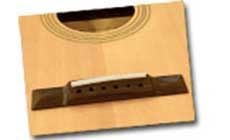
Reunited!
After stringing it back up and double-checking the setup, I dropped the guitar off to her at the StewMac office. Now Christine's back in business — and she’s learned a thing or two about guitar repair, to boot!


