Bridge Pin Hole Slotting
How to cut and file bridge pin hole slots.
IN THIS ARTICLE
| • Mask the bridge • Saw your string slots • Round the slots with files | • Define string ramp • Fitting the strings • Final tips |
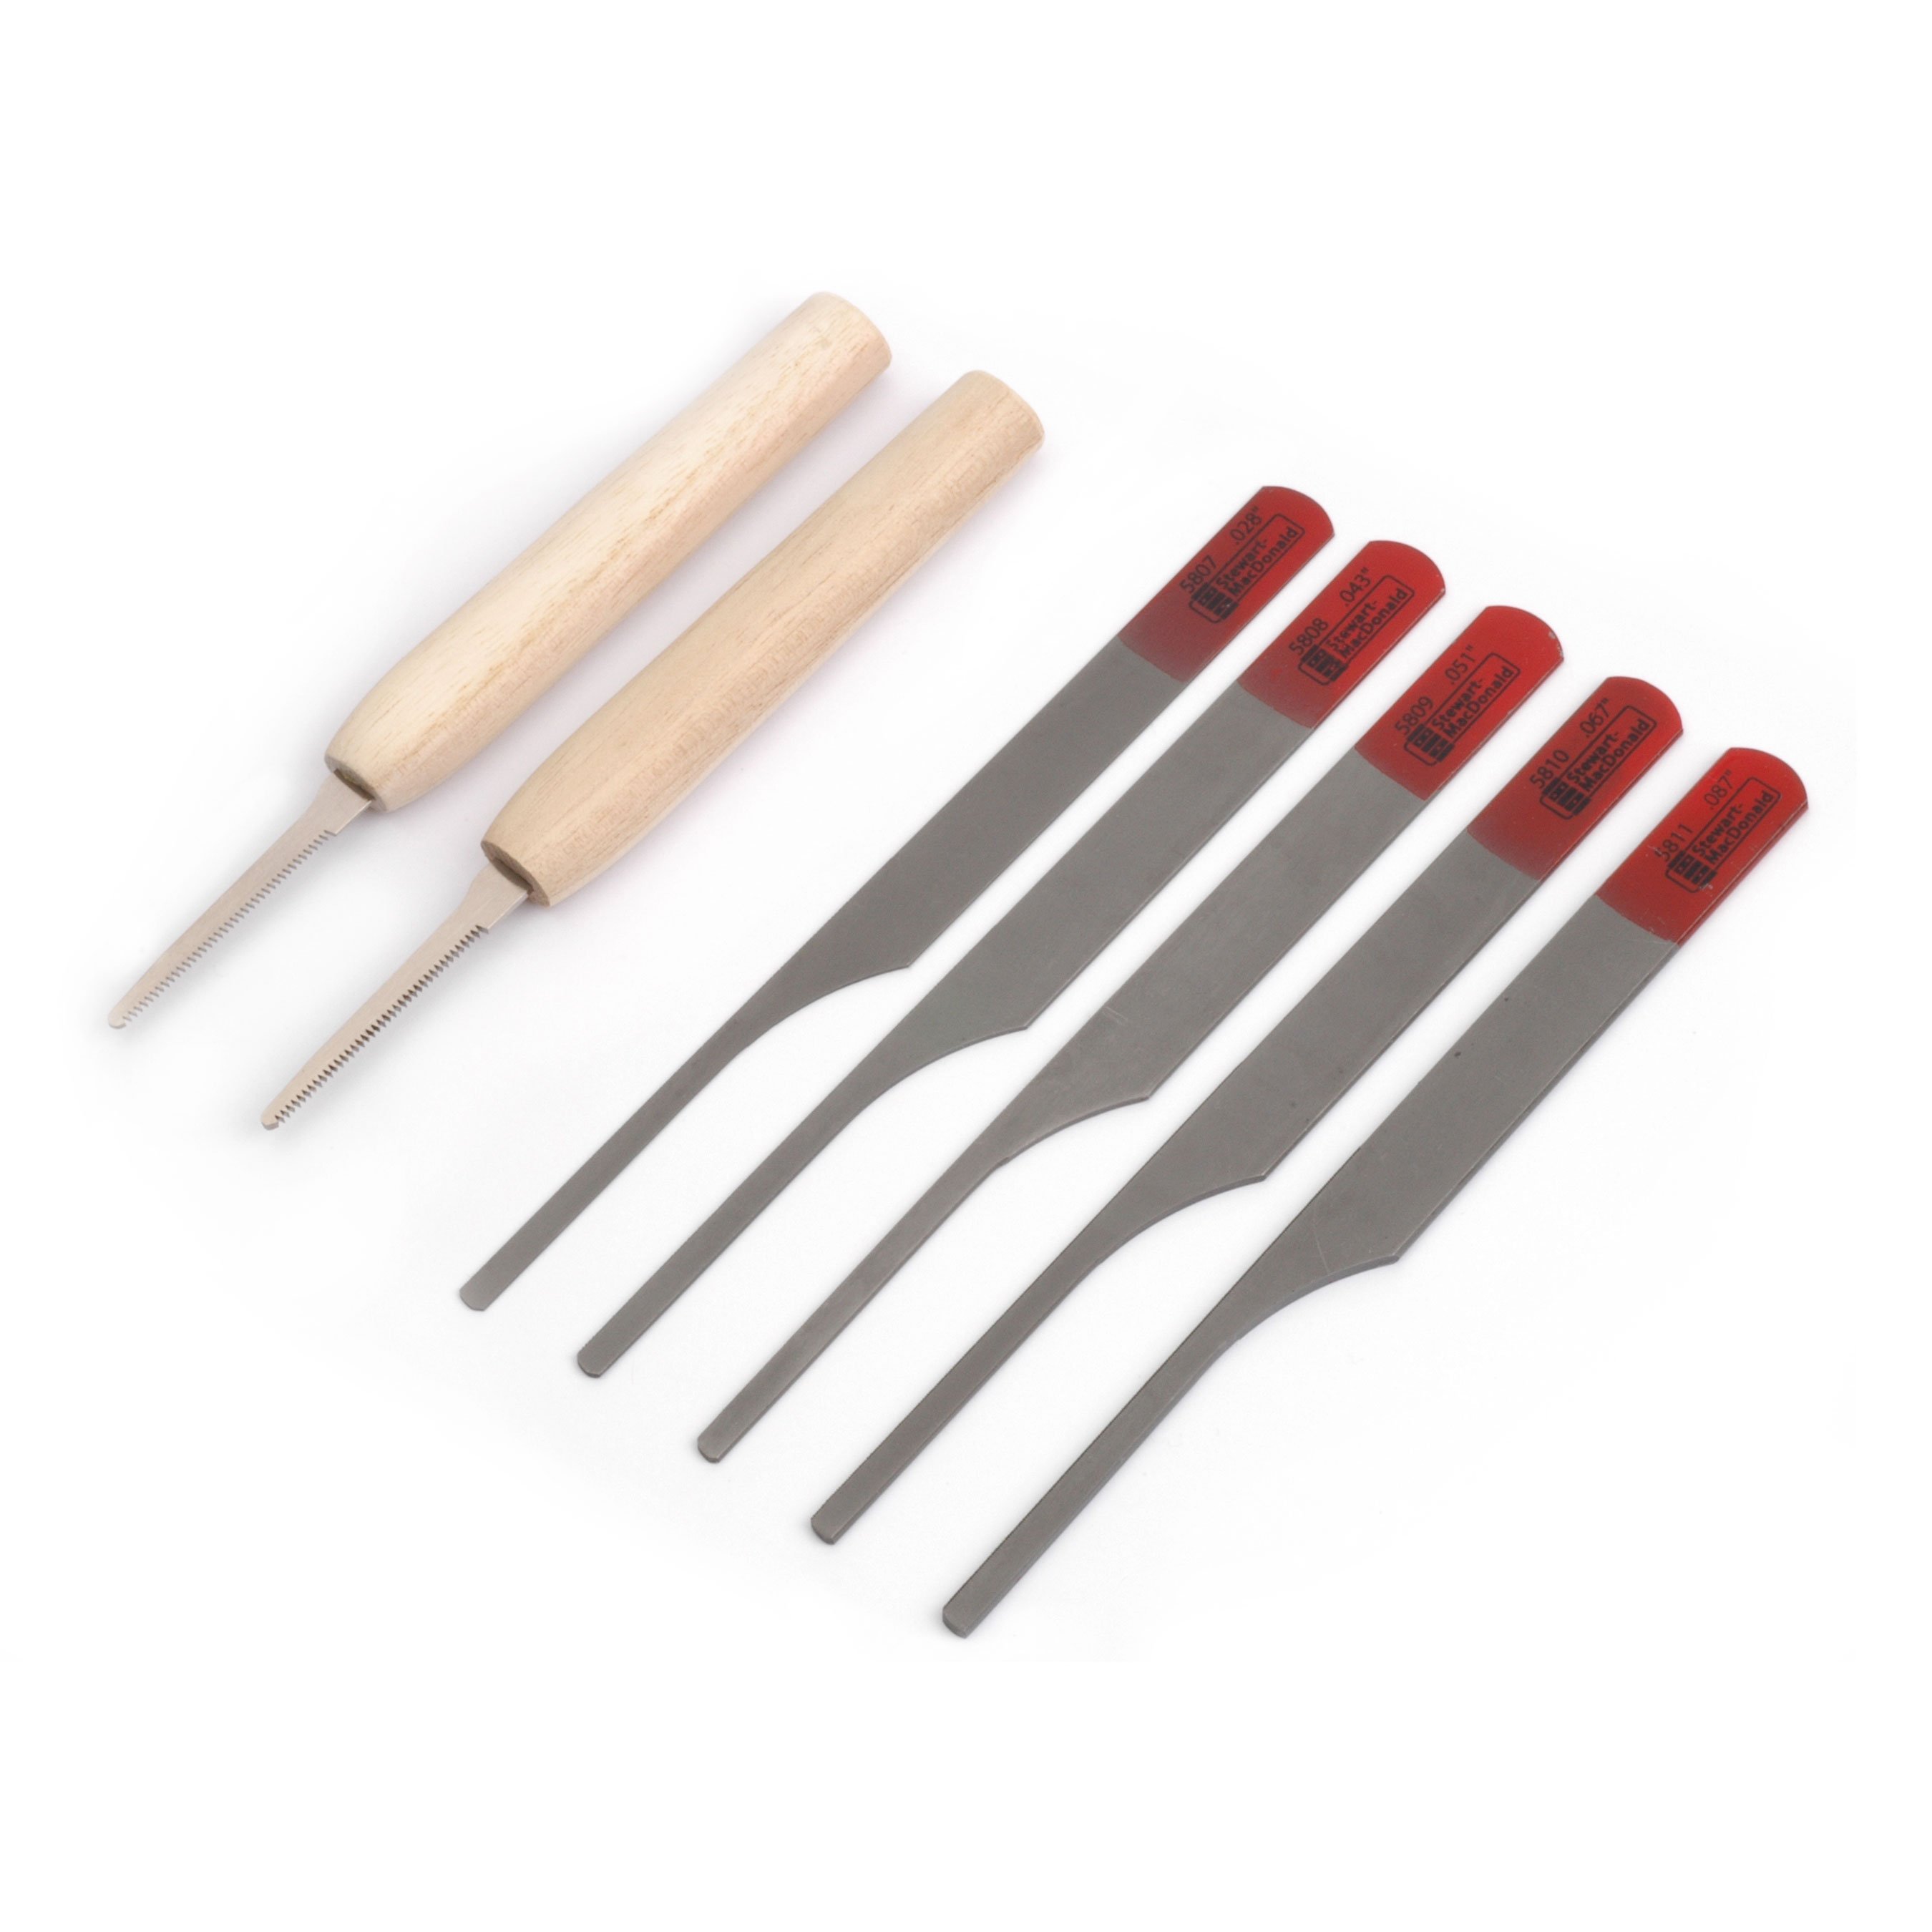
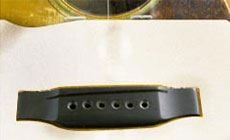
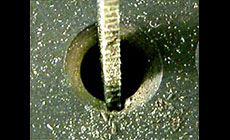
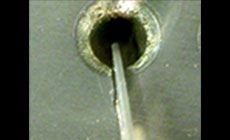
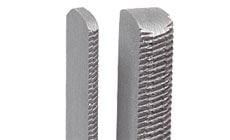
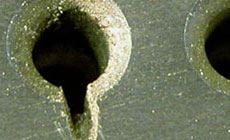
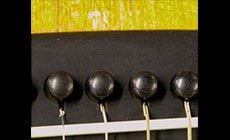
The Bridge Pin Hole Saws are for cutting the initial string slots in acoustic guitar bridges and bridge plates for proper contact of the string ball to bridge plate resulting in increased tone and decreased bridge plate wear. The Bridge Pin Hole Files are for cleaning up the initial string slots cut with a saw to give acoustic guitar bridges a smooth radiused string slot for a professional look. Use a piece of poster board approximately 10" x 6" and cut out an area in the center the size of your bridge. This piece is to protect the top area around the bridge just in case the file comes all the way out of the pin hole as you are cleaning up the slot. Lay the protective poster board over the bridge and tape down across the wings of the bridge. If the saddle is in the bridge, remove it. If it's glued in apply some masking tape across the top to protect it from possible file marks. The Bridge Pin Hole Saws are for cutting the initial string slots in acoustic guitar #5803 .028" saw is for bridge pin holes 1 thru 3 or E B G. If you are right handed, stand on the bass side of the guitar. Insert the saw in the pin hole, be sure that it is centered at the front side of the hole and straight up and down. Hold the saw in your left hand and use the right hand to carefully guide the left hand holding the saw through the cutting motion. Use a slow down stroke with the saw to cut the slot. Using the slow cutting strokes with the right hand guiding the left gives you more fine control over the cut and you have less chance of pulling the saw out of the hole and contacting the guitar's top. Repeat using the #5804 .051" saw for strings 4 thru 6 or D A E. NOTE: If needed, you can carefully roll the saw to each side of the initial slot to slightly widen the slot for a larger string gauge. Once you have sawed the string slot, use the same cutting technique to smooth the slot with Bridge Pin Hole Slotting Files. Using the same cutting motions described above, gently round the bridge pin hole slot. Once you have rounded the sawed slot straight up and down, use the same cutting technique to round the slot as it curves towards the saddle. Insert the proper gauged string and bridge pin into the hole to check the final fit. Make sure that the bridge pin is allowed to seat to it's proper depth in the bridge. The string ball wrap for the two unwound strings E and B is slightly larger at the top. To keep this from sticking in the slot when changing strings use the .043" file just at the top of the slot as it starts to curve and widen while using a proper guage string to check that the wrap doesn't stick in the slot. If needed, you can carefully roll the file to each side of the initial slot to slightly widen the slot for a larger string gauge. 
Masking the bridge
Saw your string slots
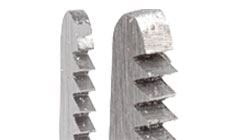
Item#
Saw width
String hole
#5803
028" saw
For bridge pin holes 1 thru 3 or E B G
#5804
051" saw
For bridge pin holes 4 thru 6 or D A E
Round the slots with files
Define String Ramp
Fitting the strings
Item#
File width
String hole
#5807
.028" file
1 and 2 or E and B (unwound)
#5808
.043" file
3 or G
#5809
.051" file
4 or D
#5810
.067" file
5 or A
#5811
.087" file
6 or E
Final tips
