Polish Frets Like a Pro
As a luthier, it's clear that well-maintained frets make a world of difference. Not only do shiny, smooth frets enhance playability, allowing for effortless bends and vibrato, but they also contribute significantly to a guitar's overall tone and sustain. If you're ready to elevate your playing experience and give your instrument the professional touch it deserves, you've come to the right place. This guide will show you how to polish guitar frets like a pro, right from your own home workshop.
How to Polish Your Frets Step by Step
A clean, polished fret feels like glass under your fingers—and it makes your bends smoother, your slides easier, and your guitar more fun to play. Here’s how we do it in our shop:
1. Remove the Strings (and Cover Pickups)
Loosen/remove strings for full access. Cover magnetic pickups (tape/paper) so metal dust doesn’t stick. Inspect the board for grooves, divots, or heavy oxidation before polishing.
2. Protect your fretboard
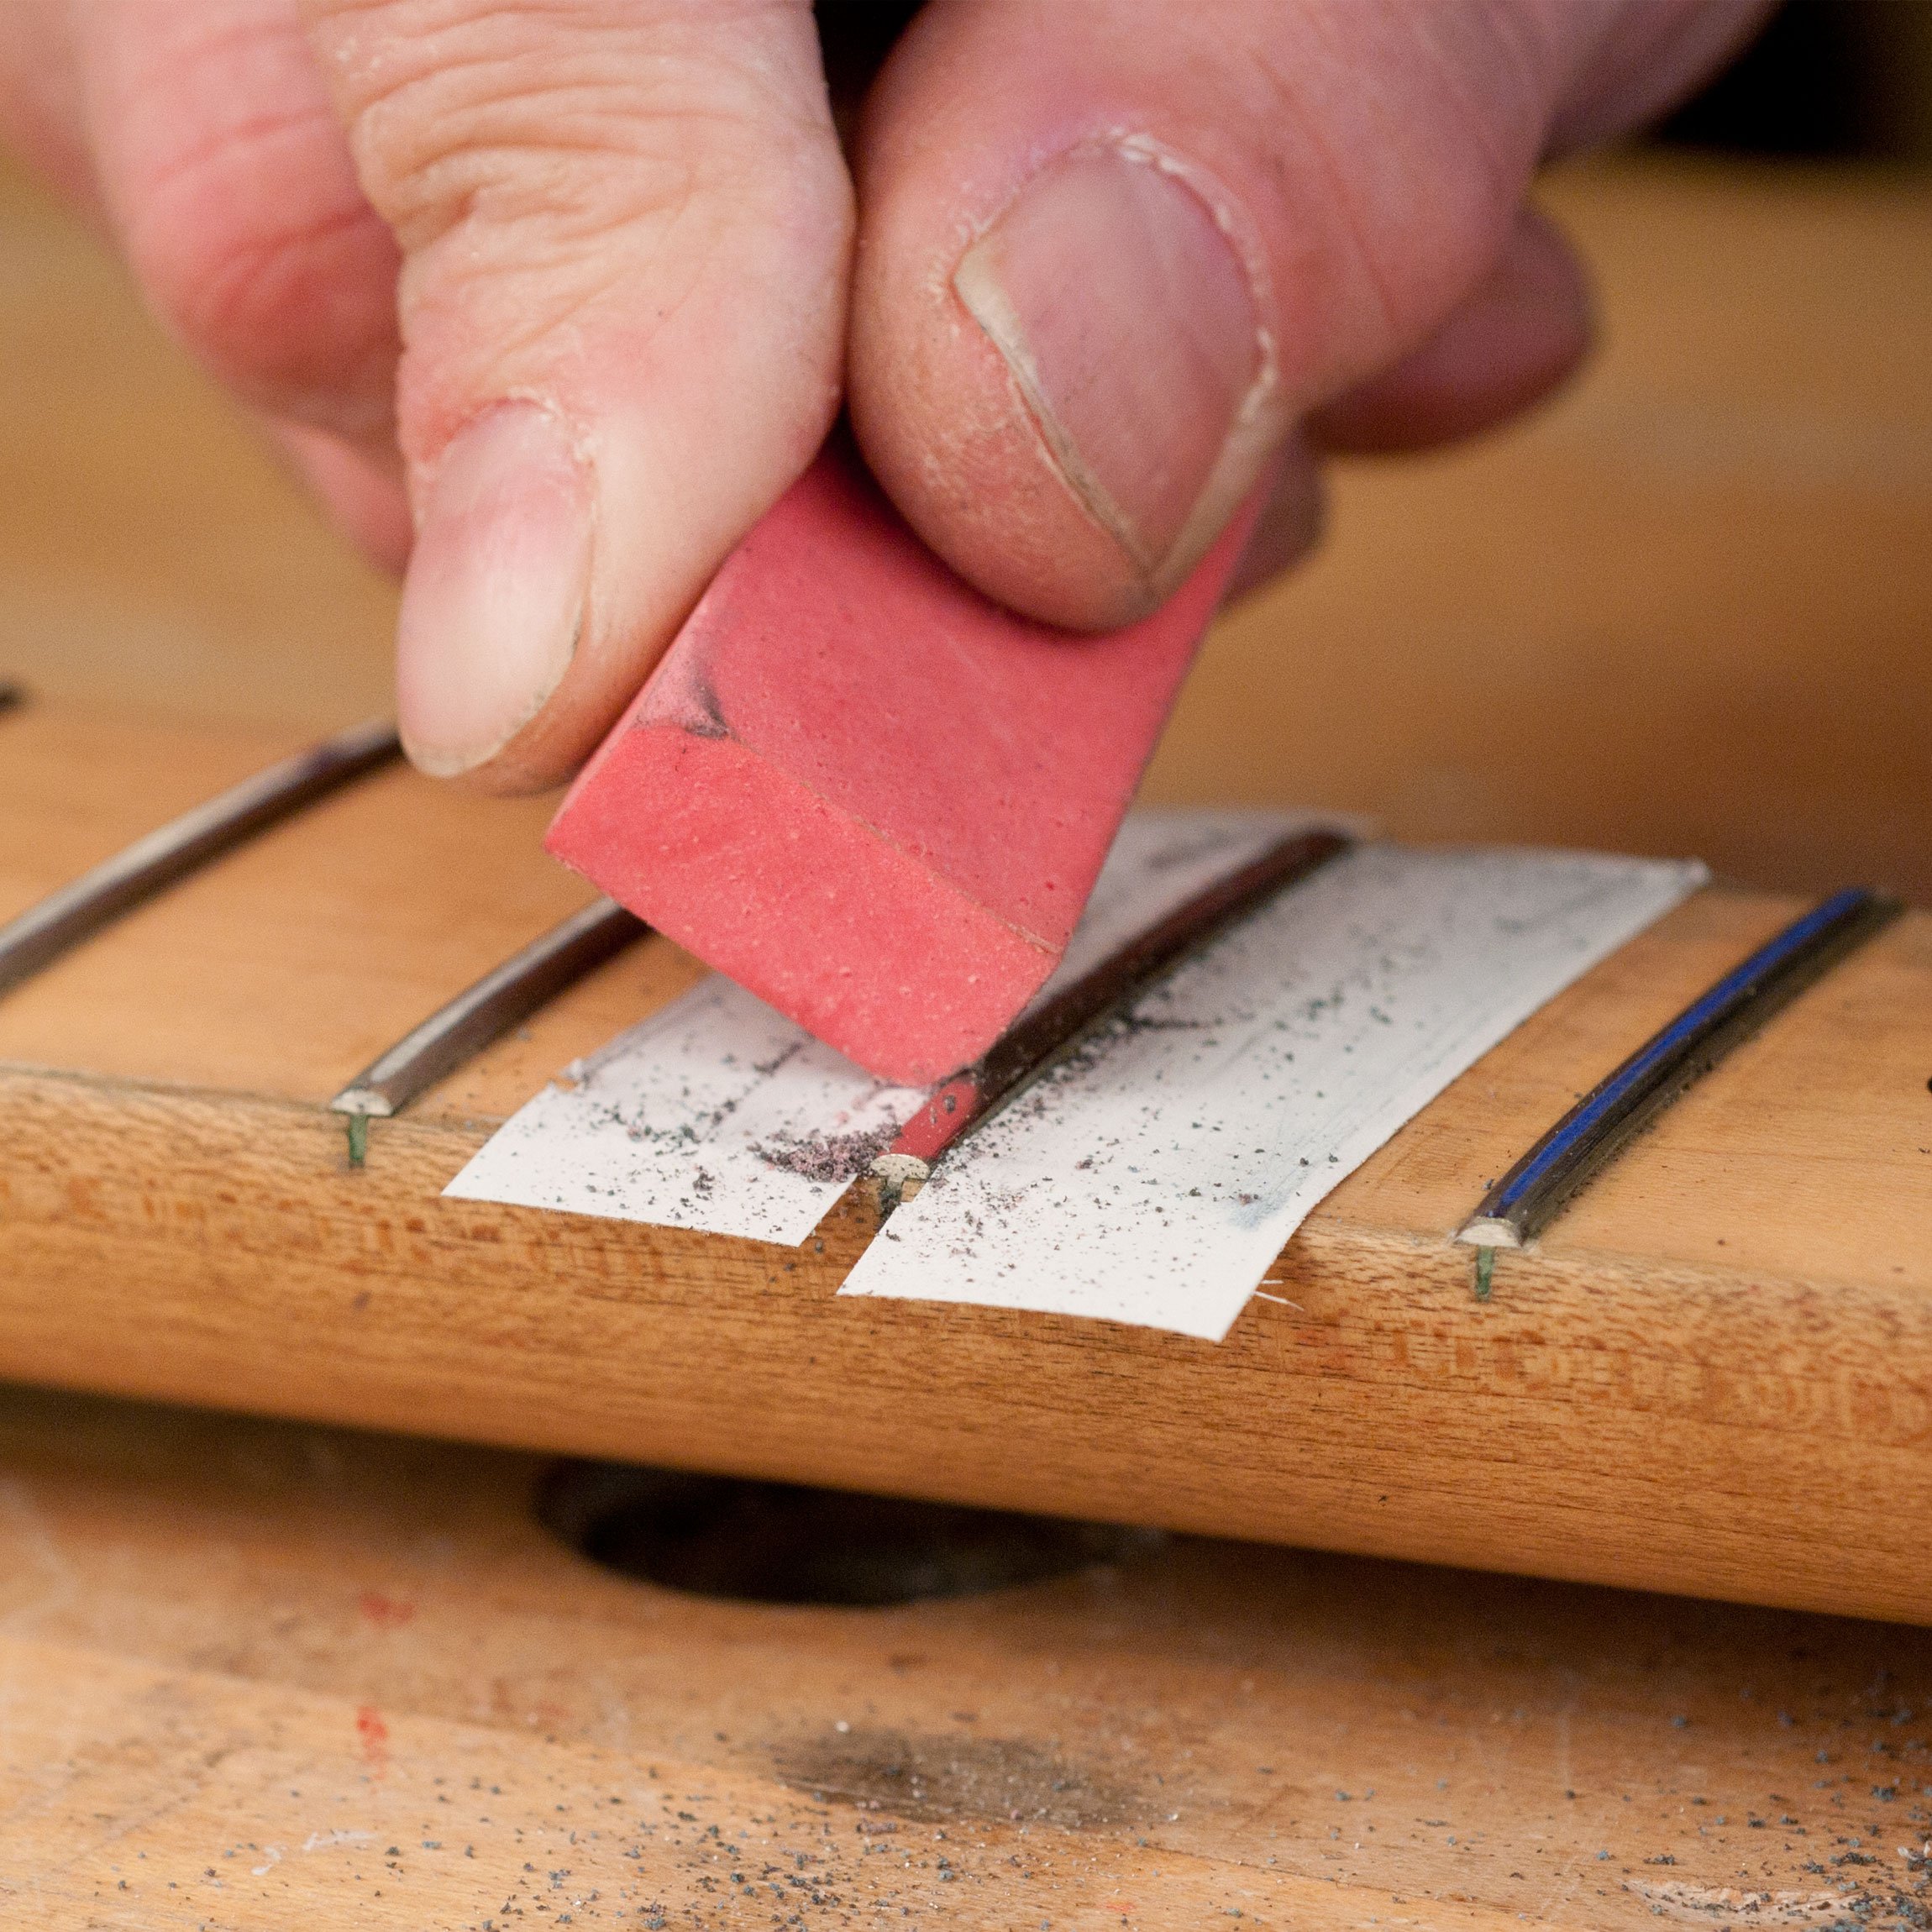
If you are polishing frets on a maple board, you will need to tape off the board to protect the finish. Clean the board first so tape adheres. Make sure to use low tac tape to avoid pulling finish off of the guitar. If you are polishing frets on chippy vintage finish, you may want to just take extra care not to scratch the finish and instead of taping, use a metal fret mask to avoid accidentally pulling finish off. You put tape on a metal fret mask and fold it over to increase its area of protection.
Rosewood or ebony is much more forgiving and you can either tape, or use a metal fret mask. However, try to avoid adding any cross grain scratches to the board.
3. Choose your Polishing Tool
Micro‑Mesh pads, fret erasers, or 3M polishing papers work great. For light tarnish start ~1000–1500 grit; heavier scratches may need 600–800 first. Progress through finer grits (2000+; then Micro‑Mesh to gloss). Wrap the abrasive around a soft backing so it conforms to the crown.
4. Polish Each Fret (Follow the String Path)
Work with light pressure parallel to the strings (up/down the neck) or in small curved strokes that follow the fret’s crown—this avoids flat spots. Wipe between grits. Step through progressively finer abrasives until the frets show uniform sheen transformation from the previous grit.
5. Clean Up and Condition
Vacuum or brush away metal dust, then wipe with a clean cloth. Peel tape carefully away from finish. On unfinished rosewood/ebony, apply a small amount of fretboard oil/conditioner; skip oil on finished maple.
6. Restring, Tune, and Play
Restring, tune to pitch, and test bends and vibrato. Smooth, polished frets reduce friction and make every slide feel faster. Bend away.
Pro Tips: Protect, Maintain, and Polish Like a Pro
Before you start polishing, there are a few smart habits that can save your guitar—and your sanity.
Protect Your Fretboard (Mask Before You Polish)
Polishing frets means working with abrasives, and while your frets can handle it, your fingerboard can’t. Slip on a fretboard guard (steel/brass shield) to localize the work; for full protection, mask with low‑tack painter’s tape. It is always a good idea to further de-tack low tack tape by patting the sticky side against your shirt or pants a few times. Lightly de-tack the tape and press it down on clean wood—extra important on aged nitro or fresh lacquer so you don’t lift finish. Also cover pickups so metal dust doesn’t stick.
How Often Should You Polish Your Frets?
There’s no one-size-fits-all answer here. Play time, sweat chemistry, and string alloy all matter. Inspect at every string change: if frets look oxidized or feel rough on bends, do a light polish. Wiping strings/frets after playing often delays the need. Heavy giggers may touch up every few months; avoid aggressive sanding each time (you’ll shorten fret life).
A Few Things To Avoid
- Steel wool: Polishes well but sheds magnetic fuzz that sticks to pickups and creeps into pots. If you do use it, mask pickups, electronics routes, and use a magnet wrapped in tape or a vacuum to collect filings. Consider synthetic abrasive pads to avoid the mess altogether.
- Aggressive buffing: Great shine, high risk. Too much speed or pressure can groove frets, burn finish, fling compound, or soften glue on refrets. Run low RPM with light pressure to avoid removing excess material or heating up the frets or the fingerboard. Both of which will lead to uneven fret heights and more fret buzz.
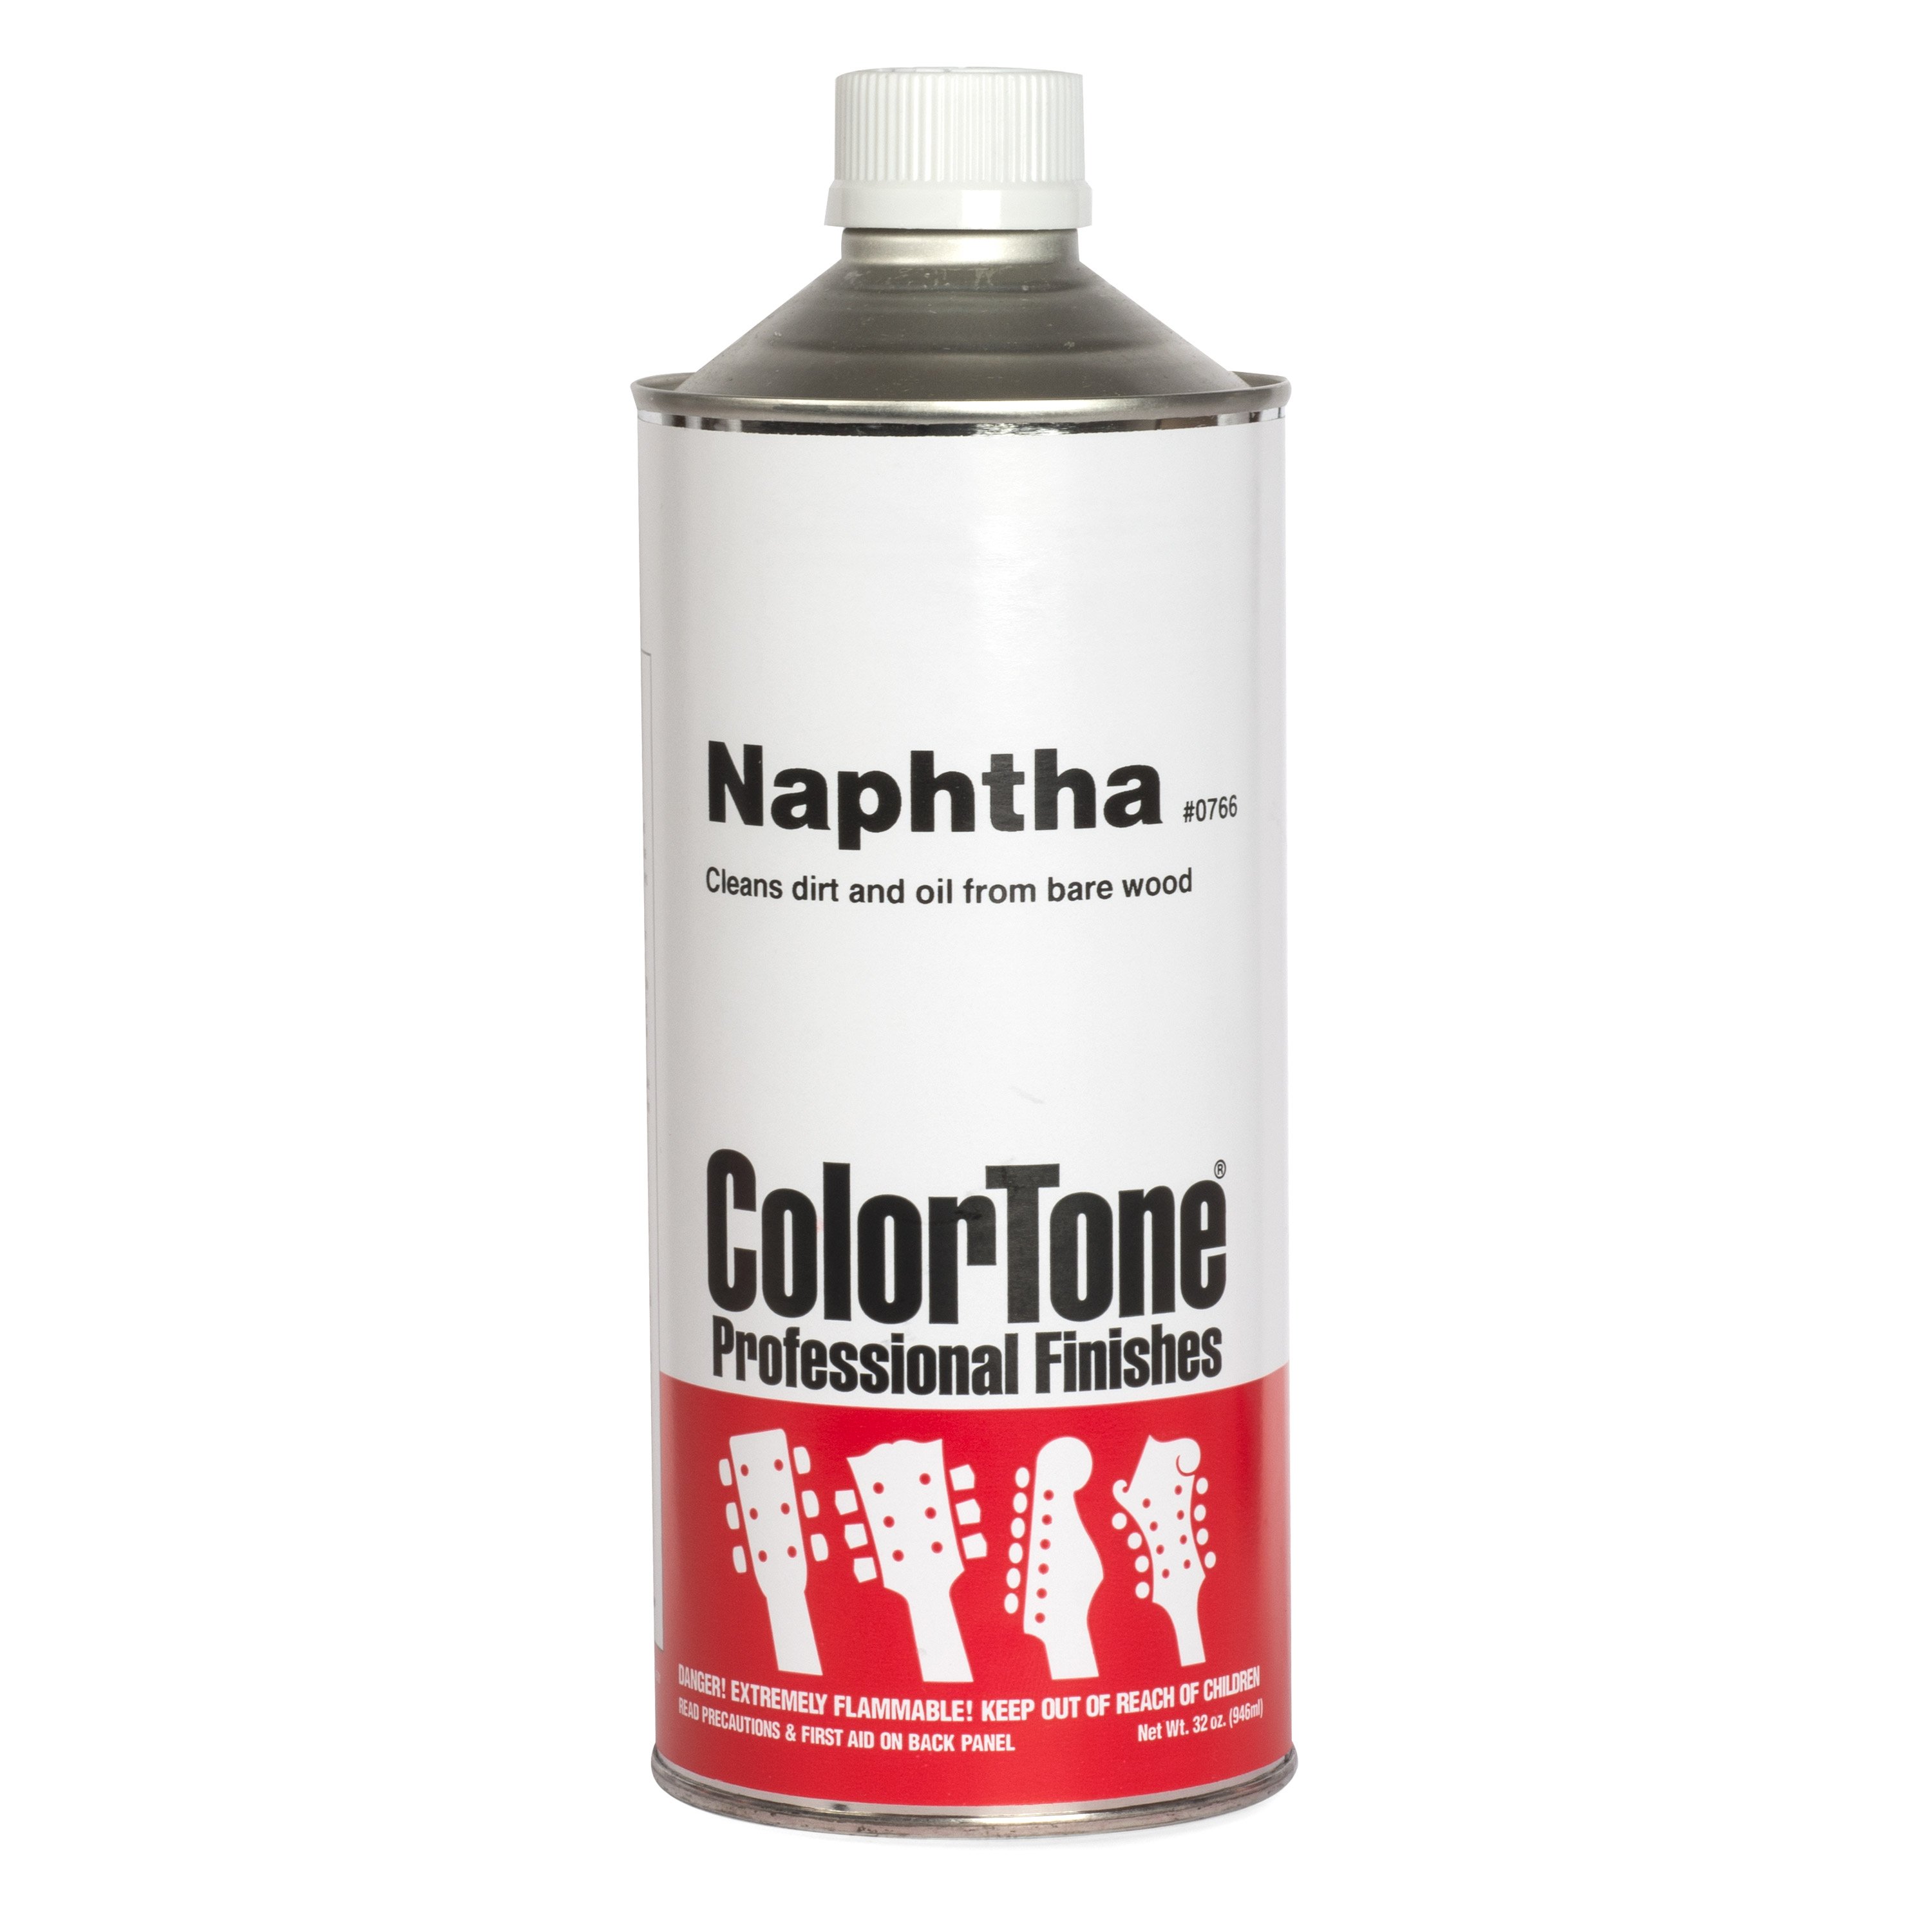
- Clean up carefully: Remove metal dust (vacuum, magnet) before wiping. Use a soft microfiber to buff. For residue, use naphtha (safe on most finishes) sparingly; alcohol can dry unfinished boards and may soften some finishes—use only in tiny, targeted spots. Condition unfinished boards after cleaning.
Little details make a big difference in fret polishing. Take the extra few minutes to prep and protect, and your guitar will thank you every time your fingers hit the strings.
Shine On with StewMac
Polishing your frets isn’t just about looks—it’s about feel, tone, and playability. When your frets are clean and smooth, everything from bends to vibrato just feels better. It’s one of those little upgrades that makes a big difference every time you pick up your guitar.
At StewMac, we’ve spent decades building luthier tools and sharing know-how with players, builders, and techs just like you. Whether you’re using our polishing papers, fingerboard guards, or just learning the ropes, we’re here to help you get pro-level results at your own bench. So roll up your sleeves, give those frets a shine, and let your guitar play as beautifully as it looks.
Video Transcription
StewMac guitar tech Gene Imbody shows two techniques to polish your guitar frets—one simple, and one more advanced. Well-polished frets aren't just about looks; they're crucial for improving your guitar's playability. Follow along and choose your favorite method for bringing pro-level shine and smoother playing experience to your guitar!
Transcript:
[Guitar string scratching against rusty frets. Scream]
Gene Imbody: I am going to need a tetanus shot after I polish these frets. These are like rusty nails. This is an extreme example, but no matter what condition the frets are in, every time I change strings on a guitar, I do one little job that keeps it plain and looking great. I polish the frets. It's probably the most common routine maintenance I do on a guitar. Well, polished frets aren't just about making them look great. It's about making the guitar play as good as the frets look. Dirty, frets, drag, literally. When you're playing on a freshly polished set of frets, you can move across the frets fast. Bends and vibratos are easier, they feel like glass. Fret polishing is a low investment with a high payoff. Today I'm going to show you two different approaches I take to tackle this common job. I kind of look at it like going to the car wash.
Dan Erlewine: Hi buddy. We got the basic or deluxe. Which one do you want?
Gene: I'll show you a basic approach [on-screen text reads: Gene's Fret Wash - Basic, $, 10 minutes]. It's less expensive, fast, but it still leaves your frets very shiny and very smooth. Then I'm going to show you a deluxe approach [on-screen text reads: Gene's Fret Wash - Deluxe, $$, 2 hours]. It's a little more of an investment in time, energy, and money, but when you're done, you're going to have frets with ultimate shine and playability. First, let's cover the basic approach.
The "Basic" Method
This Epiphone Acoustic is a decent entry level guitar. If you run a busy repair shop, these are often what make up your bread and butter jobs that pay the bills. Nothing crazy expensive or high end or vintage, rare, whatever. This kind of customer typically wants good playability at a reasonable price. Time is money, so for us, that means work fast. Before you can polish your frets, you need to clean your board. You'd never wax your car before you run it through the car wash. The best way to loosen up all this grime and dirt and wash it off is to use a solvent, and for most luthiers, that's going to be naphtha.
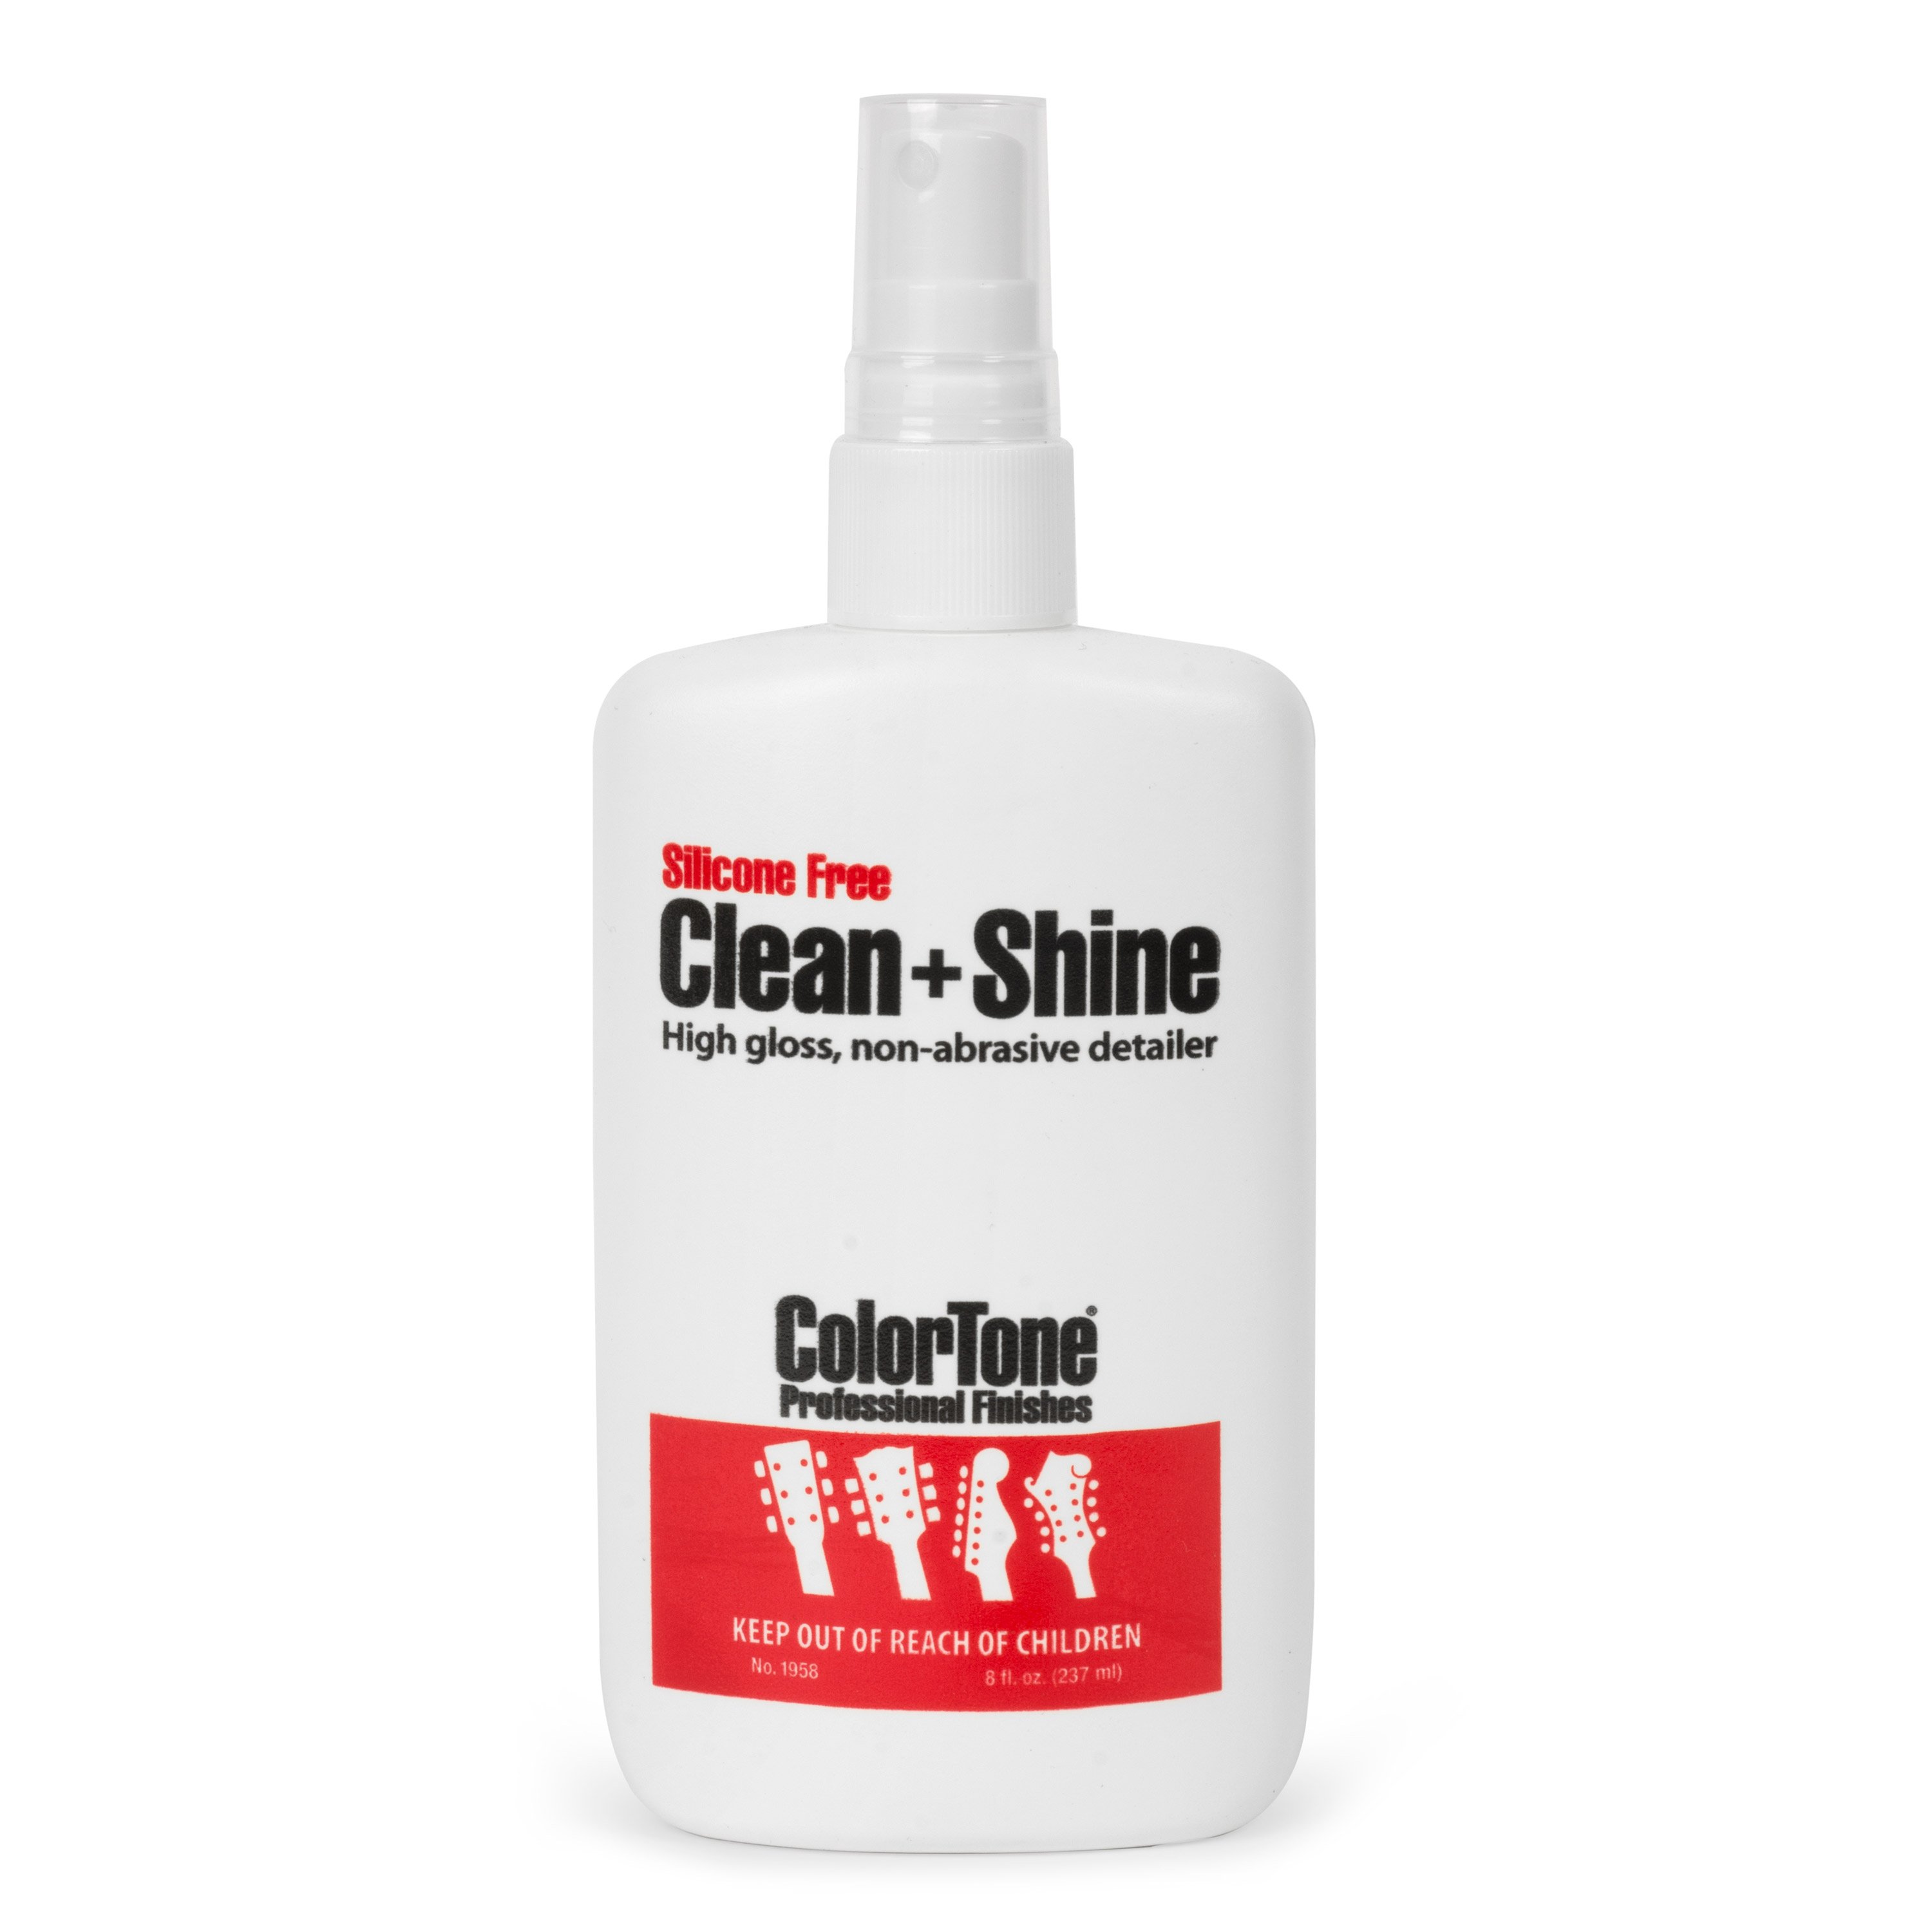
It's safe to use on bare wood, metal, even finish. If you have old adhesive residue or stickers you're trying to remove, this is what you need to get all that residue off of there. Now, if you don't want to invest in what is essentially just a big bottle of lighter fluid, your standard guitar polish that you might already even have is going to work fine for this. Now guitar polish is intended for finish, not necessarily bare wood, but I've done this a million times and I've never had a problem and our Clean and Shine is actually really good for this. It's a great alternative to a big bottle of a nasty chemical. Let's tape off our guitar and cover our soundhole to be safe and then we're going to get started [Gene tapes off the body area near the fretboard and the bottom of the headstock closest to the fretboard]. So I apply this directly to a rag. It's just safe practice to not apply a cleaner directly to your guitar anywhere.
[Gene wipes the rag up and down the fretboard]
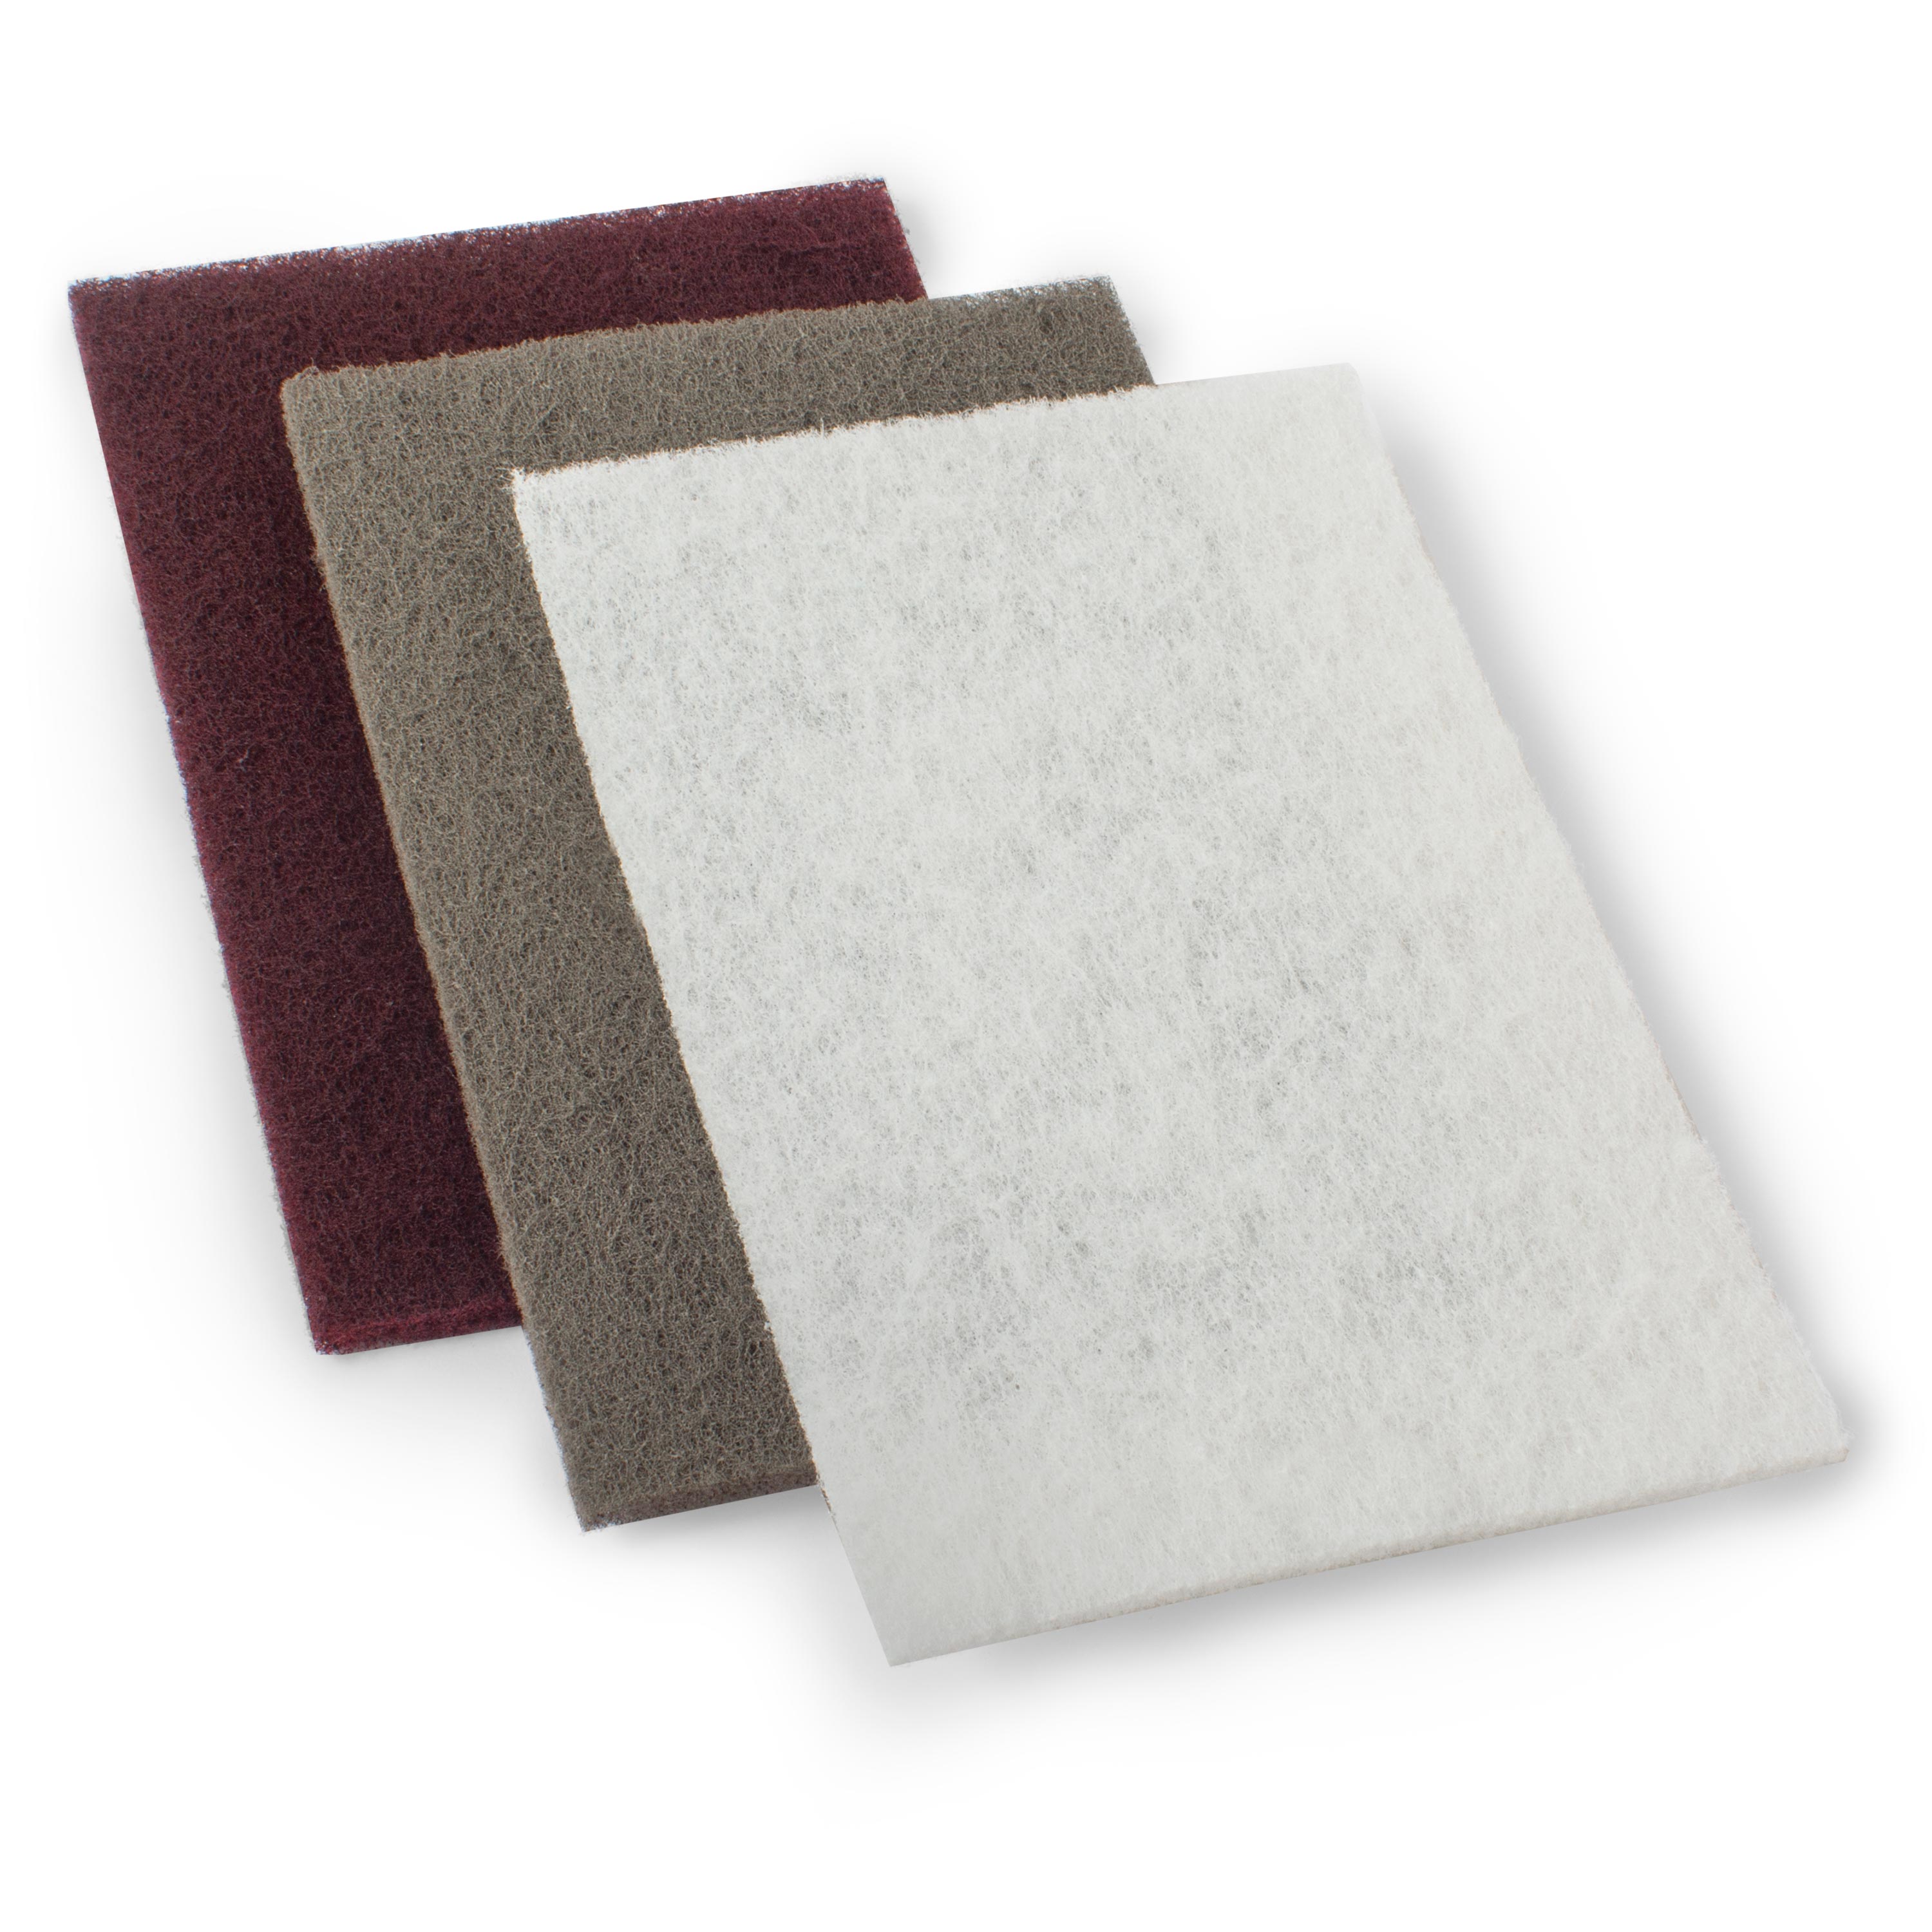
All right, let's just let that set there for a minute or so and prep our Scotch Brite. This is Scotch-Brite. It's essentially like steel wool but a lot less messier. They come in three different grits from the coarsest to the finest, and what I like to do is just take an old pair of scissors and cut these up. These are like a few bucks a piece, and these three pads are going to get you through a lot of polishing jobs. A great thing about the basic approach is there's no real need to tape off this fretboard. We're going to scrub the board and the frets clean all at once, working the entire length of the board. You don't want to do this to a finished maple fretboard. If you have maple, you're going to need to take the time to tape it off and protect it or else you risk damaging the finish.
I would suggest if you go to that extent, just do the deluxe job because we're going to tape off for that anyway. This is perfect for ebony, rosewood, any bare wood. So while this fretboard is still wet with our cleaner, I'm going to take the coarsest grit of Scotch Brite and just scrub all the way up and down the board. I kind of roll over onto the ends too and hit the ends of the frets. Then I wipe off all that dirt and grime with a paper towel and this already looks way better. Then I'll repeat this process without the cleaner. Going through the next two grits of Scotch Brite, hitting all the frets up and down the board, rolling over and hitting the fret ends and these are going to shine up and look clean as we go.
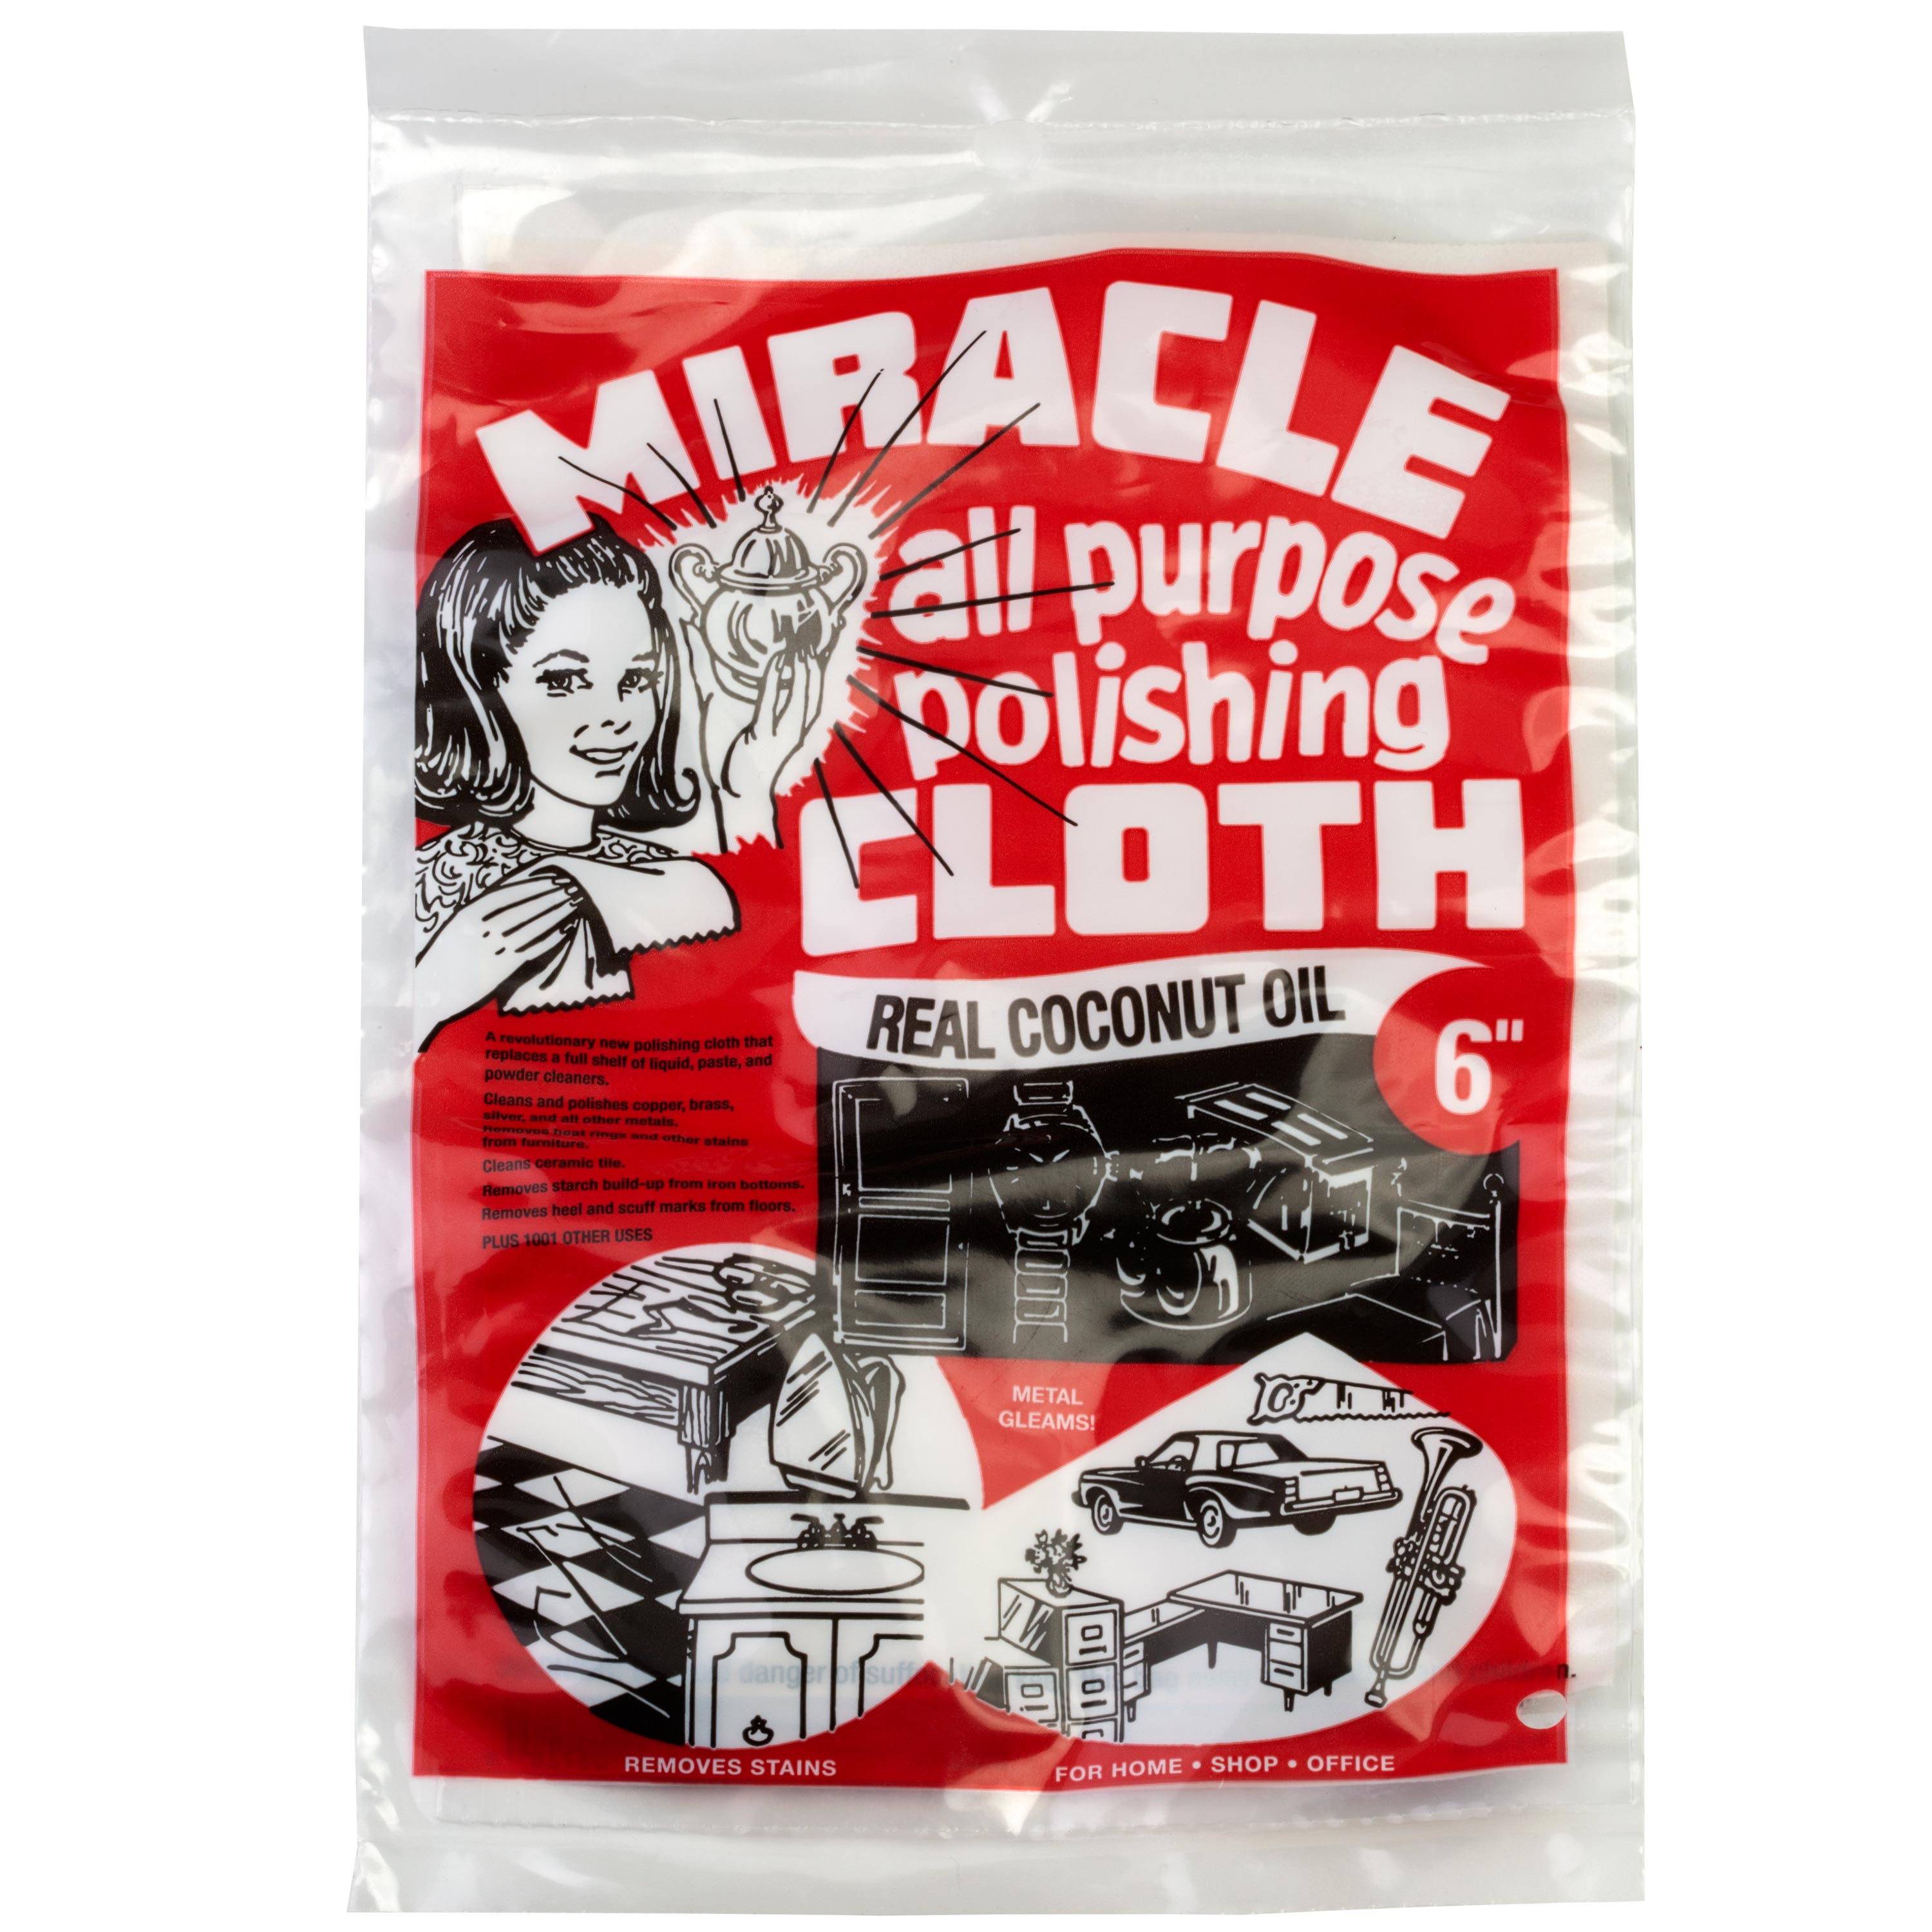
This looks great and it's a huge improvement over where we started. You could stop right here if you wanted to. I like to take it one step further with this stuff. It's called Miracle Polishing Cloth. It's basically a polishing cloth with some cleaner and dry buffing compound and some coconut oil. Besides smelling like a delicious pina colada, it buffs up your frets for a super clean feel and it helps condition the fretboard at the same time. One package lasts a really long time since I can just cut it in the small pieces like I did the Scotch Brite. So if you like pina coladas and getting caught in the rain [Gene laughs], let's use this stuff. Wipe off most of this excess with the clean cloth and just like that, we've taken those corroded frets and made them gorgeous again. There's no dragging bands or vibratos and definitely no tetanus shots.
The "Deluxe" Method
Okay, now let's get into our deluxe fret polish. Sometimes a guitar comes into my shop that's extra special. It's a family heirloom, something rare or vintage. Oftentimes though, it's somebody who does a lot of lead playing and solos and they bend notes and do a lot of vibratos, and that's the case here with this PRS, the owner of this guitar does a lot of lead playing and they want that buttery, smooth glassy feel that you only get when you do a serious fret polish like we're about to do now. Just like the basic approach, we need to start off with a clean board. This one's not nearly as bad, so I'm just going to use a rag on this one. We don't need the Scotch Brite, and I'm going to use some naphtha this time. Always use gloves when you work with naphtha, it's essentially just lighter fluid, like I said, and you don't want it on your skin and just like last time, we're going to let that sit for a minute.
Again, the biggest difference between our deluxe and our basic fret polish is that I'm going to put each one of these frets under the microscope and work them one at a time, going side to side with the bending and vibrato of the string. So take a look at the grain direction of our fretboard here. You can see it's running the same direction. We moved with our basic approach. That's why we could get away without taping off our fretboard, but now that we're moving side to side, if we don't protect the fretboard, we're going to leave scratches going against that grain that's going to stand out. We can do that with a fretboard guard or I prefer just using tape. There are so many options out there for fret polishing supplies while the Scotch Brite had three grits. I'm going to show you some of my favorites that go up to nine different grits. The higher the grit you stop on and the more grits you hit in between, the higher the level of your polish and the smoother it's going to feel when you play on your frets.
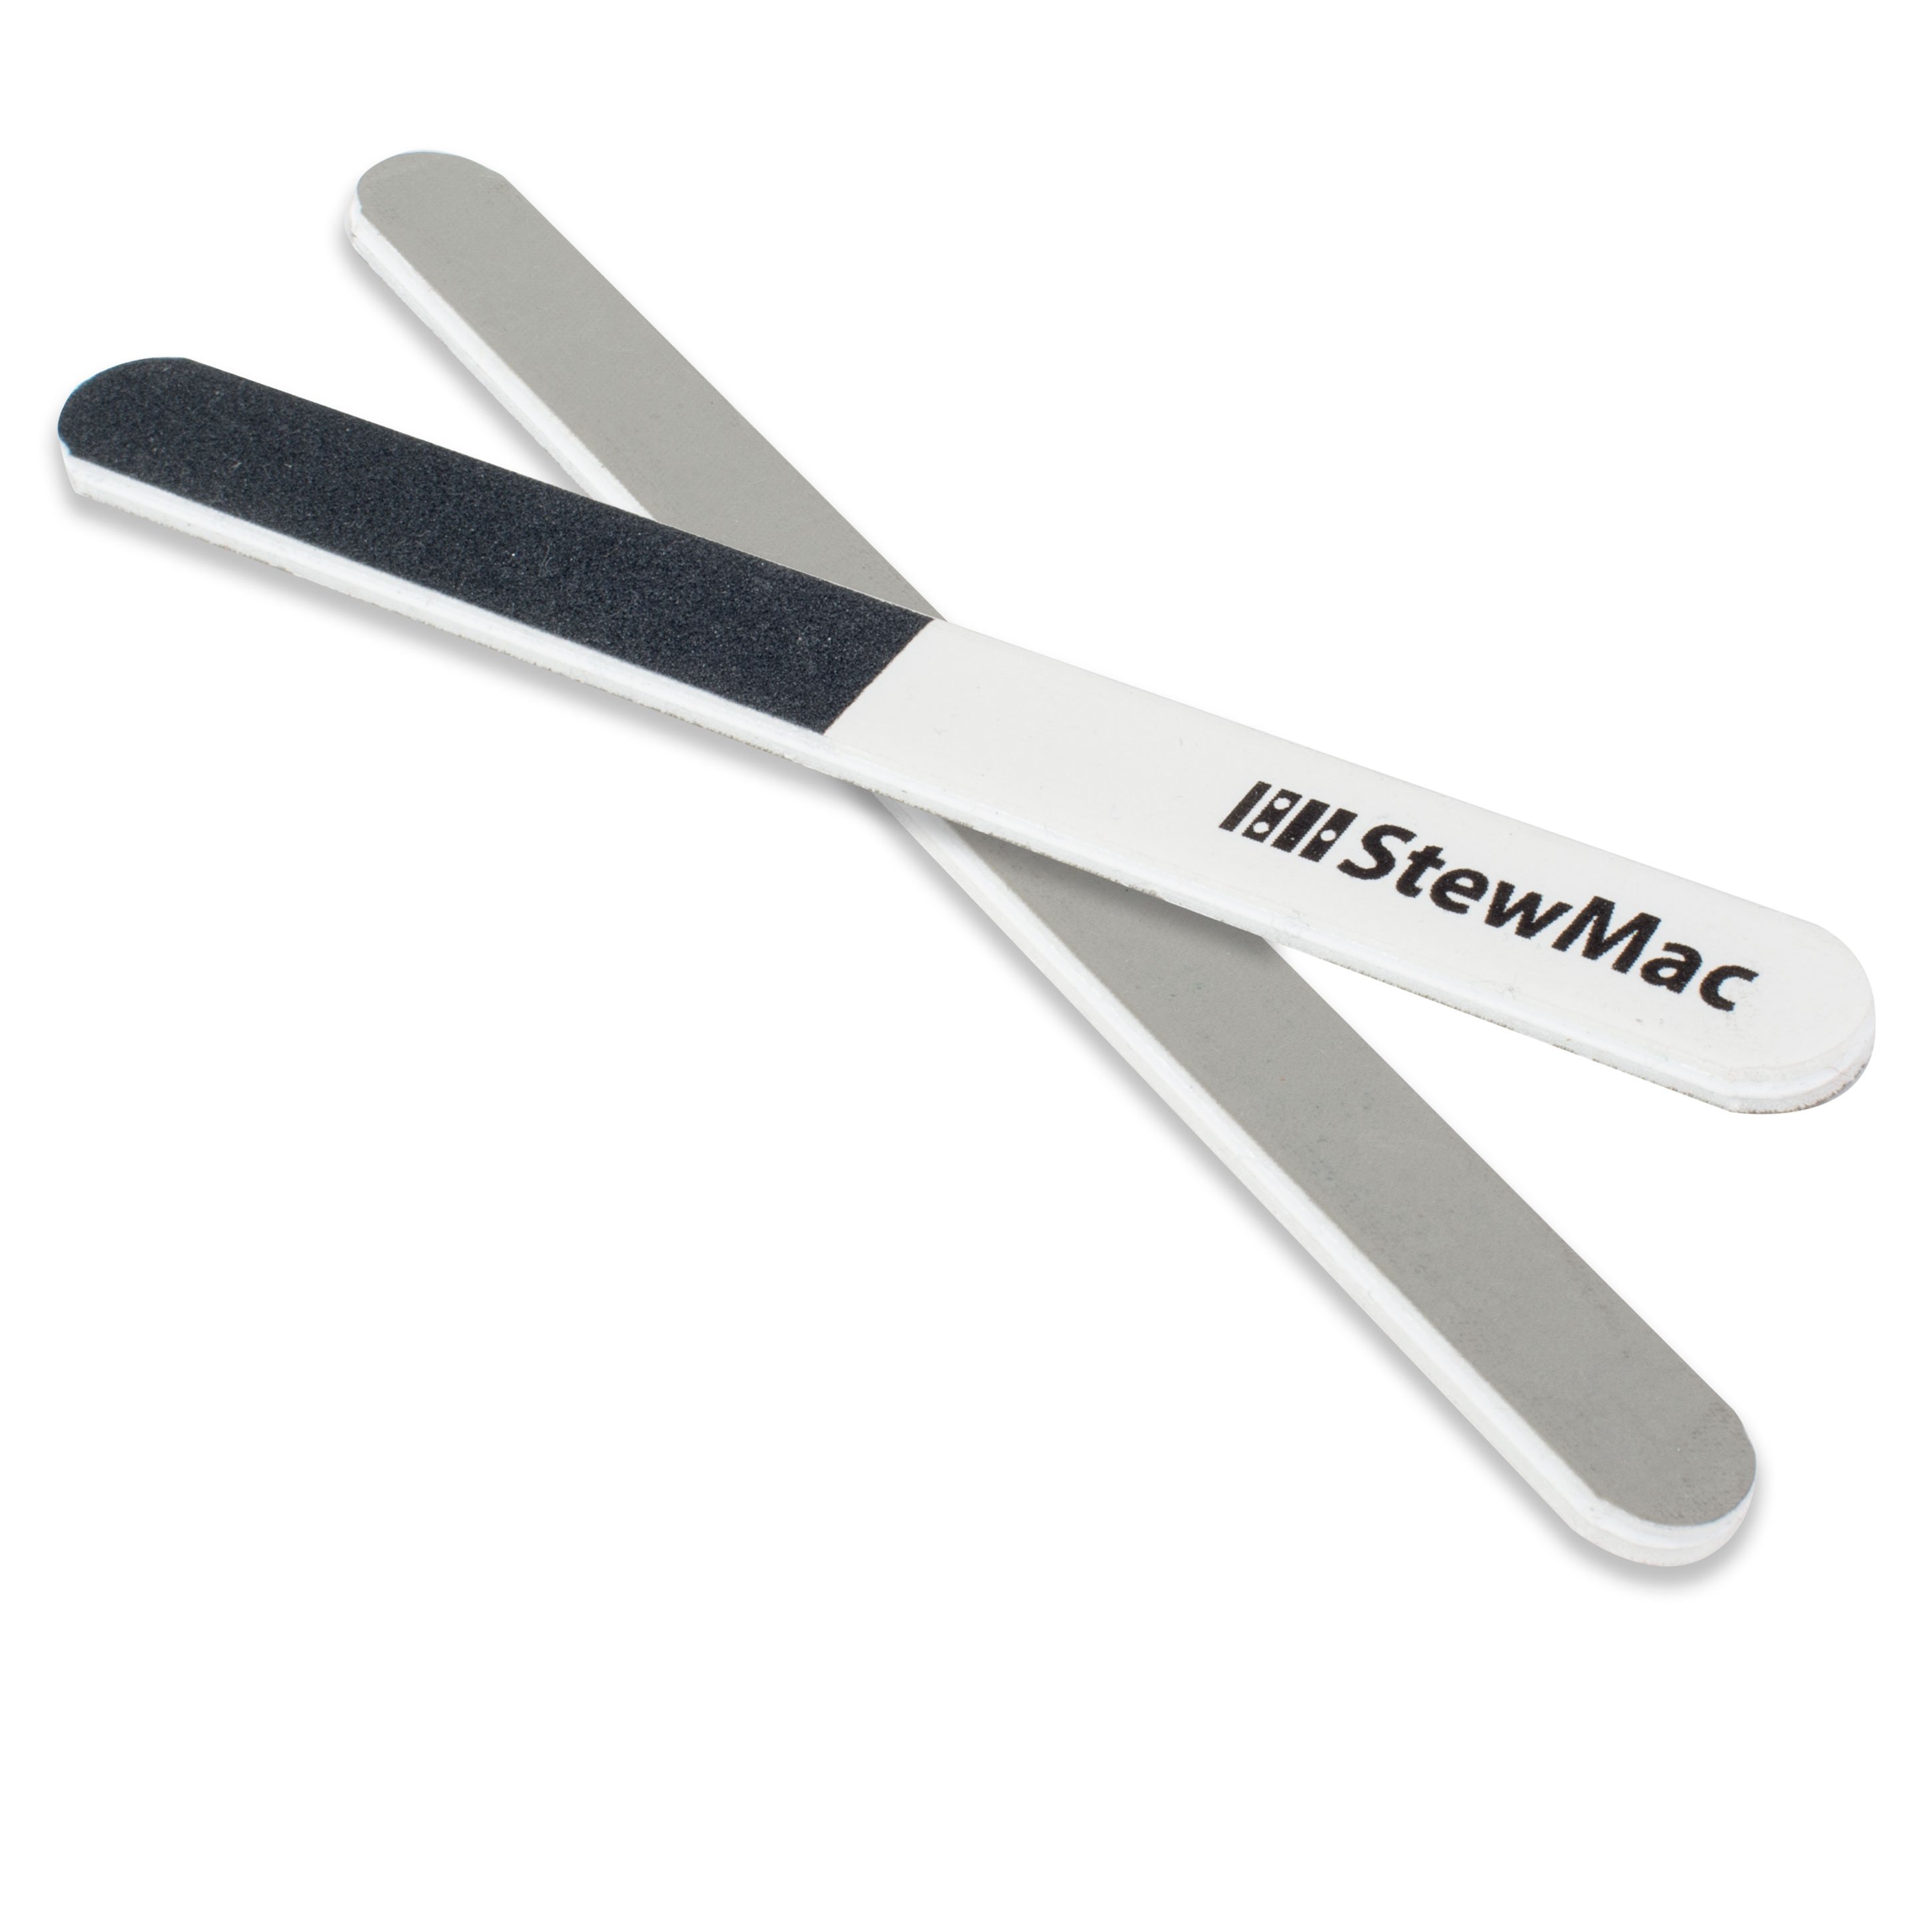
These are Fret Erasers. Basically they're just rubber blocks, color-coded and seven different grits. Super easy to use, very handy. I know a lot of traveling guitar techs that swear by these and a lot of players will keep a set of these in their case pocket. These Micro Mesh dual angle, touch-up sticks are awesome too. They come in a set of four and each stick has two different grits for a total of eight. The angle on them is super handy for getting into the hard-to-reach areas of the fret right where it meets the board. You can even get around the corners on your fret ends really well with these, Micro-Mesh pads are also great. These come in a pack of nine different grits. I love these two-by-two inch ones. They have a foam center that gives you a gentle polish and makes them easy to wrap around the full fret. That generates less friction than ordinary finishing papers and they don't load up as quickly and they last a very long time.
What I'm going to use today is a new product that I think stands out as the best polishing system I've ever used. These are Kovax tolecut polishing sheets. Originally I tried their finish repair sheets. I removed a scratch out of some polyurethane and it just disappeared. I was blown away, so I had to try the fret polishing system and I had the same results. There's six different grits and for frets you can use them with this stainless steel polishing stick. These papers are self-adhesive and you just cut the grit you need and apply one to the groove of the stick. I like to put a different grit on each end to make things go faster. The kit comes with one stick, but if you buy a couple of extras, you can load two grits on each stick and save even more time. All right, let's get started with the 800 grit first. The shape of the stick in this groove really helped to get all the way around the corner, every point of the surface of this fret. So we'll flip the stick over and go to our 1200 grit now.
Now it's worth noting too, we're only polishing here so we don't have to really worry about changing the levelness of our frets. We're not taking off enough material to do that. Switch sticks, 1500 grit And then 2000, last 2, 2500 and finish off at 3000. This looks fantastic. Look at it compared to the one we haven't done next to it's very shiny and very smooth. But just like last time with the Miracle Cloth, I'm going to go one more step and buff these out. Some people use mechanical means of doing that, a Dremel, a machine buffer, they're a little risky to me. I've seen people reshape their frets, overheat their frets. If you slip and hit the board, it's going to create unnecessary work for yourself. So my favorite product for buffing out frets is some Flitz metal polish. You can find this at just about any hardware store. It's inexpensive, readily available. One tube will last you a lifetime. Let me show you how I use it. My favorite way to buff out frets is with a piece of leather. It polishes, but it also burnishes.
Think of like a stone in a river with water running over it for years and years and years and how smooth and shiny that gets. Make sure I get around the edges corners. When you buff, you should feel a little bit of heat, wipe off the excess, check that out. That looks amazing. So that took me a few minutes to do just one fret. That's about the entire amount of time it took us to do the basic polish job from beginning to end. So this is going to take us 24 times longer than the basic job. I better get to work. [Gene works his way down the fretboard polishing all of the remaining frets]. I wipe everything down really good with a clean rag, and then I finish off conditioning the fretboard with some lemon oil. Leave it on for a minute or so and then wipe off the excess and that's it.
Comparing the results
So this took me about two hours, quite a bit more of an investment in time than our basic approach. But look at that world-class shine. It's not just about the shine though, the difference in the feel. This is our basic, this is our deluxe. If I take a guitar pick and run it across the fret on our basic version, not bad, but I can hear that if I do the same thing to our deluxe version, it's dead silent. If you can't hear it, you can't feel it. So there you have it. Two very different approaches to polishing out your frets. You could choose which one suits you best or borrow from both of them and come up with your own way. All the best fretting people I know have their own way of doing this. So get out there and try some different products. Try some different methods. Polish out some frets and we'll see you at the next time.
Dan: My dad started this shop in the 1950s and then I took it over When I got out of high school. When we started, the fret polish was a $1.75. That was for the basic. The deluxe was $2.35. Can you imagine? We have never had a bad customer. Well, when you get your frets polished here, one of the big differences, they ain't got this thing and they don't know how to use it. If it did have it, that's why it comes out so perfectly clean. Even the fretboard will shine. Oh, I better turn it off. Sorry buddy. I've been talking too much.
[laughing]

