How to Install Frets on a Bound Fingerboard
Installing frets on a bound fingerboard has a few extra steps. In this video Erick Coleman refrets his 1970's Gibson Les Paul and shows every step in how to properly prepare the frets for installation onto a bound fingerboard.
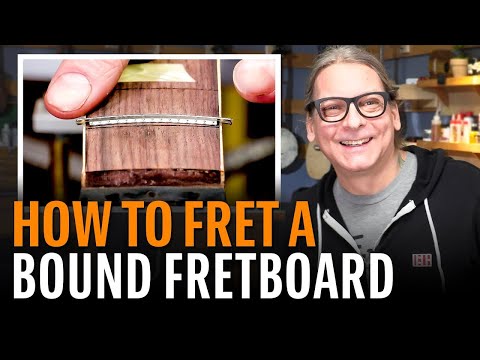
All the details from pulling to leveling
Erick first shows the differences between a bound and unbound board, and what makes the re-fretting process more involved.
Erick also shares a few tips on pulling the frets, cleaning the slots, and how to trim the frets to fit over the binding.
Finally Erick demonstrates gluing the frets in, leveling, crowning, and polishing.
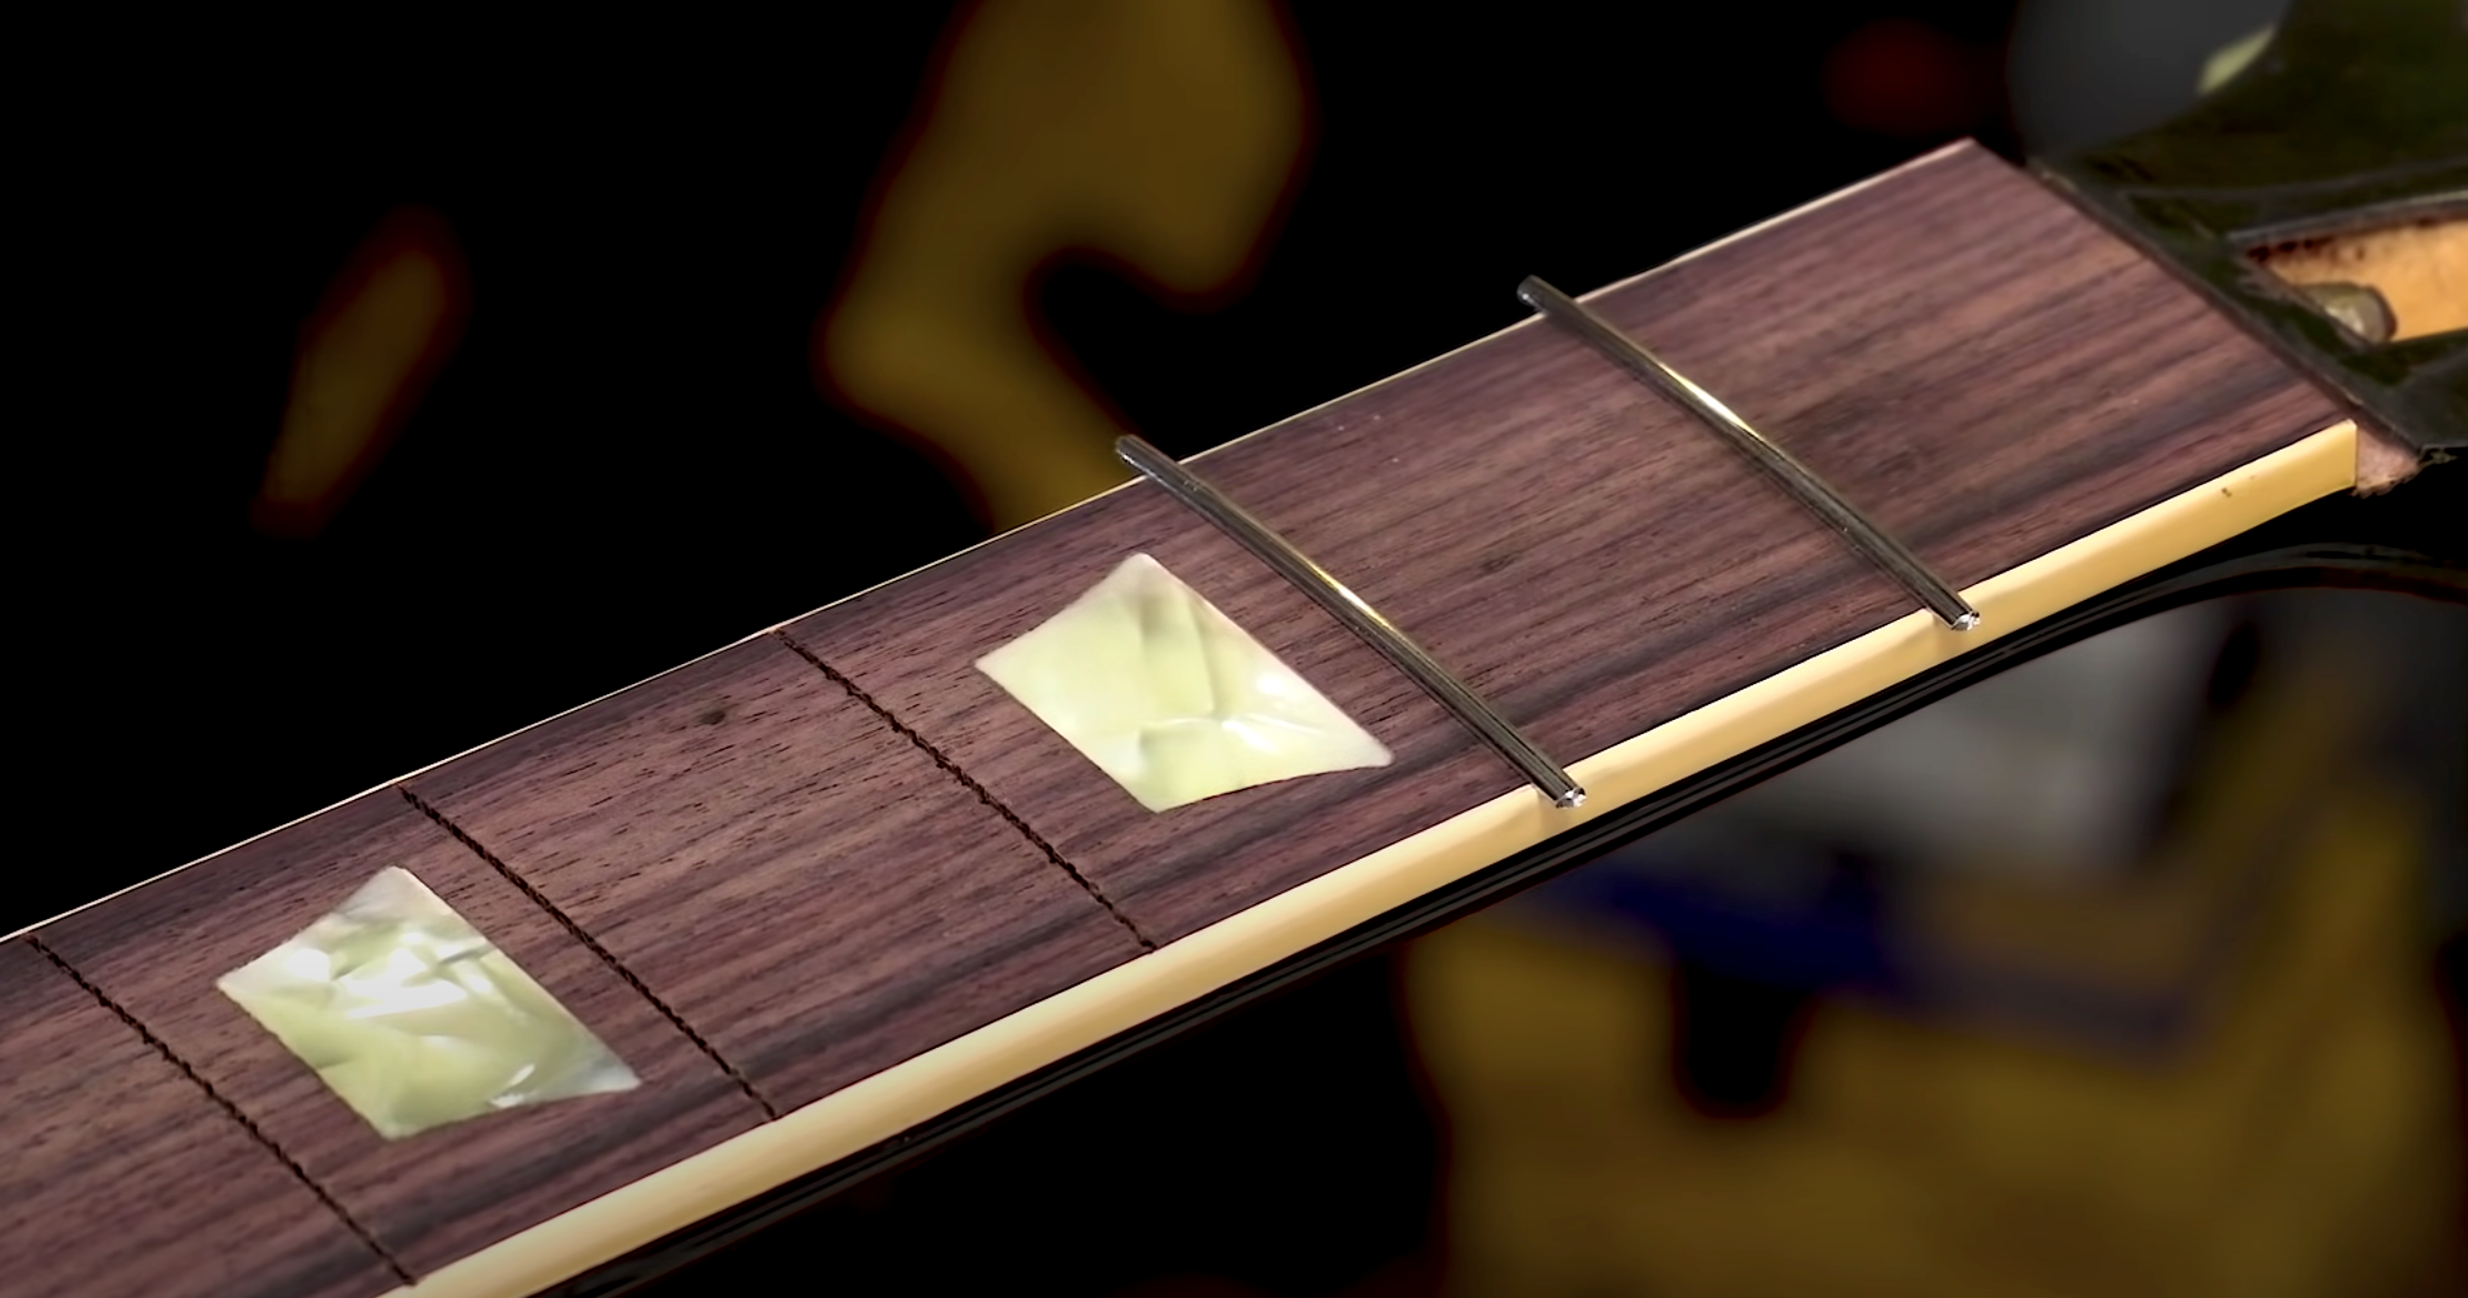
In the video Erick uses our Deluxe Fret Tang Nipper, which makes it easy to cleanly undercut the fret tang to fit over the neck binding. It's an essential tool for this tricky job.

Video Transcription
Introduction
Erick Coleman: I'm refretting this old Les Paul standard today, which has a bound fingerboard. And while binding is usually just a cosmetic appointment, often made of plastic, but sometimes wood or other materials, a lot of players also like the look and the smooth feel of it. Fretting a bound board isn't necessarily any more difficult than fretting one that doesn't have binding. It just takes a little longer because there's more steps in preparation involved in getting the frets ready for installation.
Bound vs. Unbound Fingerboards
When working with an unbound fingerboard, the frets are installed with the crown and tang being trimmed and filed flush with the edge of the board. On a bound board, a small portion of the tang needs to be removed so the fret can seat properly in the slot with the crown overhanging the binding out to the edge. Today, I'm going to show you a few tips on prepping frets for easy installation on a bound fretboard. Follow me.
Removing the Old Frets
The stock frets in this guitar have been leveled and dressed a number of times over the last 40 plus years of making music. They are below 30 thousandths of an inch at this point, which might work for some players, but is usually a bit too low for most of my clients. I use the Fret Heater to get them nice and hot, using care not to melt the binding or start it on fire. Just want to soften up any kind of glue that might be down in there. Ooh, it's getting pretty hot. And carefully work the frets out of their slots. These are coming out very easily with no notable chipping or other problems. Just what I like to see.
You'll notice that with this guitar, as with most all bound neck Gibsons, the binding comes up right over the fret ends here. We call those nibs.
There are a few different ways of dealing with nibs. One way is to go in and very carefully remove the fret, leaving the nibs intact and fret in between them. Another way is to melt some binding scraps and some acetone and then go in and rebuild them, then file them clean. Both of these methods are very time-consuming and something that I usually reserve for Gibsons that are made in the 50s and 60s. On this particular guitar, the nibs are mostly worn off from years of playing. The bindings' rolled over.
So with my fret pullers, I'm just going to cut those guys off. Makes installation go much faster. And my customers, they like the just little bit of added width that fret has for bends and stuff like that. So I've got my sanding block, I've got my protective cover, and I'm going to go ahead and level out these nibs, flush with the fingerboard and the rest of the binding.
Okay, this board is looking really good, but I've noticed something here on the last few frets on the treble side. You'll see that they were a little heavy handed when they were scraping the binding in between the frets in the factory. So I have a couple little dips there, but I'm not worried about it because there's a little platform there that's flush with the fingerboard for the frets to sit on once they're installed.
Cleaning the Fret Slots
So I'm going to stop right there and start cleaning these slots. The idea here is to remove any sawdust or glue chunks or any other debris that might prevent a fret from seating properly in the slot. We have a fret slot cleaner for cleaning out fret slots. Some folks like to use a dremel. I like this Japanese Fret Saw. Works really nice. It's very sharp. One side is the pull stroke, the other side is push stroke.
Get that little point right up to the corner where the binding meets the board and pull it about halfway through. Then I flip it over to the push stroke and then I meet myself halfway from where I just cleaned the floor. When you're scraping, if you're hung up on something, you don't want to just pull it super hard because if you do, you might end up running into that binding on the other side and pulling it off or vice versa, push the binding off the treble side.
On guitars that have really delicate binding, you can take a clamp like this can clamp and you can position it out on the edge of the fret board, just giving a little bit of pressure to the binding there. And that gives you a little backer, a little support just in case you actually do go whacking into that binding with a saw or your fret slot cleaner.
Gives you a little peace of mind, I think. And of course I'll hit this with the vacuum. Get out any other last little remaining pieces of debris.
Check the Depth of the Slots
Okay, the next step is to check the depth of these fret slots to make sure that the tang of the fret will seat properly without any obstruction. I've got a little depth gauge here. I'm going to use the flat edge to check how tall the tang is on the wire I'm using and it comes in just under that second line.
So I at least need to make sure that my slot is as deep as that second line. The board on this Gibson is actually a little steeper than usual. Usually they're around a 12 inch radius. This one's a nine and a half, which isn't unheard of, especially with the older Gibsons. So I have the seven and a quarter and nine and a half side of my depth gauge. Slide it out to the edge, make sure it's all good.
Yeah, these are way deeper than the second line. We're looking good here.
Checking the Fretwire Fit
Now we are going to check the fret slots to make sure they're the proper width to accept the fret tang. StewMac fret wire, which I'm using for this job, recommends a slot width of 23 thousandths of an inch.
I'm going to check these out with a set of feeler gauges just to see where they are sitting. Starting with a 20, that's loose. See, it's a pretty sloppy fit. 22 thousandths, it's better. It's a little bit of slop in there though that I don't like. 24 thousandths, that's a good snug fit. Staying tight, that's nice. One thousandths of an inch bigger than what we recommend, but I think I'm going to be okay. Now I'm going to take a little piece of fret wire that I've dog legged, StewMac size 141, which is the closest that we have to the later 50s big Gibson wire.
I'm going to tap this in with a hammer here just to see how I like the fit. And that looks good. It's perfectly seated all the way across. It's not loose in the slot.
I'm going to go with 24 thousandths and I'm not going to have to modify the slots or the fret wire at all. When you have a fret that doesn't want to seat properly, it's usually because the tang is either too large or too small for the slot. On a tang that's too large, you can use our fret barber.
Just pull it through and reduce the size of the tang by taking the barbs off. Or if the tang is too small, you can use our crimper tool to expand the tang just a little bit to get a better fit.
Radiusing, Trimming, and Sizing the Fretwire
The board is level, slots are clean, and at the proper width and depth, now I just need to prep the frets for installation. So like I mentioned, for this refret, I'm going to use the StewMac 0141 Cryotreated wire.
Before bending the wire, I'm going to degrease it. The manufacturing process involves a lot of oil and so this stuff comes out of the machines pretty dirty. So you can use something like naptha or acetone, something that's not going to leave an oily film or anything. It's customary to over bend your wire before installation. That helps keep the ends down. But when you're working with a bound fingerboard, you want to use care not to take it too far. And I'll explain that later, but now I'm going to bend this wire to match the fret board and I'll show you what I'm doing.
It might take you a few times. Start shallow, start really shallow. That way you don't over bend too far right out of the gate. If you work up to it, sneak up to it a little bit, you'll have a better luck getting the radius just exactly where you want it.
I've already been messing with this tool, so it's already set up. Okay, this looks like what I need. Let's go back and put it on the guitar and see what we think.
I'm looking for a very slight gap at the center here between the bottom of the tang and the top of the fingerboard, but I want it to be tight on the ends. That looks good to me. We are ready to cut our frets now. I like to use the barbs as a reference point, space of about one set of barbs in between there, cut it off and just work my way down the board.
Cutting and Filing the Tangs
My frets are all cut to length. Now I just need to remove the tangs on them so they fit properly down into the fret slots. Back in the olden days, what guys liked to do was peel binding off a fingerboard, refret the fingerboard, and then glue the binding back on, which is not only incredibly expensive, but very time-consuming. Luckily, some smart luthiers came up with a tool called the tang nipper, and it has evolved a number of times over the years into our latest version.
These tang nippers cut very clean and they come with two different anvils that cover four different crown profiles, narrow, medium, wide, and jumbo. They work for the smallest wires all the way up to huge wire like our 150 or the Dunlop 6100. They won't undercut the crown and they won't mangle the tang or bend the end. And they do work on stainless steel, but when I'm using them with that wire, I just take smaller bites than I would with nickel silver because it's easier on my hands.
We really dig these things. They work fantastic and people are going crazy for them. Let's put these things to use.
When cutting the tang, it's important to leave just a little bit of space on both ends. So using the barbs again as a reference point, cut about a 32nd of an inch in from the edge of the binding. On the base side here, that'll be about halfway between those two barbs. Before we make our cut, let's talk about using these a little bit. I mentioned it comes with two different anvils that cover four different fret crown profiles.
When choosing an anvil, the important thing to look out for is the fit of the crown on the anvil itself. You want it to be laying flat perfectly right here, but without being either the crown being too small and being kicked up this way or the crown being too big and kicked up that way, you want to see it nice and flat.
On the 141, I'm going to use number three. There's a little length stop here that you can use if you'd like to, but personally, I like to chip away at it and take little nibbles until I get the length that I want. There you go. There's my cut. No undercutting of the fret. You can see it there.
So now I'm going to set this trimmed edge in about a 32nd of an inch from the binding, and I'm going to look at the other one and I'm going to do, oh, not quite halfway in between the two barbs. Now we've got our first prep fret. Remember, it's slightly overbent with a little space on the edges to make sure we don't push the binding off when we're seeding the fret. On the flip side of that, if I went with a big overbend and I trim these frets out to the edge of the binding right there, I would have problems when I press the fret in because it would relax and then push that binding right off and cause me real problems.
So no matter what tang nipper you're going to use, there's always going to be a little bit of excess tang that needs to be removed right along here. It's kind of rounded. It's hard to see, but it's a little bit rounded. That's an intentional feature because you don't want something that cuts so flush that any slight variation in tolerance causes you to undercut that crown. Once you do that, you might as well just throw it in the garbage because it's not going to sit flat.
So what we like to do is get on the underside of the fret with a file and remove that little bit of excess so it sits nice and flat on the binding. I've used this little diamond file a lot. This one's great for doing Fender frets. This is our 1175 fret end file. That works really, really nice. And a lot of the guys that I work with like the fine side of our nut shaping file. That's what I'm going to use today. I'm also going to need something to hold or support the frets while I'm filing.
I've seen a variety of things used over the years. I like a piece of leather that works really well. Another thing that works really well is just a block of wood with a little bit of a groove filed in it. I have different slice grooves on either side. You can put that into a vice, catch your wire, start working that off. The idea is to support that. You don't want to bend it the opposite direction of the radius of the fingerboard.
Another cool tool that I roughed out recently for this very purpose is this guy. It's just a little block of wood. It's got a groove in it for the crown and a little slot for the tang, and the fret just feeds right into this guy, holds it in position, then I can get in there with my file and carefully remove what's left of the tang.
Now I like to get right over the top looking down because I can really see what I'm taking off. You want to go slow, you want to stay right on that tang that you're removing. You don't want to go in like this or like that and reshape the edges of that crown, otherwise it's not going to look very good when it's seated. You'll see where it starts widening out a little bit. That's when I'm going to stop.
It looks really good. I did hit the underside of the crown right over there, but that's going to be cut off anyway, so I'm not too freaked out about it. That'll go in well.
Installing and Gluing the Frets
My frets are prepped. They're all ready to go and looking good. Now let's get to the fun part- putting them in. If you're going to use a water soluble glue or thicker super glue, now's the time to put that in the slot.
I'm going to use number 10, the thin stuff, and I'm going to run it underneath the frets after they're installed. I'm going to try fit here. I'm going to come in with my deadblow hammer and I'm just going to tap these ends down just a hair to keep the fret in place. I'm going to use Jaws to install these frets, get them adjusted out, and then I'm going to squeeze this guy in here. Nice. I'm going to get the second one, a couple little light taps to keep it upright, keep my jaws on here. Yeah, these are going in really nice. Okay.
What I'm looking for is the fret to be seated in the center and then also on the ends all the way across. You want good contact on the board and then you want good contact in the binding, and I'm seeing that. Sometimes people like to go in with a hammer and give these just a little whack on the ends just to bend them over a little bit. That works great. These are looking perfect to me, so I'm not going to take that extra step at this time.
Every few frets, before you run the glue in, check your leveling and make any necessary adjustments. That's what I want to be seeing looking good. All right, I'm going to glue these in as I go. So I just ran glue into my first one. I'm going to wax off the area around the fret. You want to have the wax on there because any super glue excess that kind of floods out makes it easier to get it off.
You don't want to gob it on either because you don't want to seal up that little space between the fingerboard and the bottom of the crown that the glue's creeping in on. So don't go crazy with it. You can use a paste wax as kind of a traditional thing. Lately I've been using the bore oil mixture because it wants to come up easier. They have paste wax in the studio here, so I'm using it.
Wipe up the excess and then when I'm running the glue, I do the number 10 and I usually just run it into one side. If you look closely, you can see that glue comes out and goes right under that fret. One of the things I really like about fretting a guitar with a bound finger board is there's no real risk of the glue running out of the slot and around the back of the neck, which occasionally happens sometimes.
The binding makes for a little trough that kind of holds the glue in place while you're putting it in. Okay, I'm going to wipe up any of the excess glue that I can here. And at the end of the job, I'll come in with a little razor blade or a scraper or something and clean it up really good, get rid of the wax look and any other little excess glue there. And then I'm going to come in with our accelerator and just paint a little line there.
You can see it come out at both ends, cure that right up. And before I run any glue underneath my third fret, I'm going to check, make sure that things are level. My third fret is level with the fourth, looking good. It's routine at this point.
You see, I'm working in the neck jig here and so I'm constantly moving around my gauges and my support rods in order to give me clearance to work the Jaws tool in there.
Okay, so this is the last fret that I'm going to be able to hit with the Jaws because of the heel here. So I'm going to drive this one in and then I'm going to switch and do the extension with the fretting hammer. It's always a good idea to put a little padding between your supports and the neck just to prevent any kind of possible damage in there. So this is possible to put a little divot in the back of the neck of the guitar with the support post when you're jamming on it with a hammer. I'm just using a little bit of packing paper and that'll be sufficient.
All right, frets are installed. It's kind of an ugly looking job right now. That's what happens when you use a super glue and accelerator on a fretboard, but it's going to clean up beautifully when it's all done.
Leveling and Trimming
Now I'll go ahead and level these frets out with a Fretbar. Frets are leveled flat on top.
The next step is to trim these ends off. So first I take my cutter right to the fretboard and then I back it off just a little bit. Sometimes if you cut it with it flush to the board, it wants to pull on the fret a little bit, so give it a little bit of room.
Filing and Beveling the Fret Ends
Okay, they're trimmed, but they're also very sharp. So now I got to bring them in and then put a bevel on it. So I'm going to use the snapfile for that and I'm using the fret leveling insert at first just to get them close and then I'm going to switch to the fine beveling file. So I kind of just start working it.
You got to be careful because that file wants to catch those sharp points and it's easy to skip that guy up on the fingerboard and you're going to give yourself some real problems if that happens.
I'm going to remove this because I keep catching this. I'm just going to put some protective tape down instead. You see it mostly straight up and down, not quite, but I'm not putting a hairy angle on the bevel yet. Okay. They're close to the edge now, but not quite touching.
So I'm going to switch the insert out to the beveling file, then hit up the other side. All right, these frets are all beveled now. The process of beveling isn't pretty, but I think they came out looking really nice.
Crowning, End Dressing, and Polishing
From this point on, it's a regular fret job, and since we have lots of videos dedicated to the subject, I'm not going to get way into the nitty-gritty details. The tops got flattened out when we did the leveling and now we have to just kind of reround them a little bit. So I'm going to blue these tops and then we're going to crown some frets.
I'm using the Z-file for the job. It is my favorite crowning file for newly installed frets, and it's going to make really fast work of this. The idea here is to re-round them and give yourself just the thinnest strip running down the center. Dan likes to call that "the land". The blue marker helps you see the material that you're removing from the fret, gives you a nice narrow strip of land that is even across the length of the fret.
The next step is to dress the ends. They're razor sharp from the beveling process and now it's time to smooth them out. I'm using the fret end dressing file, the rounded edge to the board. That's what I want to see. Now I'm going to polish these guys out. Nothing fancy. I'm just going to use the 3M polishing papers and a micro mesh foam pad that I've cut down and rounded the edges on them.
Make sure you tape your instrument off so you don't go scratching it. Make sure you get out on the ends. Okay, I think I'm done here. I'm going to peel the tape, clean up the board, make a new bone nut, and this guitar is going to be ready to rock for another 40 years. Subscribe to our YouTube channel so we can keep these how-to videos coming your way.


