Fix Sharp Fret Ends Like a Pro
Whether you're a seasoned player or just starting out, pesky sharp fret ends can be a real buzzkill. Join Gene as he guides you through essential tips on smoothing out those edges and getting your fretboard feeling fantastic.
Tools + Supplies Featured
Gene Imbody
StewMac Guitar Tech
Video Transcription
Gene Imbody: Brrrrrr. It's getting cold outside. You know what that means? Get cozy by the fire and playing my favorite guitar [high pitched scream]. Not again! Sharp fret ends. Little help here, can I get a bandaid [on-screen text reads: Please stand by]? You yourself may be a victim of razor sharp fret ends. They can happen on any guitar, cheaper, expensive, new or used. You'll often find it happening during seasonal changes. That's because the wood expands and contracts based on humidity levels. As winter approaches, the air gets drier and makes the wood of your guitar shrink just a little bit. Metal doesn't shrink, so suddenly, you've got sharp fret ends sprouting from the edges of your fingerboard. Today, I'm going to show you how to fix that, plus I'm going to tell you how to prevent it in the first place. So next time you feel some sharp fret ends, you're going to reach for the toolkit instead of the first aid kit.
[Gene takes a bite out of a cookie] It's pretty good.
Three-step process for smoothing sharp fret ends
On the bench today, we have a brand new Recording King Dreadnought. These run for about $200 or so. I love these guitars. I always say, if you have about $500 to spend on a brand new guitar, get two Recording Kings. This is the perfect example to talk about sharp fret ends because you often find them on newer guitars, especially new guitars in this price range. Once wood has stabilized and gone through a few dry back periods and aged a little bit, it tends to be more stable in humidity. I'm going to let you in on a little secret, I wasn't actually bleeding in the beginning of the video, but I have definitely felt pain from sharp fret ends. They will cut you. Check this out, I'm going to take this dowel and run it along the sides of these sharp ends.
Look at that. Look what it did to my dowel. Imagine if that was your hand. It's definitely going to draw some blood. So anytime a job like this comes into my shop, which is quite often, especially this time of year, as winter sets in, I follow a three-step process, file, dress, and polish. So I'm going to walk you through the process but you're going to want to stick around until the end because I'm going to give you my trade secret for how I get really clean, professional looking fret ends.
Step 1: Filing and beveling fret ends
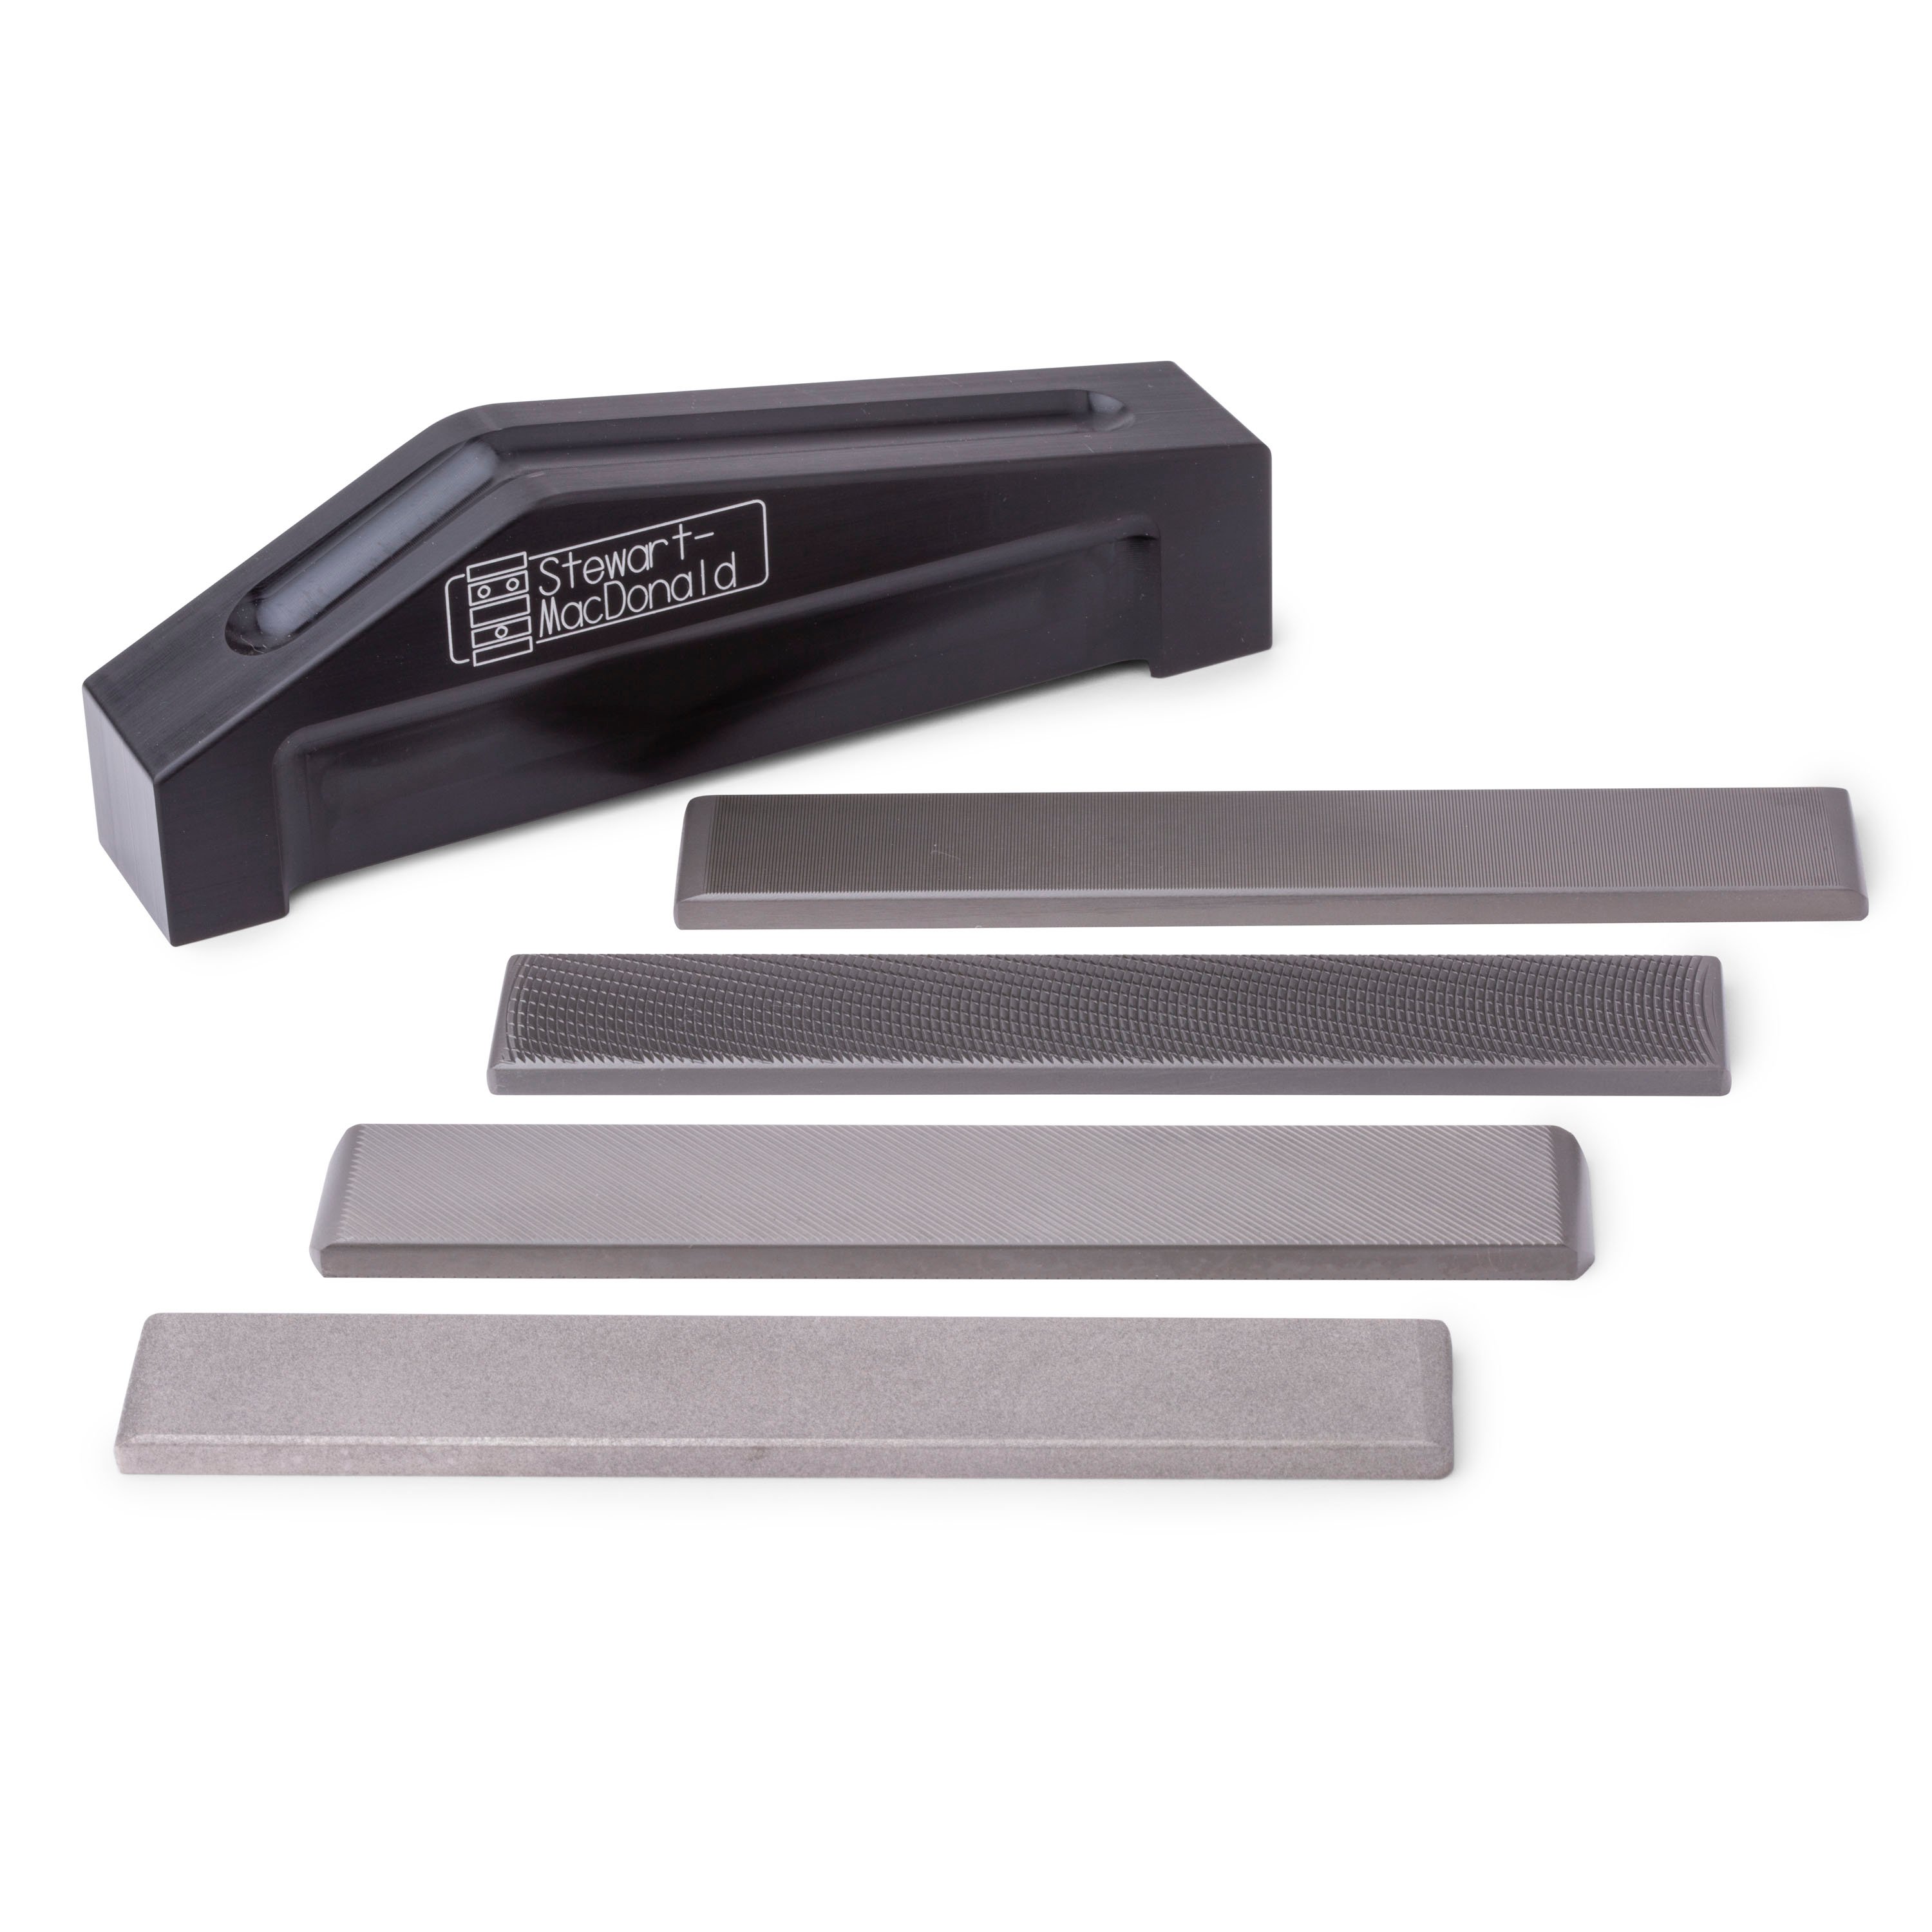
Our first job here is to bring these proud fret ends flush to the edges of the board with a flat file. Now, the type of file you use for this is critical. What you want is a smooth cut mill file, like we have over here. See these tightly spaced parallel teeth? They act like tiny little razors shaving off whiskers that stick above the surface.
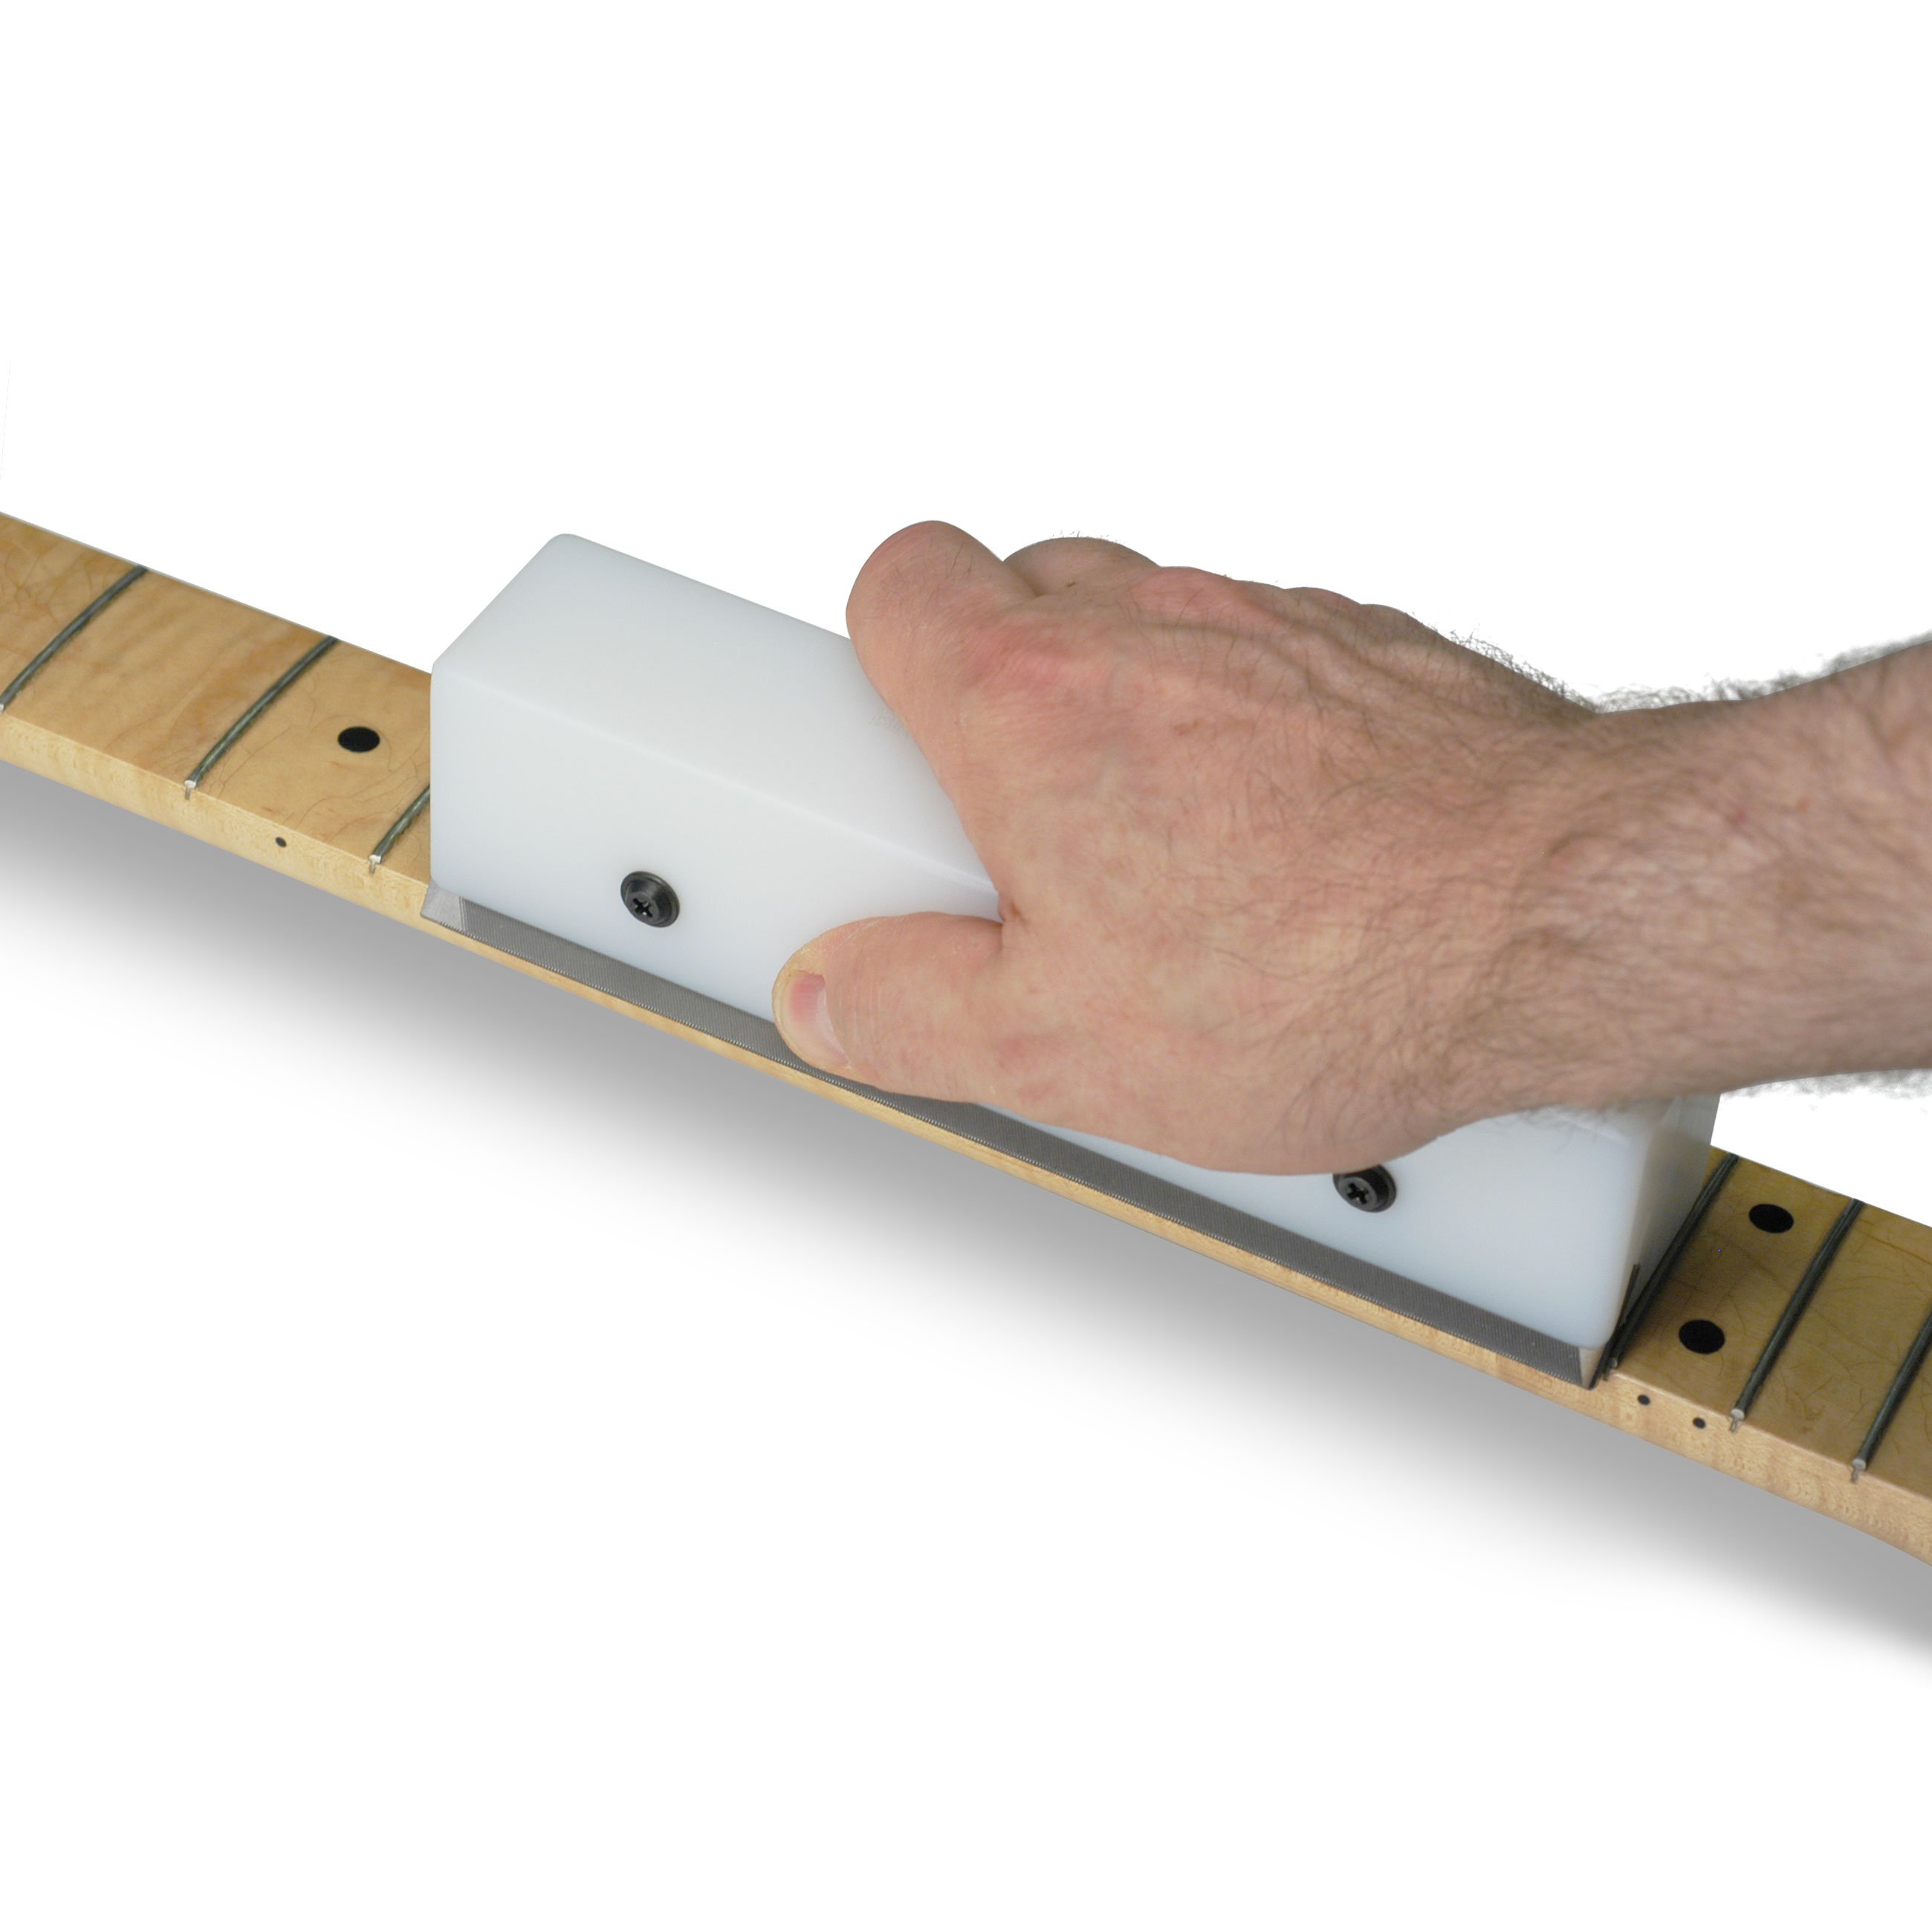
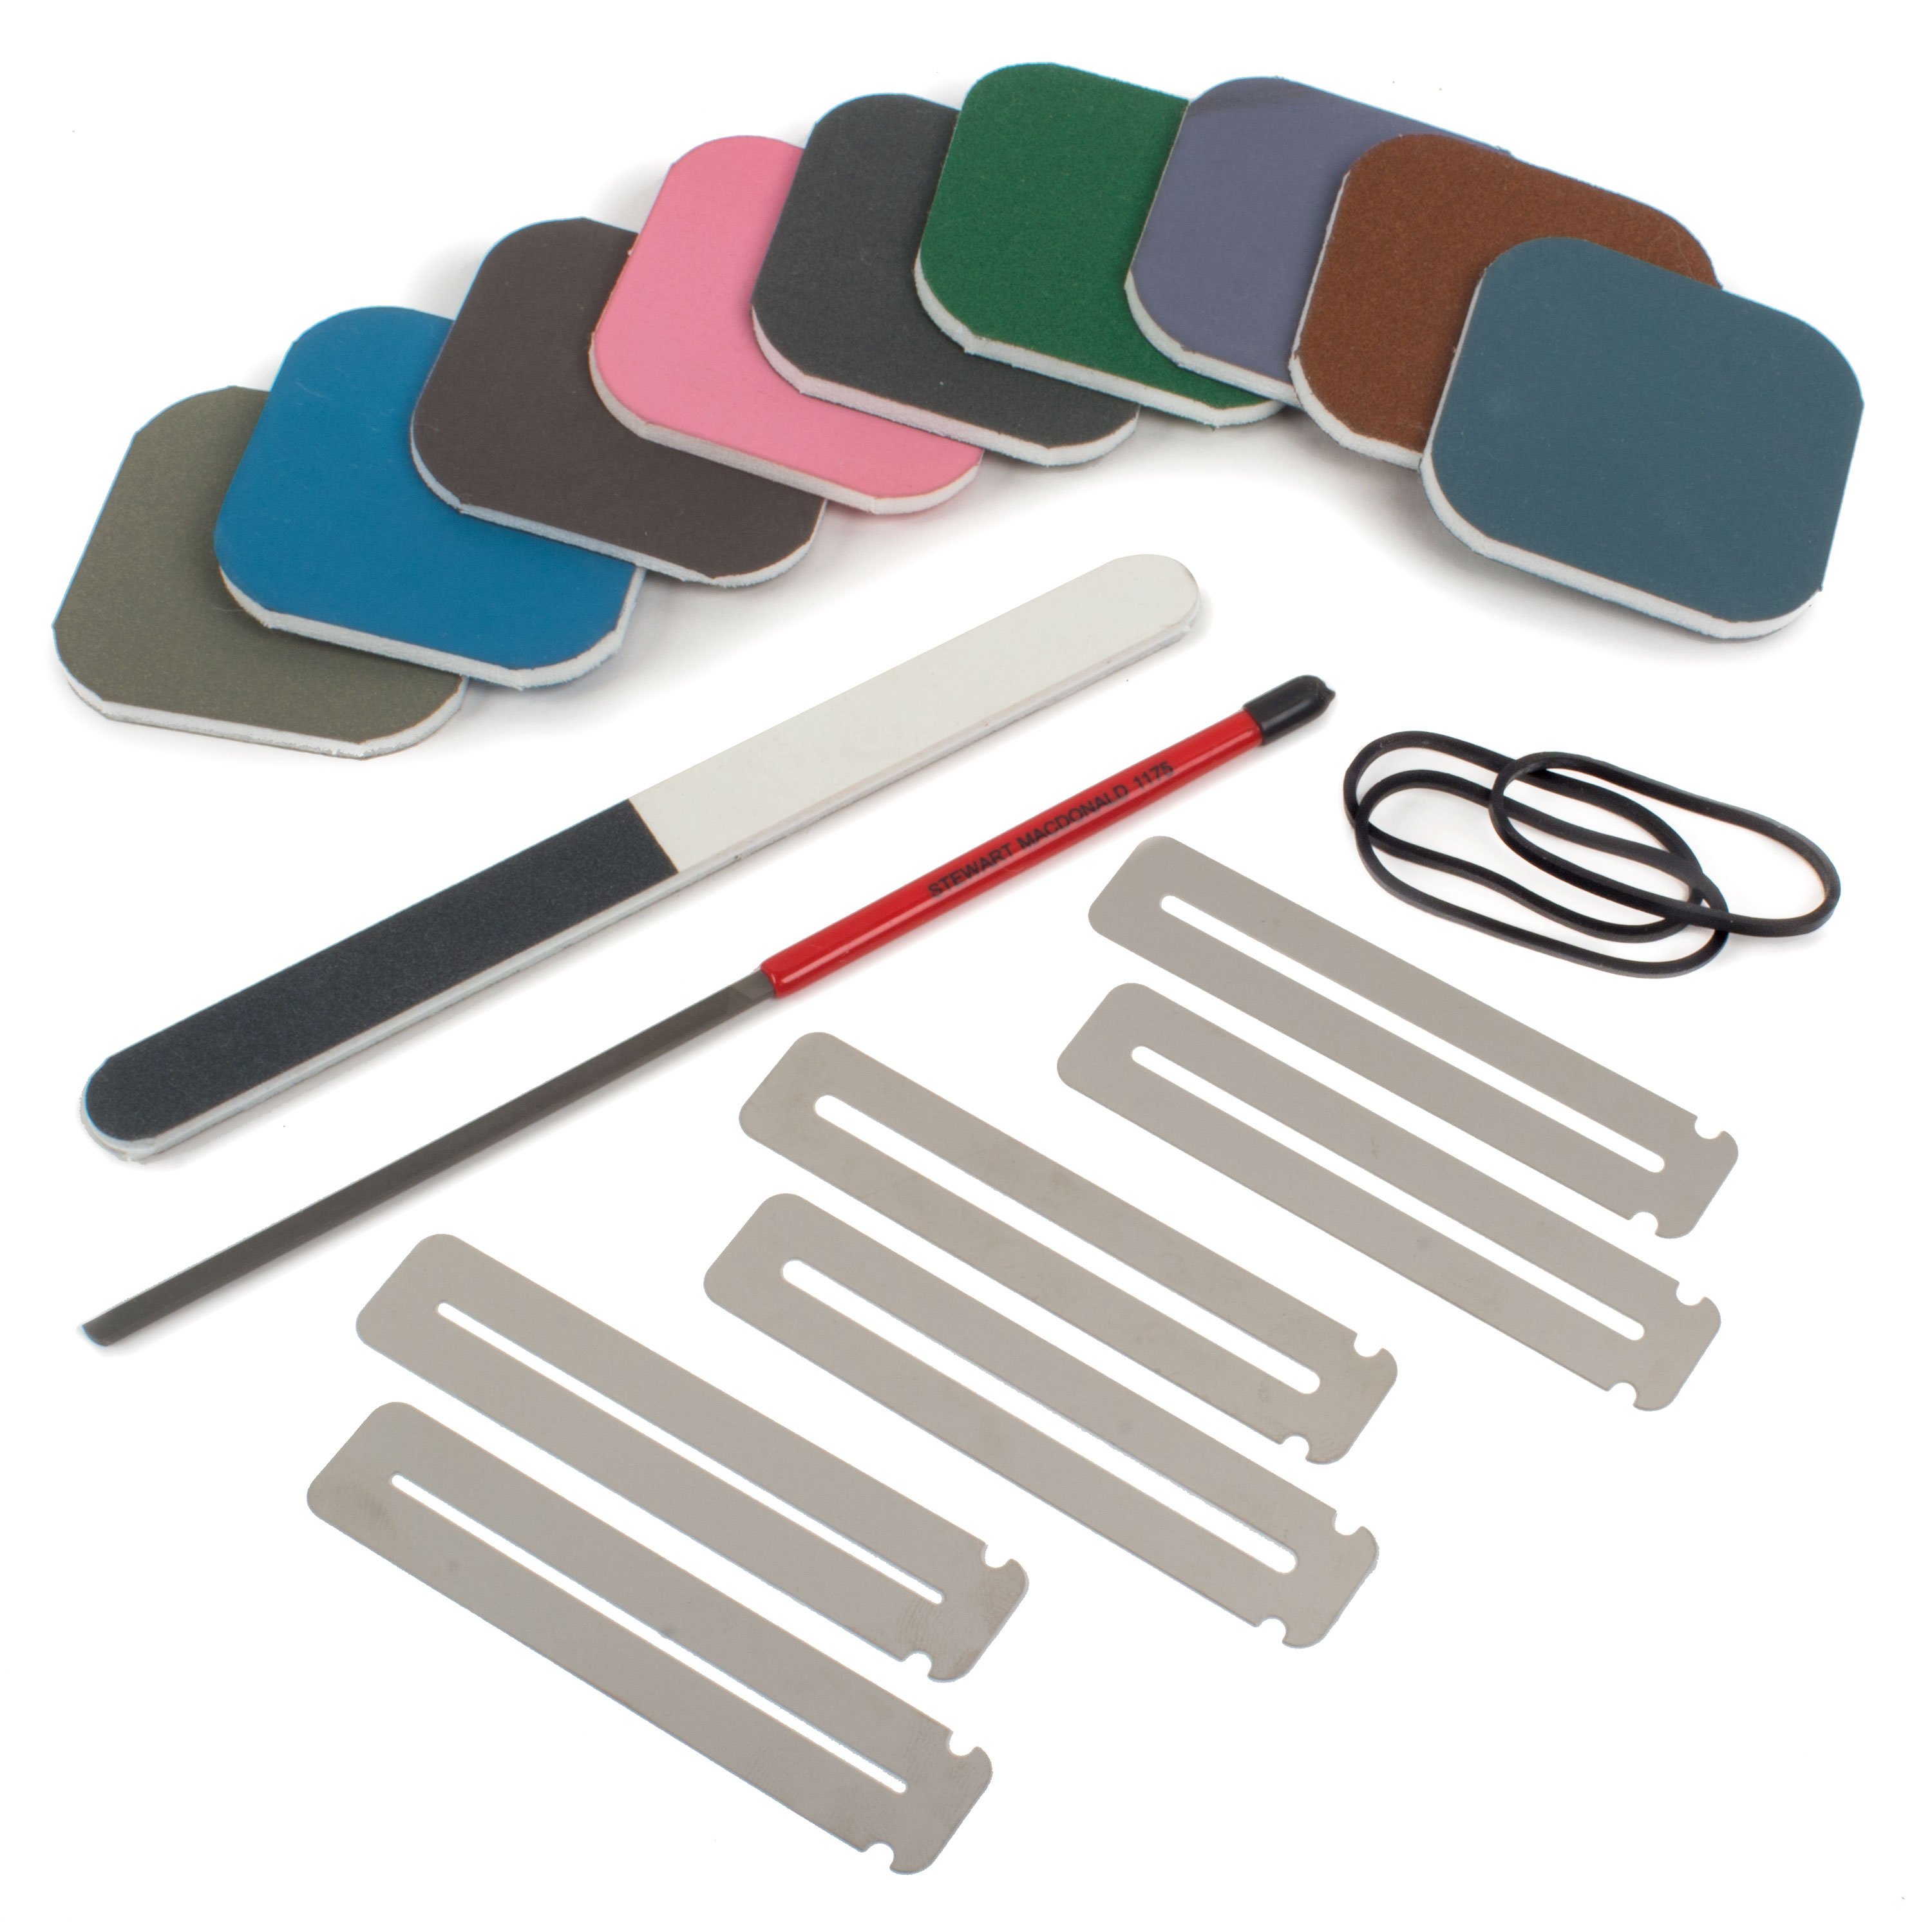
You definitely want to avoid any file with widely spaced or cross-hatch teeth, and no diamond coated files. Those are all too aggressive for this work and they really risk damaging your finish or your fretboard. My favorite file for this work is the fret end beveling file from our Snapfile Leveling System. It's specifically designed for working on fret ends. A key feature of this type of file are the safe edges. See how there are no teeth around the sides of this file? That's going to add a little extra protection when we get into the danger zones over top of the body and by the headstock. A lot of people like to use this file in the handle. There's nothing wrong with that. Personally, I like to just hold it in my hand. I feel like I have more control, and I'm less likely to bump that handle into these danger zones.
You can buy this file separately from the handle. So either way, today, I'm going to show you how I do it holding it in my hand, with three fingers on the bottom, my thumb on top, my index finger kind of steering the whole thing. Let's get our tape out, protect these danger zones and let's get to filing.
These flat mill files cut in one direction only, on the push. So we will concentrate our efforts moving forward. File the entire length of the fret board, making sure to clear the body and to avoid the headstock. Body position is very important. See how I'm facing more toward the headstock and I'm working the opposite side from me? That puts my arm in a position to move in a straight line most accurately. For now, I'm holding the file almost straight up and down. I'm not trying to match the angle of the bevel right now. We'll worry about that later.
If you have an unbound fretboard, make sure to hit the tang of the fret, as well as the fret ends. You're going to need to hold the file just a little bit lower, but not so low that you're running into the edge of the body. You might be wondering why I haven't taped off the sides of the fretboard to protect the finish. Well, I actually want to hit the finish just a little bit. With the tape, the closest I can get is the thickness of that. And that can still leave just a little bit of a sharp feel. I need to kiss this finish to truly get everything flush. If tape on the sides makes you feel safer, go ahead, no problem, but you may want to do the last pass or two without the tape just to make sure you're truly flush. What I'm doing instead is listening. There's a distinctive sound when a file is working on metal. Hear it? It's a sharper higher pitch type of tone. There, we've changed. Listen.
[sound gets quieter]
Hear that? That's the sound of the file hitting finish. That's when we stop and check our work. These are looking really good. They're flushed to the edge of the board. They already feel a lot better. And you can see there's some impact on the finish. Now, some of this down by the nut was already here. This came from the factory and this is typical on guitars of this price range, but it's no problem because in the course of me cleaning up the little bit of scratchiness I did create, I'm going to take care of that too. For now, let's repeat this process on the other side. Hold the file nice and straight again, and file along the entire length of the board watching the body in the headstock. Listen carefully, stop when you reach the finish.
Now, let's talk beveling. Beveling refers to taking that straight up and down almost 90 degree fret end and bringing it in towards the center of the fretboard. So we start out a little more flat, or in our case here, we had a bevel and we created more of a flat spot down at the bottom. We're going to take that and blend it into our angle. That bevel serves a practical and an aesthetic purpose. Not only does it just look better, it gives a really nice appealing look to our fret ends. But as we fret chords and notes along the fingerboard, our fingers curl around the side of that board. So we have a little bit of a natural angle or curve here, and that bevel is helping to soften that. It feels better. So what's important when you're beveling is getting that angle right and it's a bit subjective.
Typically, you're going to see about 35 to 45 degrees on the angle of your bevel. That allows the player some room to bend strings while maintaining a smooth hand feel. You don't want to go too shallow, say, less than 30 degrees because you're reducing the overall width of your playing surface, and you don't want the string falling off the edge of the fret. So we sell a tool for this. This is our Fret Beveling File, and what's really cool about it is it holds the file at a perfect 35 degree angle. So it gives you a consistent bevel along the entire length of the fretboard. I really like these for guitar builders. If you build the same guitar over and over again and you want to match that bevel perfectly on each instrument, this is the tool for you. Also, if you're a beginner and you're new to this and you're a little nervous about getting that angle right, this is probably a good tool for you as well.
But for me, again, I still prefer to hold the file in my hand so that I have more control over the exact bevel. When you do a lot of repair work and you work on hundreds of different instruments like I do, you're going to find that there's no one size fits all. So doing this allows me to really fine-tune that bevel to get exactly what I need for the instrument I'm working on. As I look at the bevel of these frets close up, this looks pretty straight up and doweln to me, maybe more like 50 or 60 degrees.
So as I blend in the work that I just did into the existing bevel, I'm also going to push it in a little bit closer to the center of the neck and get a little closer to that 45, 35 degree angle. So using the same file as I did before, I'm going to position my body in the exact same way and I'm going to take long strokes going up the neck in one direction [Gene is holding the beveling file at an angle against the edge of the frets and is working it up the neck towards the headstock]. This side is looking good. I'm going to switch it around just like I did last time and work from the other side [Gene is holding the beveling file at an angle against the edge of the frets and is working it up the neck towards the body] .
We're flushed to the edge of the fretboard. Our bevel is right. Now it's time to move on to step number two, dressing.
Step 2: Dressing fret ends
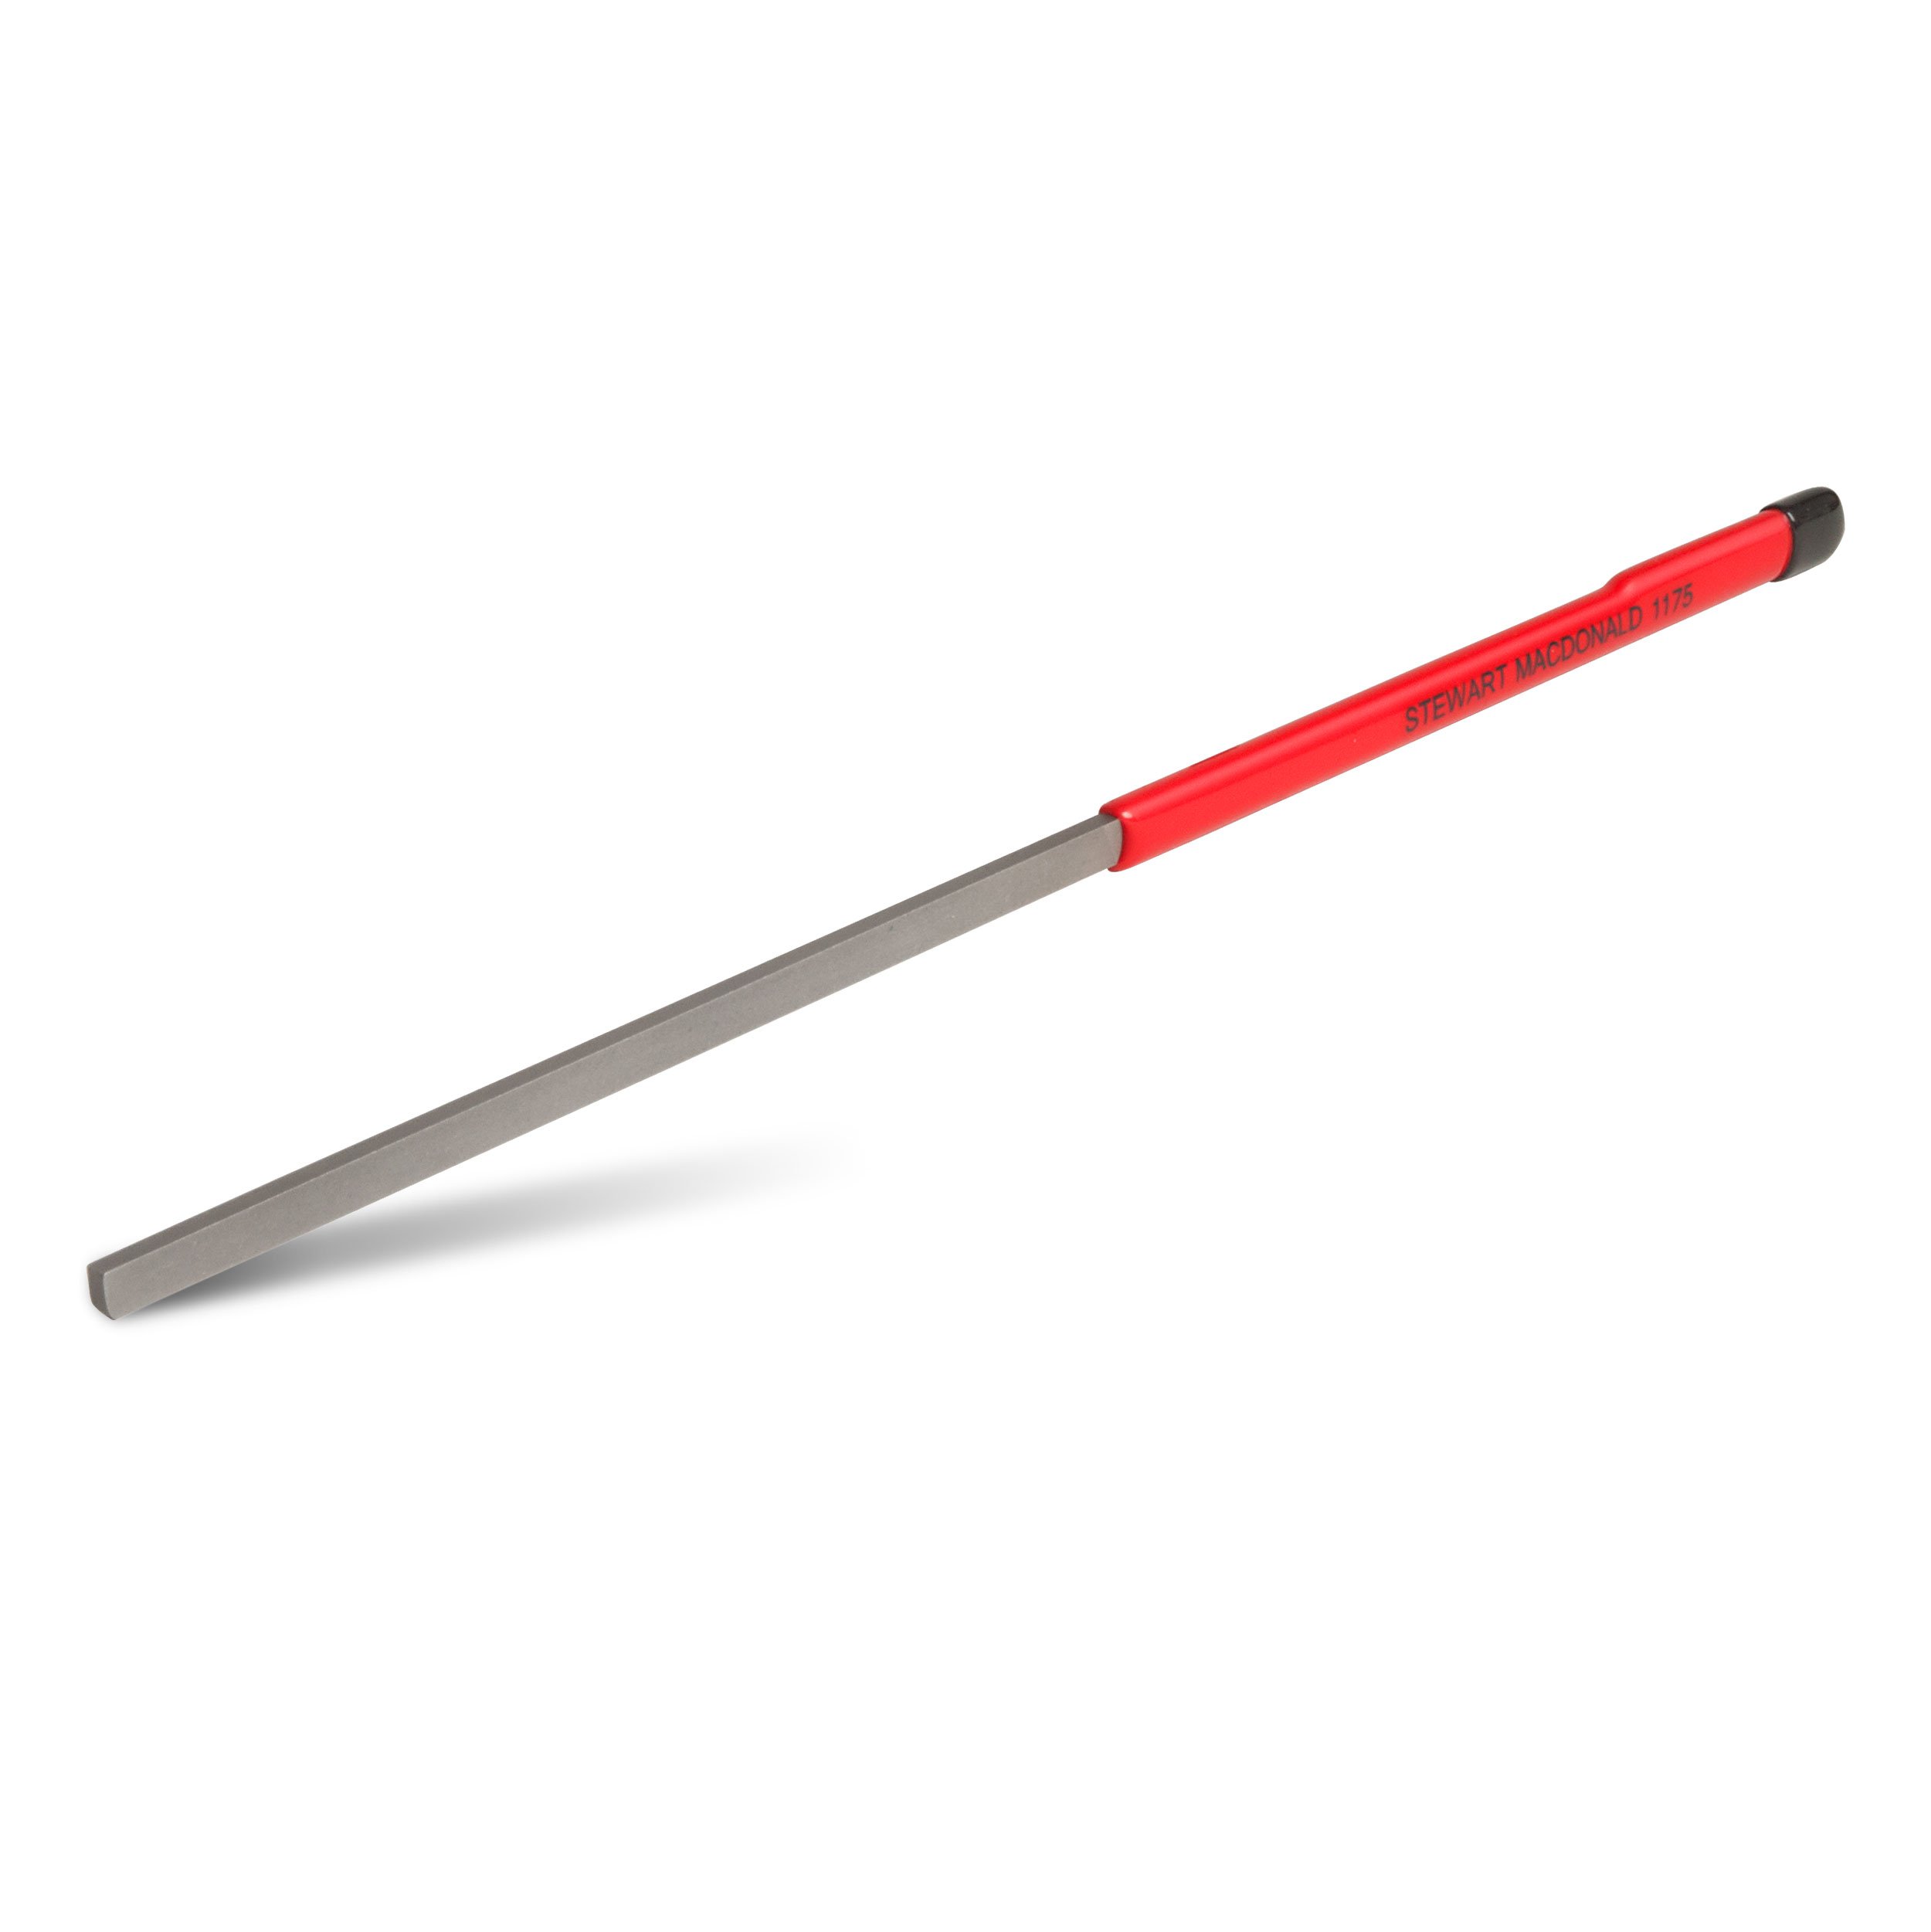
So our filing and beveling has removed any of that excess fret that's sticking out beyond the edge of the fretboard. It's no longer snagging and grabbing our hands, but that has also sharpened the whole end of the fret to a knife edge. We have a sharp point on each end, and then that arch of the fret has come really sharp too. So we need to soften all of those edges and the choice for what tool to use for that is pretty easy. Our Fret End Dressing File. Let's go over some key details of this file that make it perfect for this job. Here's our problem area, these two sharp corners of our fret end that meet the board, even though they're flush, your hand is still going to feel those as you grip the neck.
We've also honed this arch to a knife edge, so the top still feels sharp as we slide across them. We're going to fix all of that with a few strategic swipes of our file. This file has two safe edges to save you from scratching your board, one rounded and one flat. For these sharp pointy corners, we're going to start with the flat side down, because it allows us to get deep into the corner and remove this point. I'll come in from the top, perpendicular to the corner of the bevel and round it out, just a few strokes will do.
I'll do the same thing on the other side, but because I'm right-handed, it feels more natural to come at it from the underside like this. You just need a small amount of pressure, and be careful because you can still dig into the board with these safe edges. And that's it, it really doesn't take much and you don't want to overdo it. Now, let's turn our attention to the arch of the fret end. This time, I'll use the rounded side down and a rolling motion to smooth out the sharp bevel. The rounded side is some extra insurance that keeps me from nicking the board as I roll the file around the arch. I'm starting on one side and moving to the center of the crown, rolling over the microscopic sharp edge we created while filing.
Now, I'm going to switch sides and come in from the underneath like I did previously, and once again, file and roll to the top to meet the point where I stopped on the other side. So I knocked off my two little points and put a slight round over on my arch. It's nice and smooth but still looks very sharp and defined. The biggest mistake I tend to see is doing too much, so if you close your eyes, it feels smooth but when you look at it, it looks sloppy or mushy. We're trying to strike that balance between aesthetics and functionality. We want it to feel right but we still want it to look good. Now, I need to repeat that process to all of the fret on both sides.
[Gene works his way up the fretboard rounding out all of the fret ends]
Once you get comfortable with the technique and get into a groove, this goes quickly. Ready to move on to the last step.
Step 3: Polishing fret ends
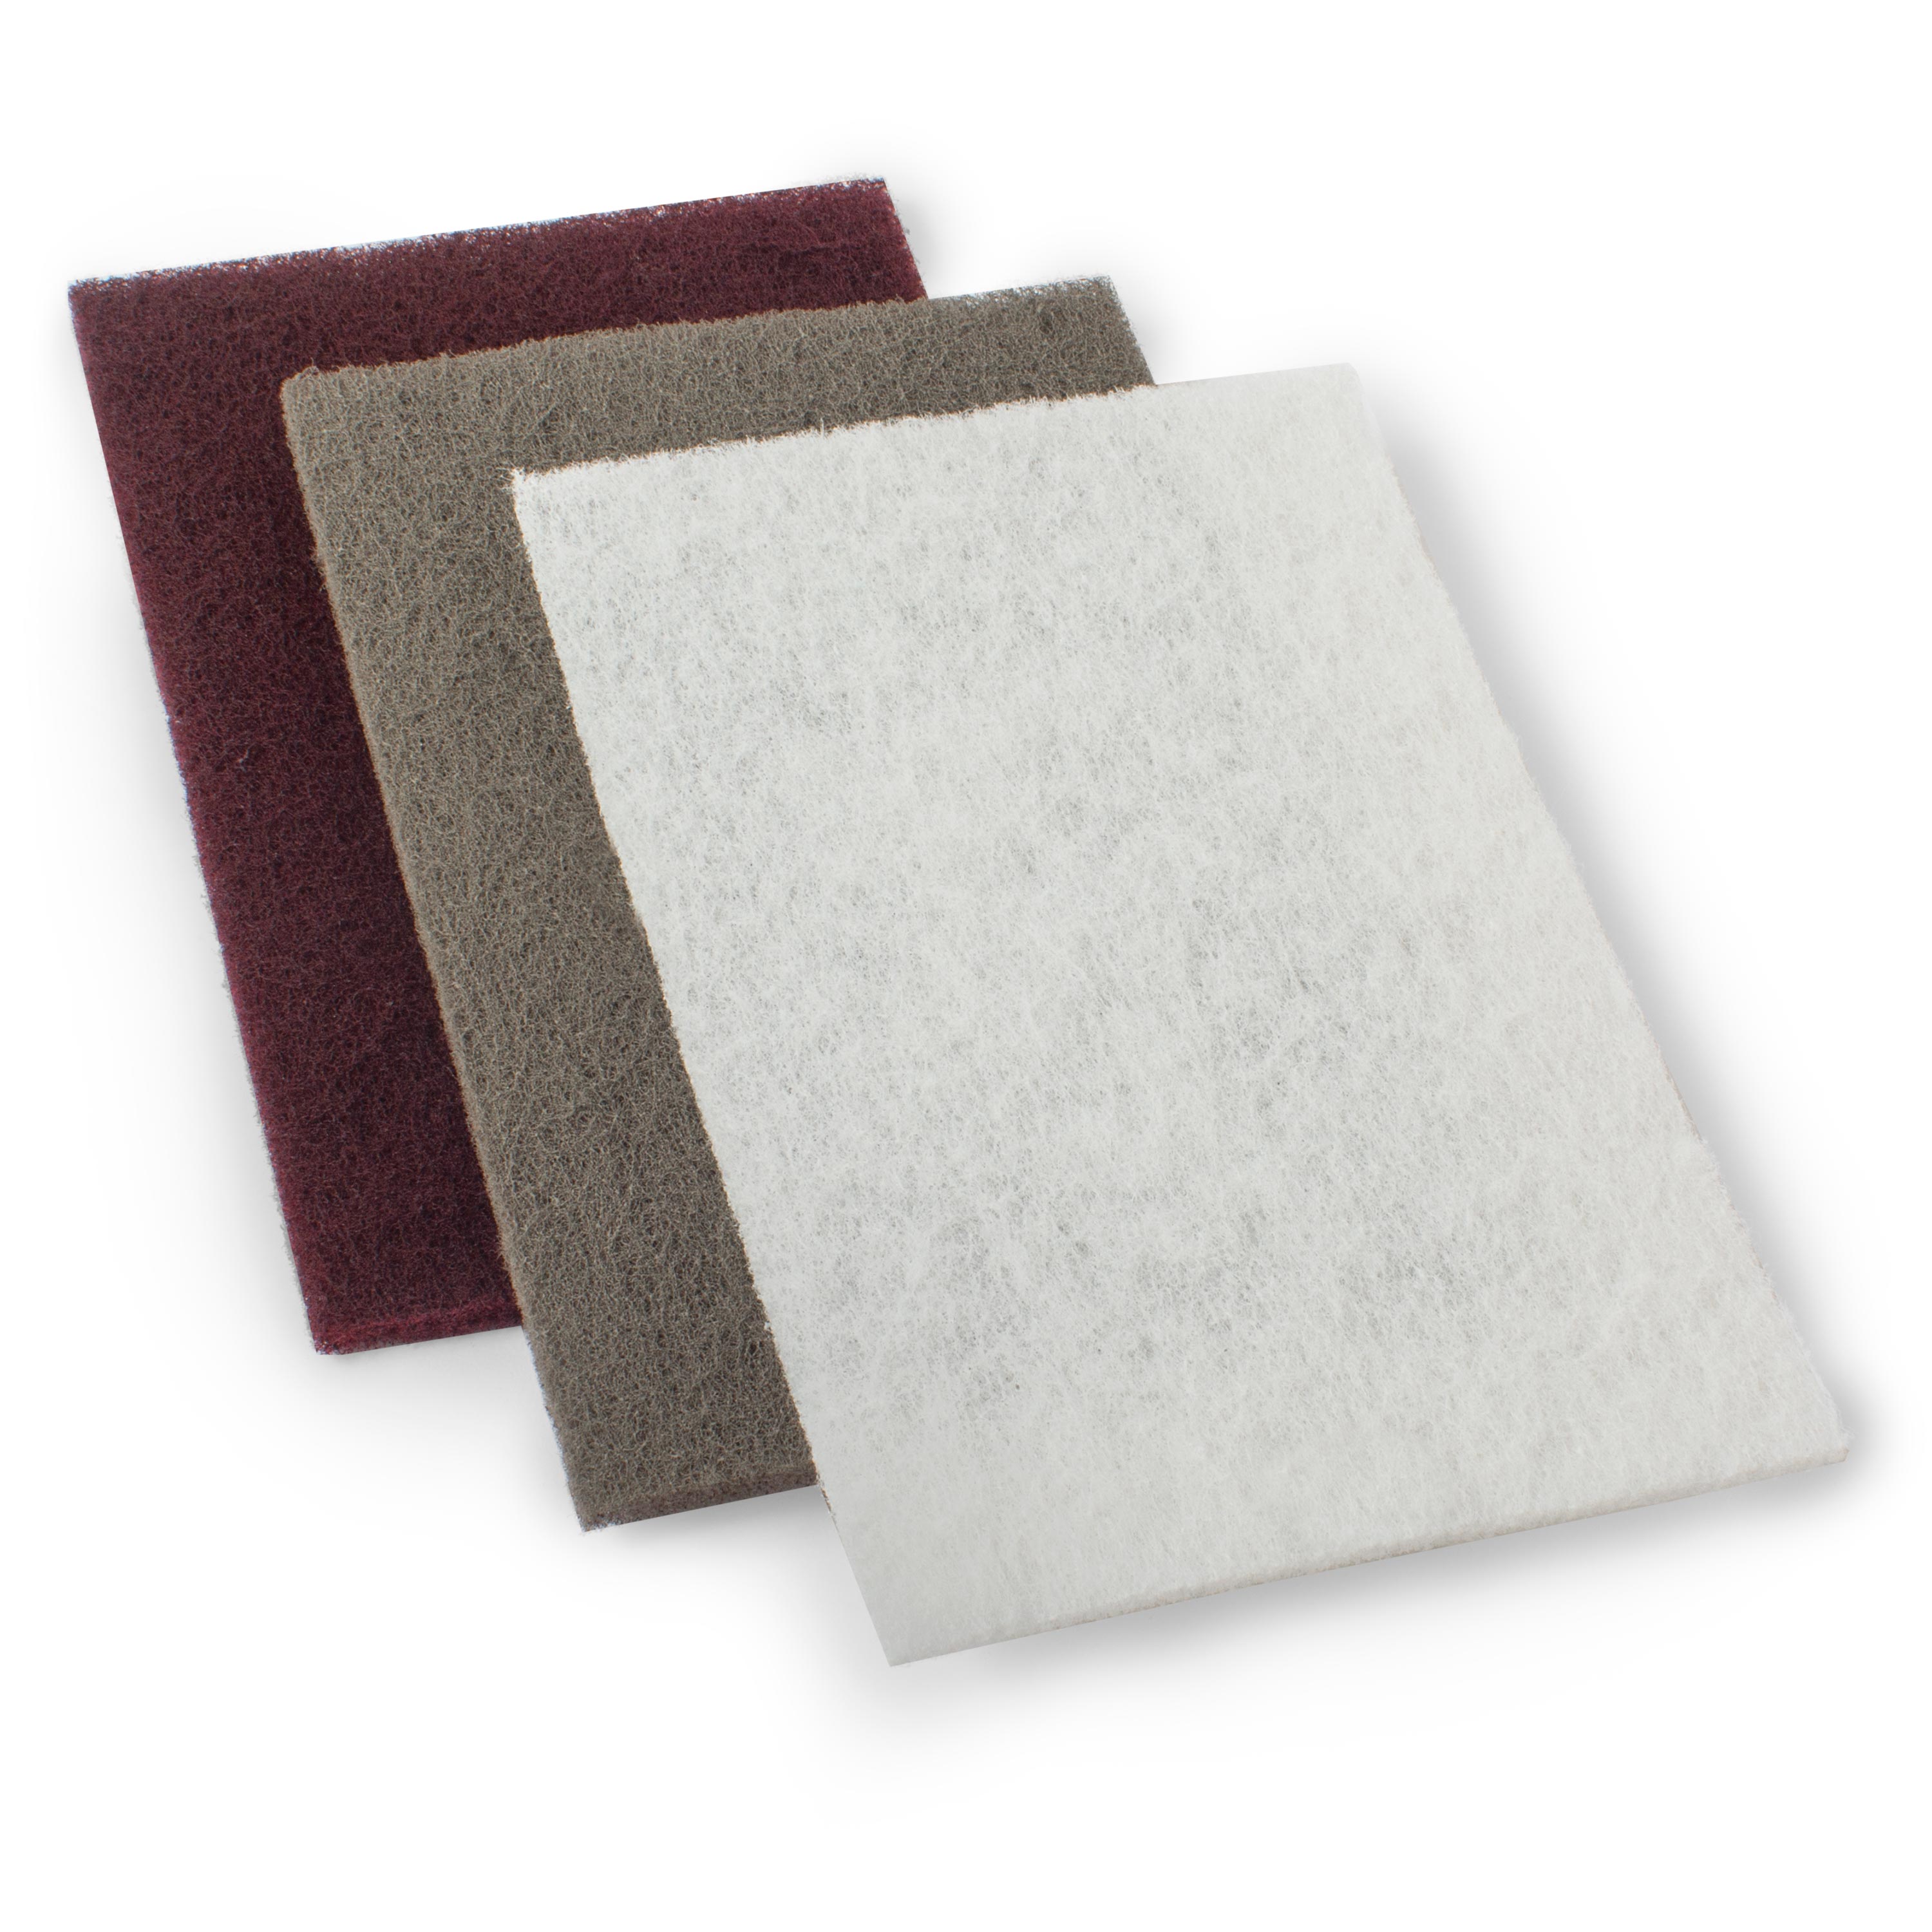
The last step of polishing is an important part of nailing down a perfect fret end. The most obvious reason is that all of this filing and work we've done has turned the ends dull and scratchy. We're going to fix that. But it's also going to do two other very important things for us. First, it's going to break the edge of our fretboard. It's going to roll it over slightly and just give us more of a soft feel as we move up and down the neck. It's also going to remove any little scratches or minor damage we did to the side of the board in the process. It'll all come out of there and look nice in the end. There are a ton of options when it comes to fret polishing supplies, sandpaper, steel wool, Scotch-Brite, micro-mesh, but the general idea is you're going to start at a coarser grit and move through finer grits until we get to a nice polish.
Where I like to start is with some standard steel wool. This is just normal, 0000 ultra-fine steel wool you can get from the hardware store, not like Brillo pad or anything with detergent. It does a great job of working around the contours of the fret ends, getting in all the little tight corners and hard-to-reach spots. I'm not concentrating on any particular fret end here but instead, I'm hitting the entire length of the board just like I did before on both sides. You do have to be careful because steel wool is messy, it sheds. Plug your soundhole. If you have an electric guitar, cover the pickups so the shavings don't stick to your magnets. Vacuum up as you go and be neat about it and you won't have a problem.
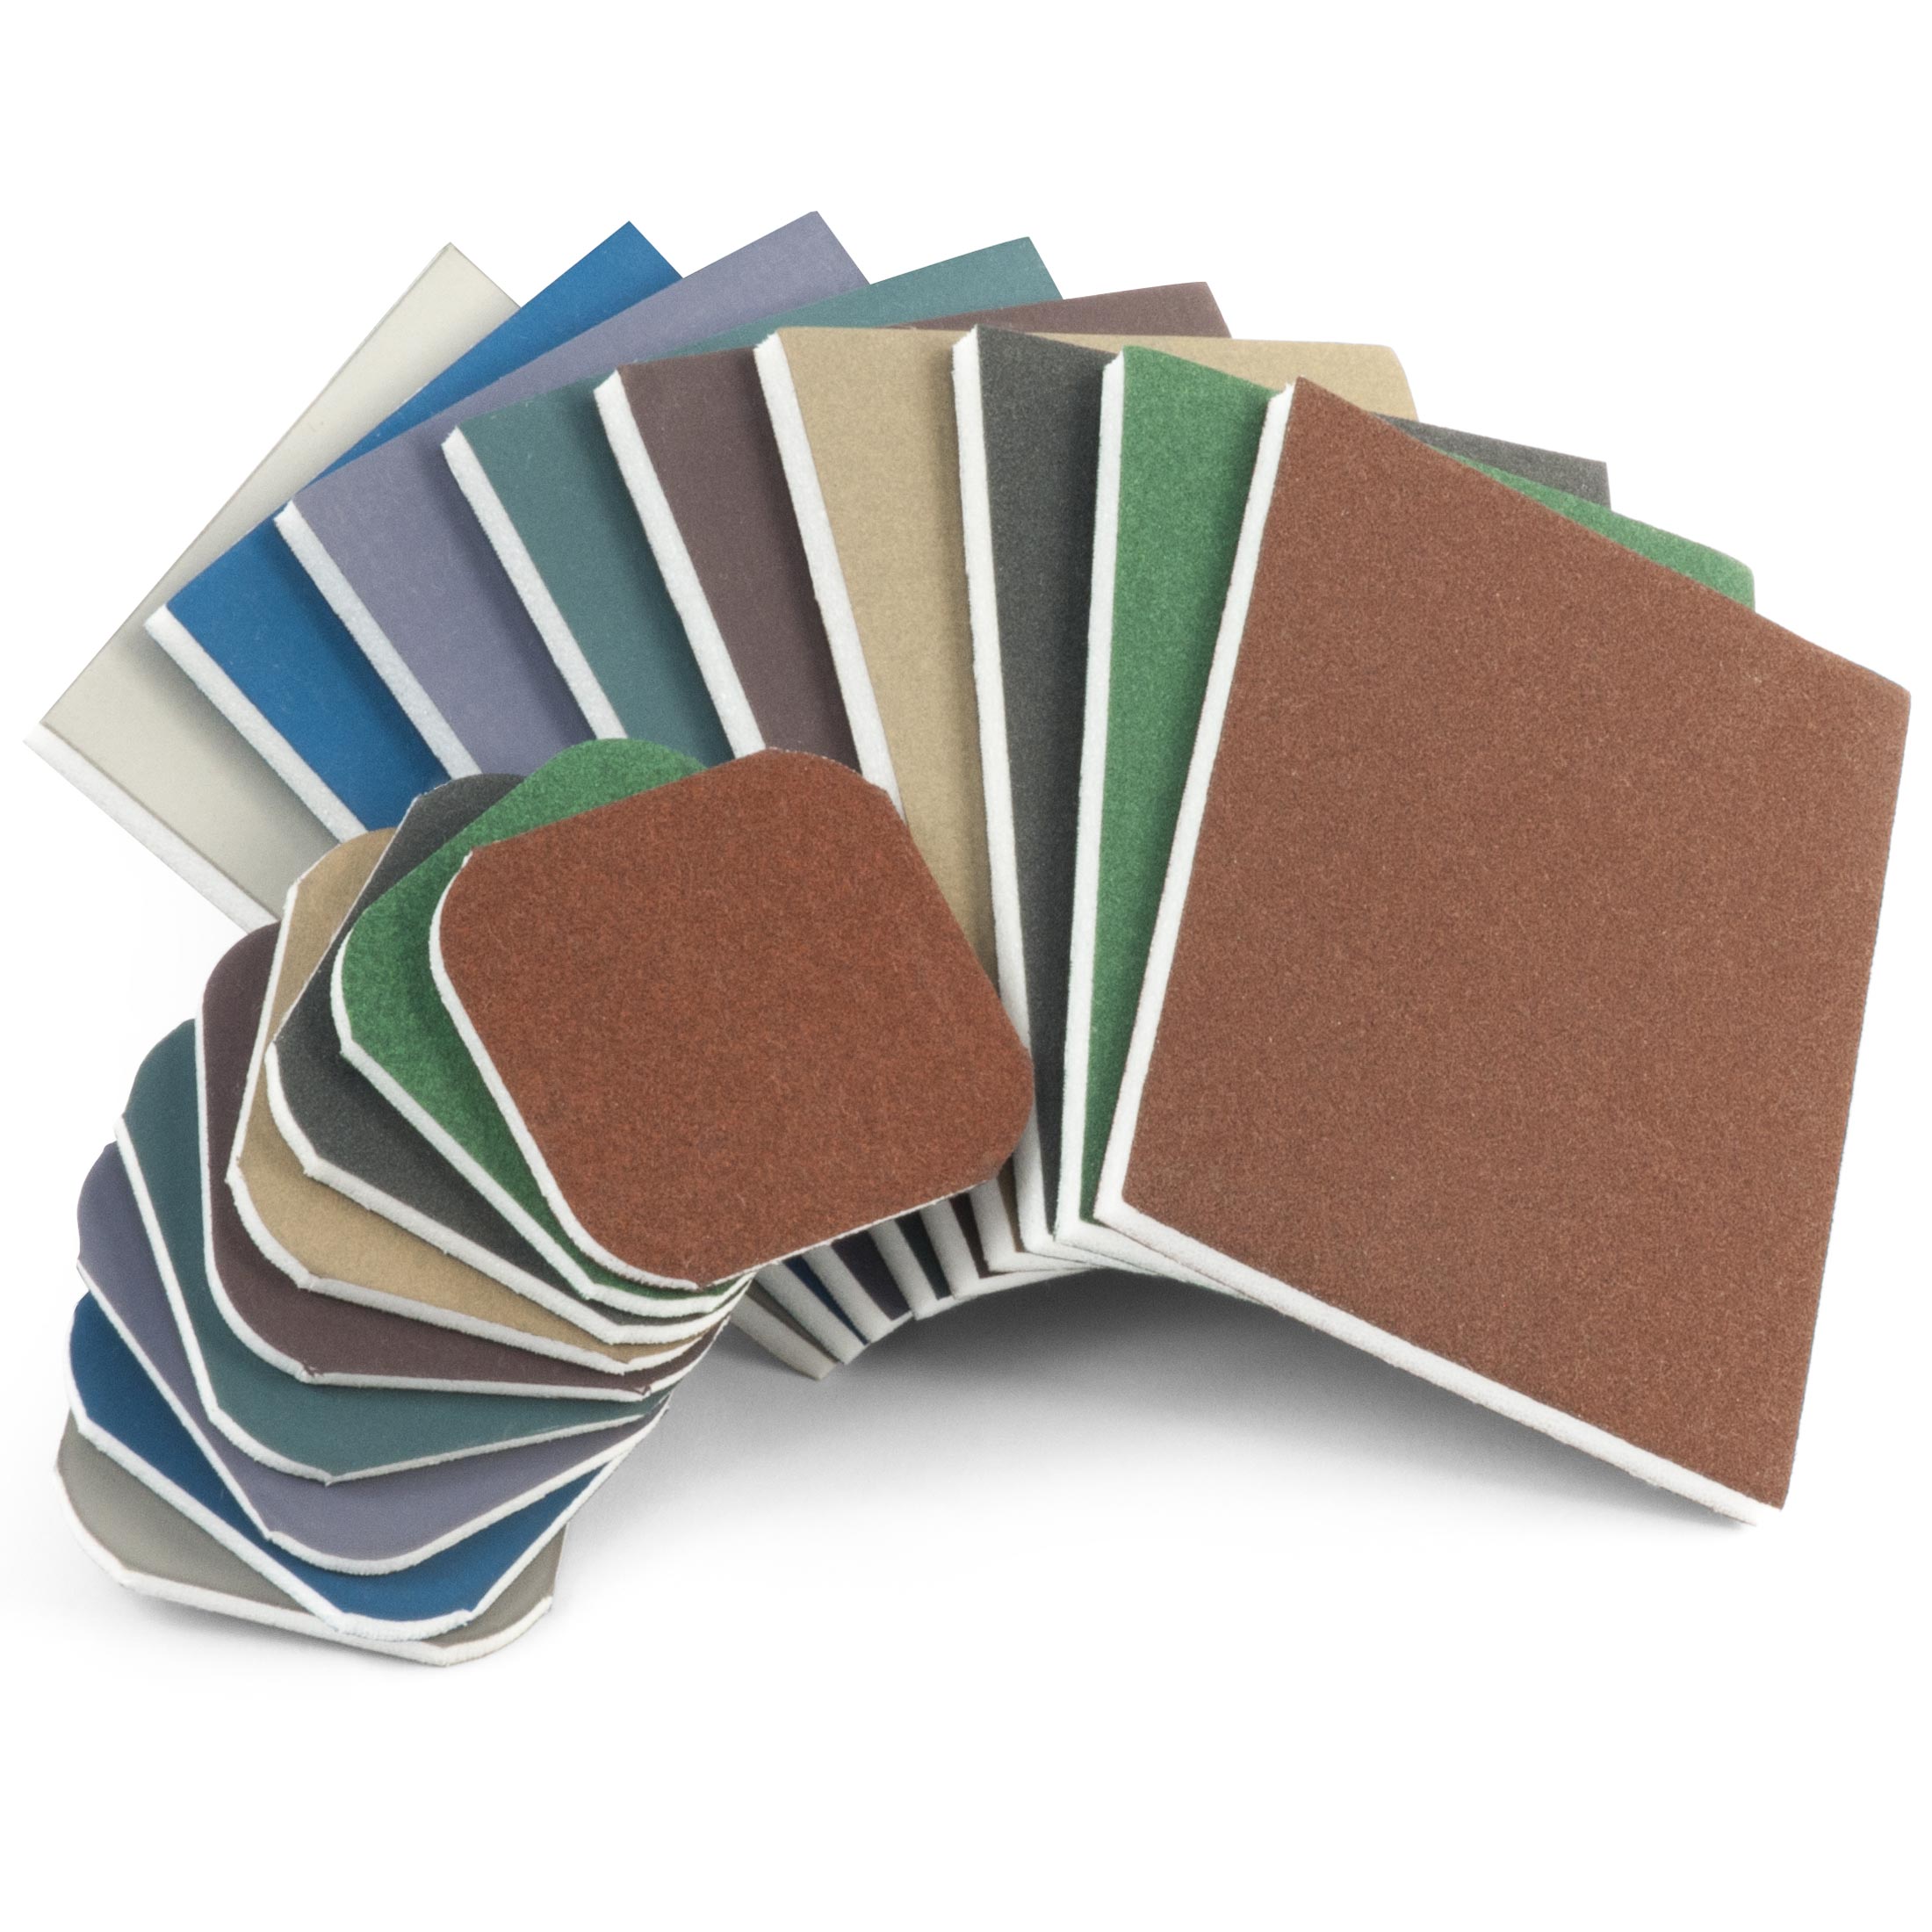
But if you'd rather not deal with the messiness of steel wool, you can also use Scotch-Brite. It's similar to steel wool but it's more of a synthetic material. It still sheds but those shavings don't stick to magnets and they're a little easier to deal with. I've used both, they both work great but I prefer the results I get with steel wool. Next, I like to move on to micro-mesh pads. These micro-mesh pads come with this little chart of all the different grits [color chart shows all of the grit levels available, from course 1,500, to fine 12,000]. We don't need to use all of these. Today, I'm just going to pick three. We're going to start with our coarsest grit, the 1,500.
[Gene works the micro-mesh pad along the fret ends all the way doweln the board]
We'll hit somewhere around the middle with a 3,600. And I'll try an 8,000 for my final polish. These look fantastic. Very shiny, but you know what? This micro-mesh goes one more to 12,000. Why not? Let's just go one step further and see how much better we can make it [Gene works the micro-mesh pad along the fret ends all the way doweln the board]. I'm really happy with that. That one extra grit really just made the difference, I think. So we could totally stop here. These look fantastic and they feel great. But I told you at the beginning of the video, I was going to give you my special tip for getting a really distinctive look on your fret ends.
We're going to bring back our Fret End Dressing File. I'm going to repeat the process of my dressing phase where I trace that arc on the end of every one of my frets. The idea here is that I'm going to remove the shine off of that arch on my fret, and it's going to draw a distinction between the shininess of the end of my fret and the top of my fret. It's going to set that line off and really make for a nice looking transition. So you can decide, do you like this better or do you like the shinier fret ends? That's one more option for you.
How to prevent sharp fret ends
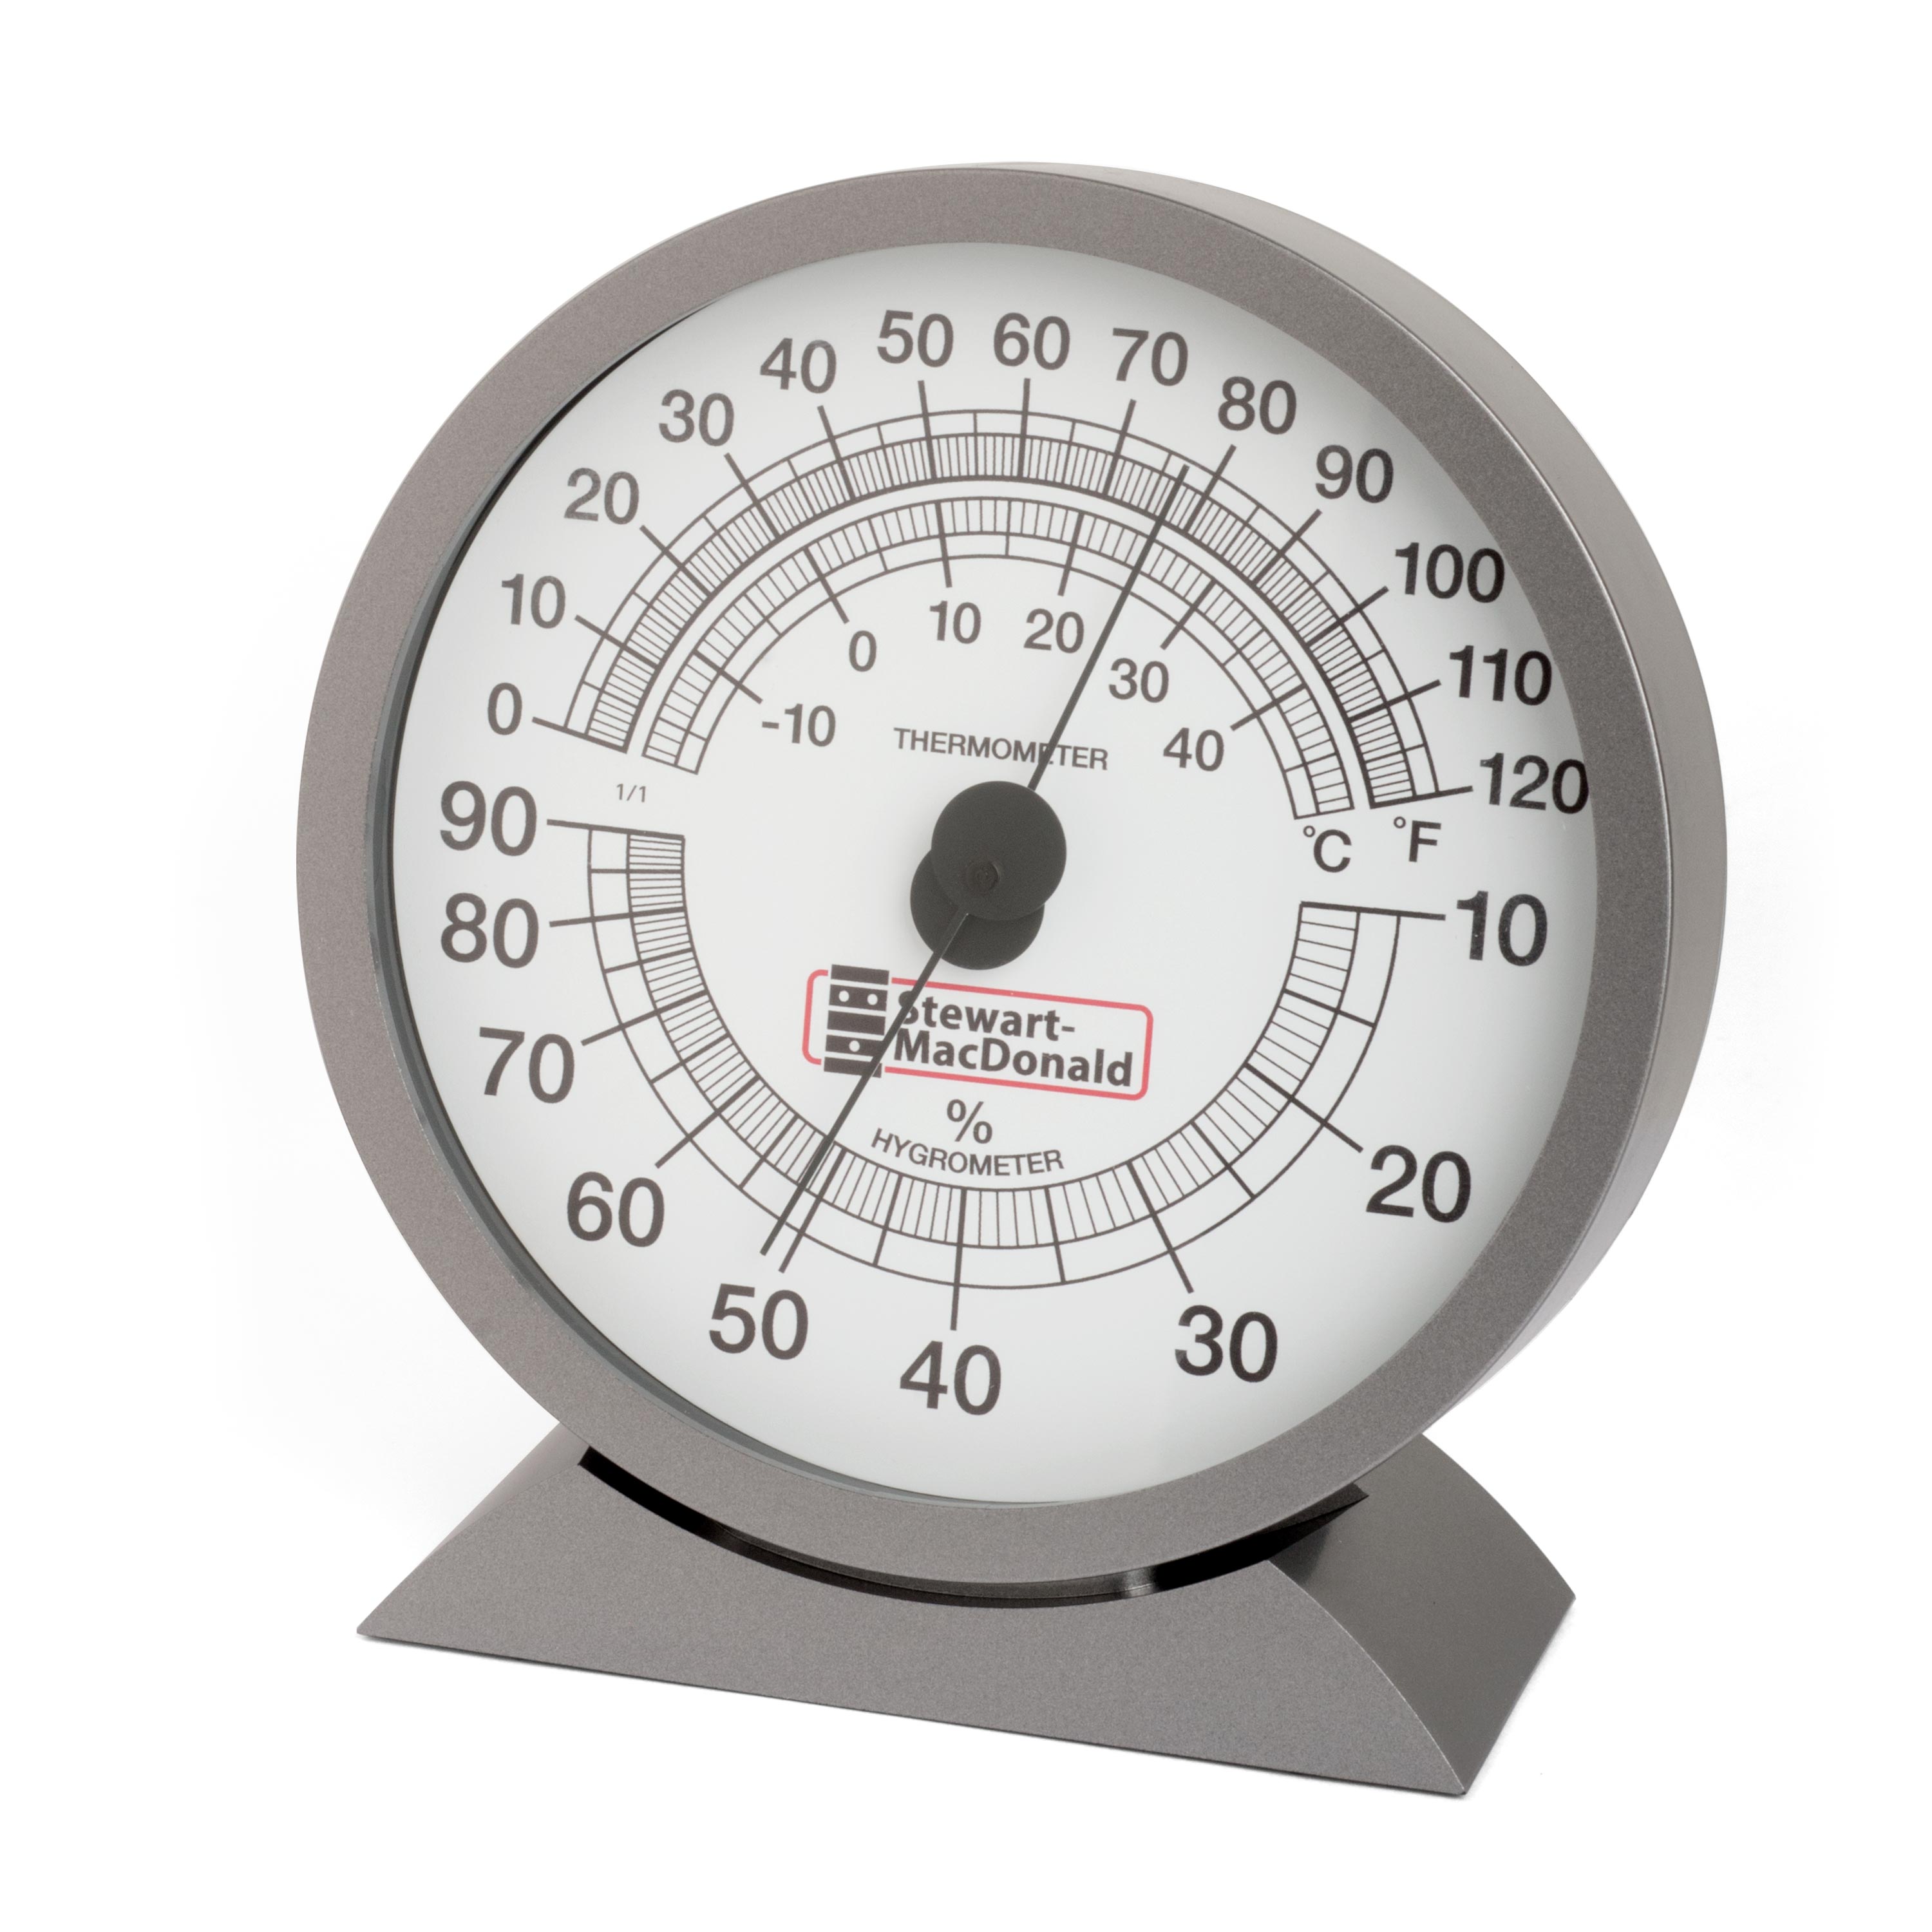
So now you know how to fix sharp fret ends, but let's talk about how to prevent it in the first place. Since this is caused by wood that shrinks from dryness, that means staying on top of your humidity, especially if you live in a climate like we have here in Southern Ohio, that goes from humid summers to very dry winters in a short span of time. Monitor your humidity with a good gauge and be aware when it's trending down. 45 to 55% is a safe zone for most instruments, but once you start seeing mid to low 40s, it's time to prepare.
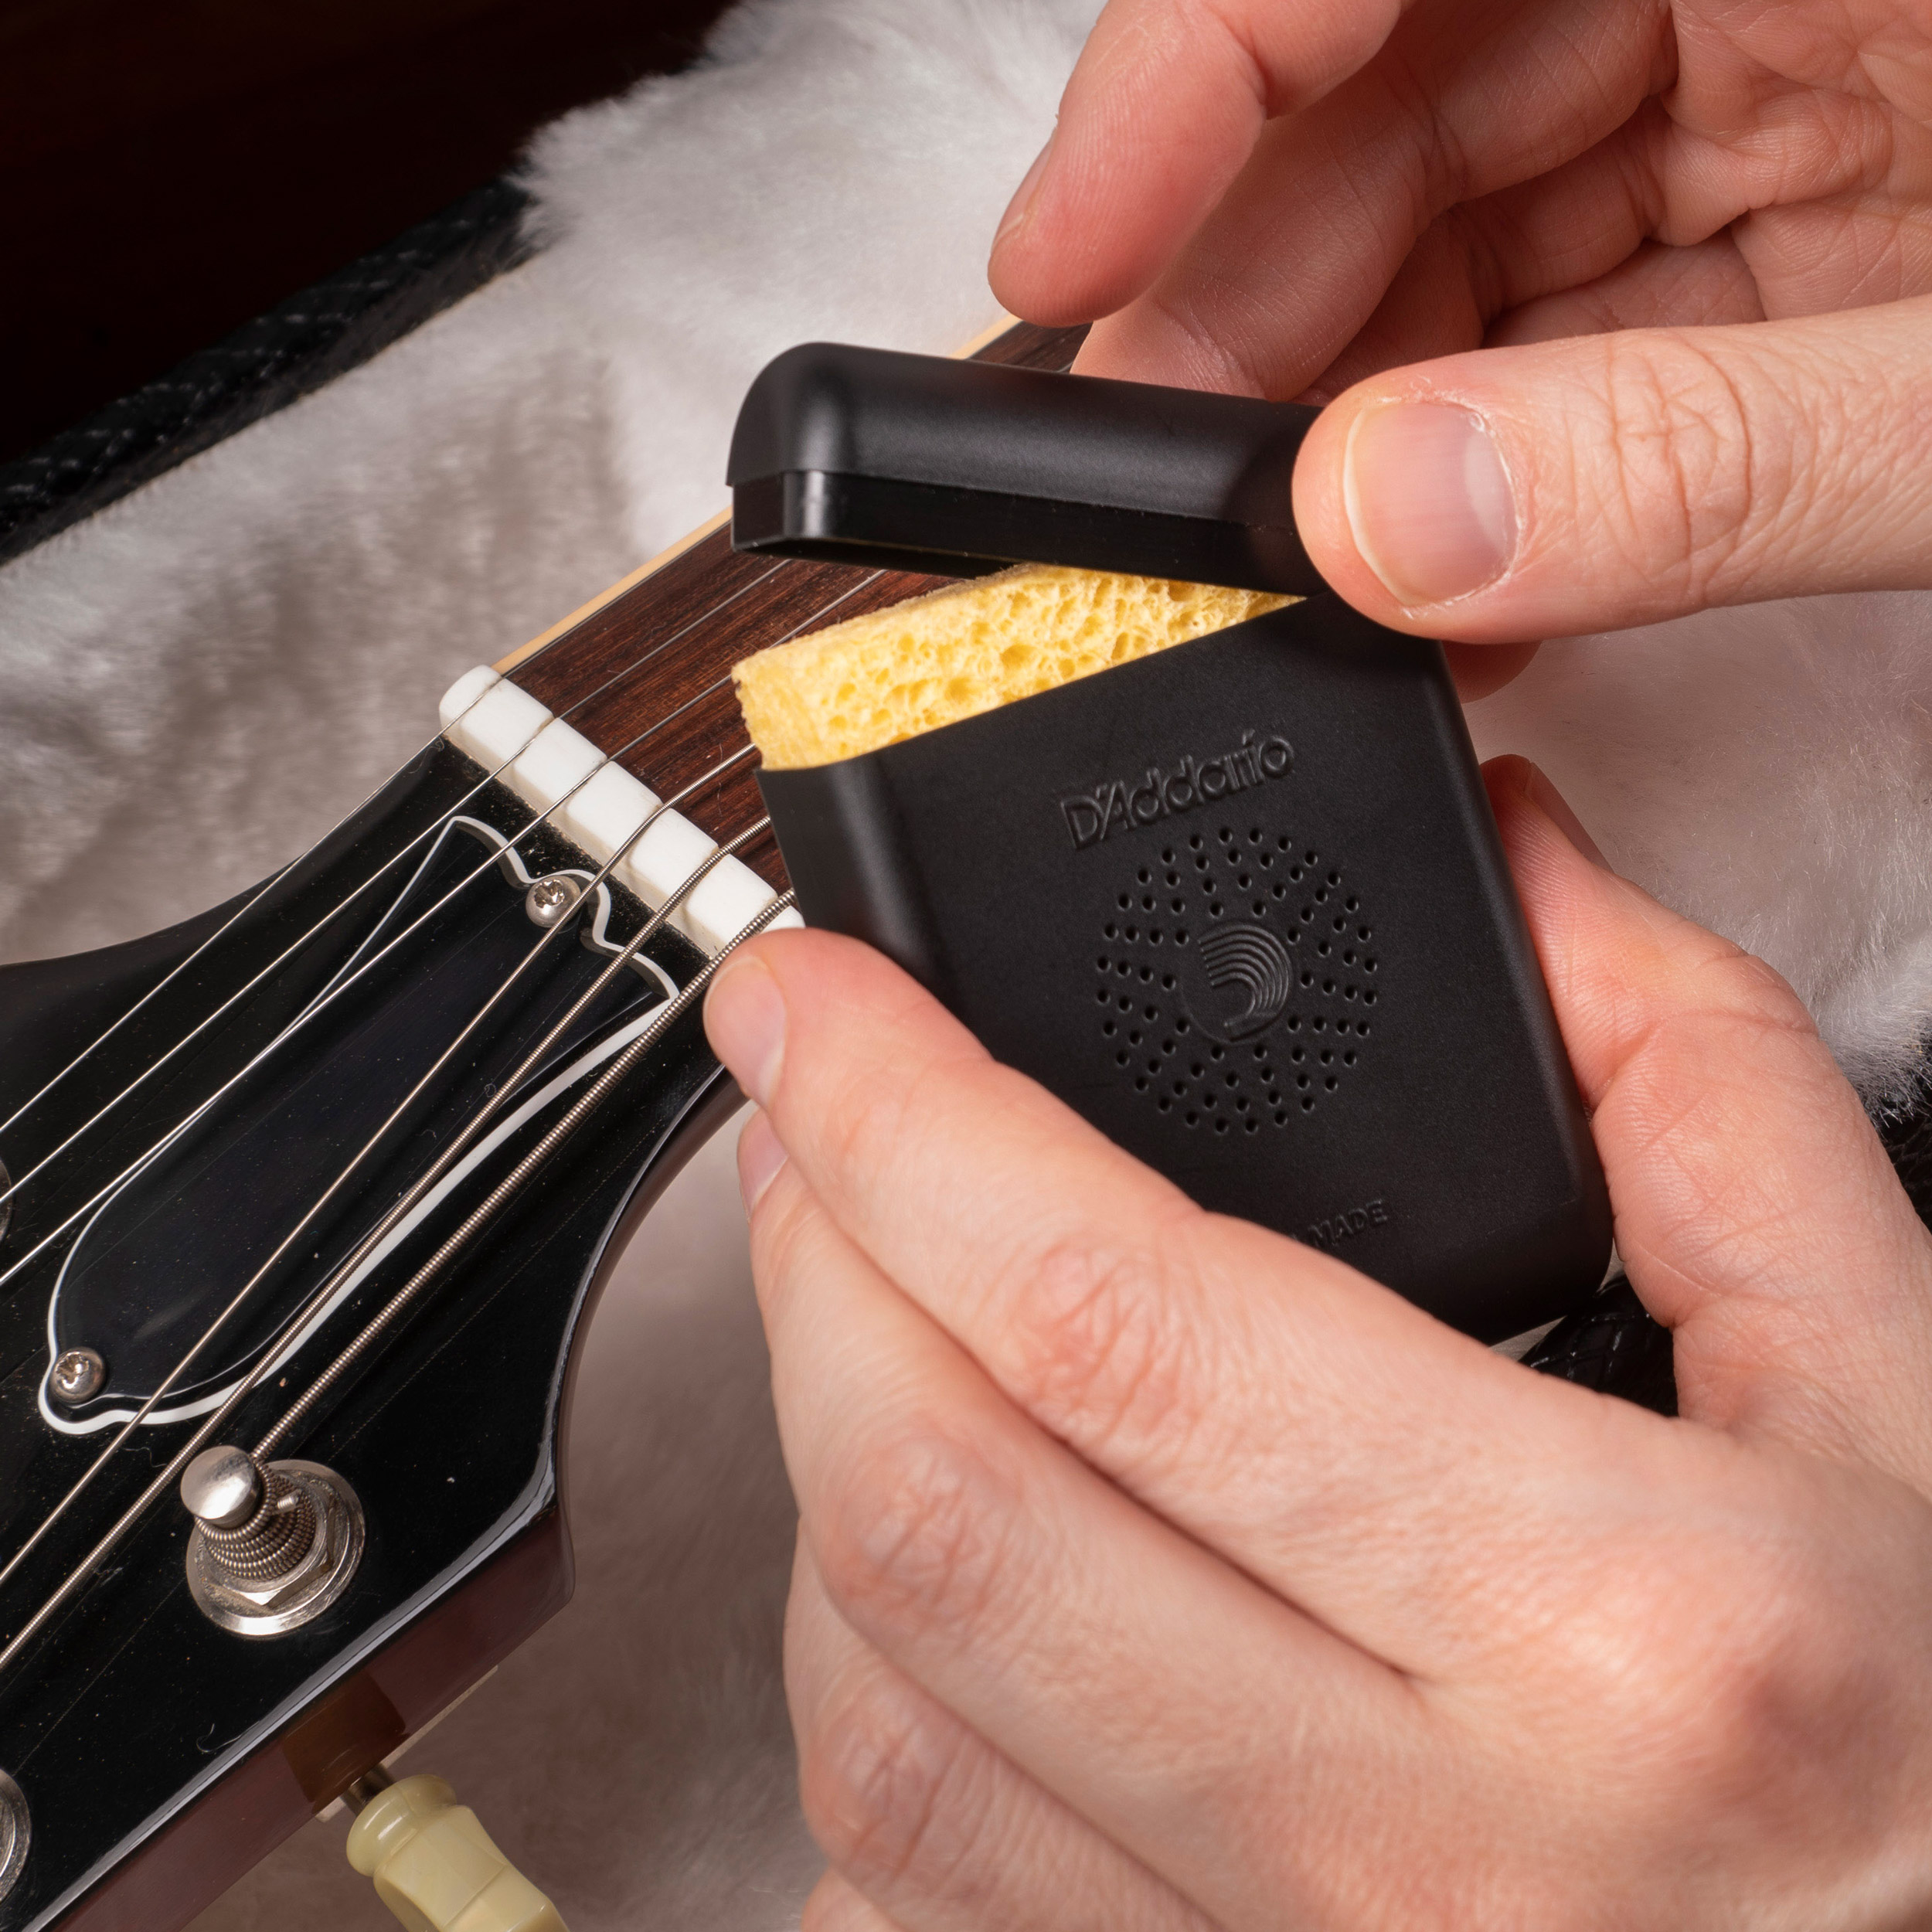
Keep your guitar in the case when you're not playing it during the winter months. This is especially important for acoustic guitars with solid woods. Case humidifiers are great but what I really recommend is a soundhole humidifier. It will not only help keep your board humidified, but it will keep moisture inside the body of the guitar where it really needs it. If you start feeling some sharpness, no need to fret and certainly, no need to bleed. Grab the right tools and put your technique to work. We'll see you at the bench next time.

