How to Upgrade Tuners on a Vintage Mandolin
V-2511
Luthiers Dan Erlewine and Carl Ho demonstrate how to replace tuners on a vintage 1925 Gibson A-Style Jr Mandolin.
The tuners on this vintage 1925 Gibson A-Style Jr Mandolin just won't turn and need to be replaced. Dan Erlewine and special guest Carl Ho (owner of ACOUSICK ROOM Guitar Lutherie and Repair Shop in Hong Kong) demonstrate how to upgrade the tuners with just simple hand tools. Carl shows Dan his special method for cutting and shaping the plugs for a clean look and good fit. His technique works beautifully and can be done in the smallest shops.
Video Transcription
[on-screen text reads: StwMac tools + ideas for guitarmaking. How to Plug Screw Holes When Installing Tuners]
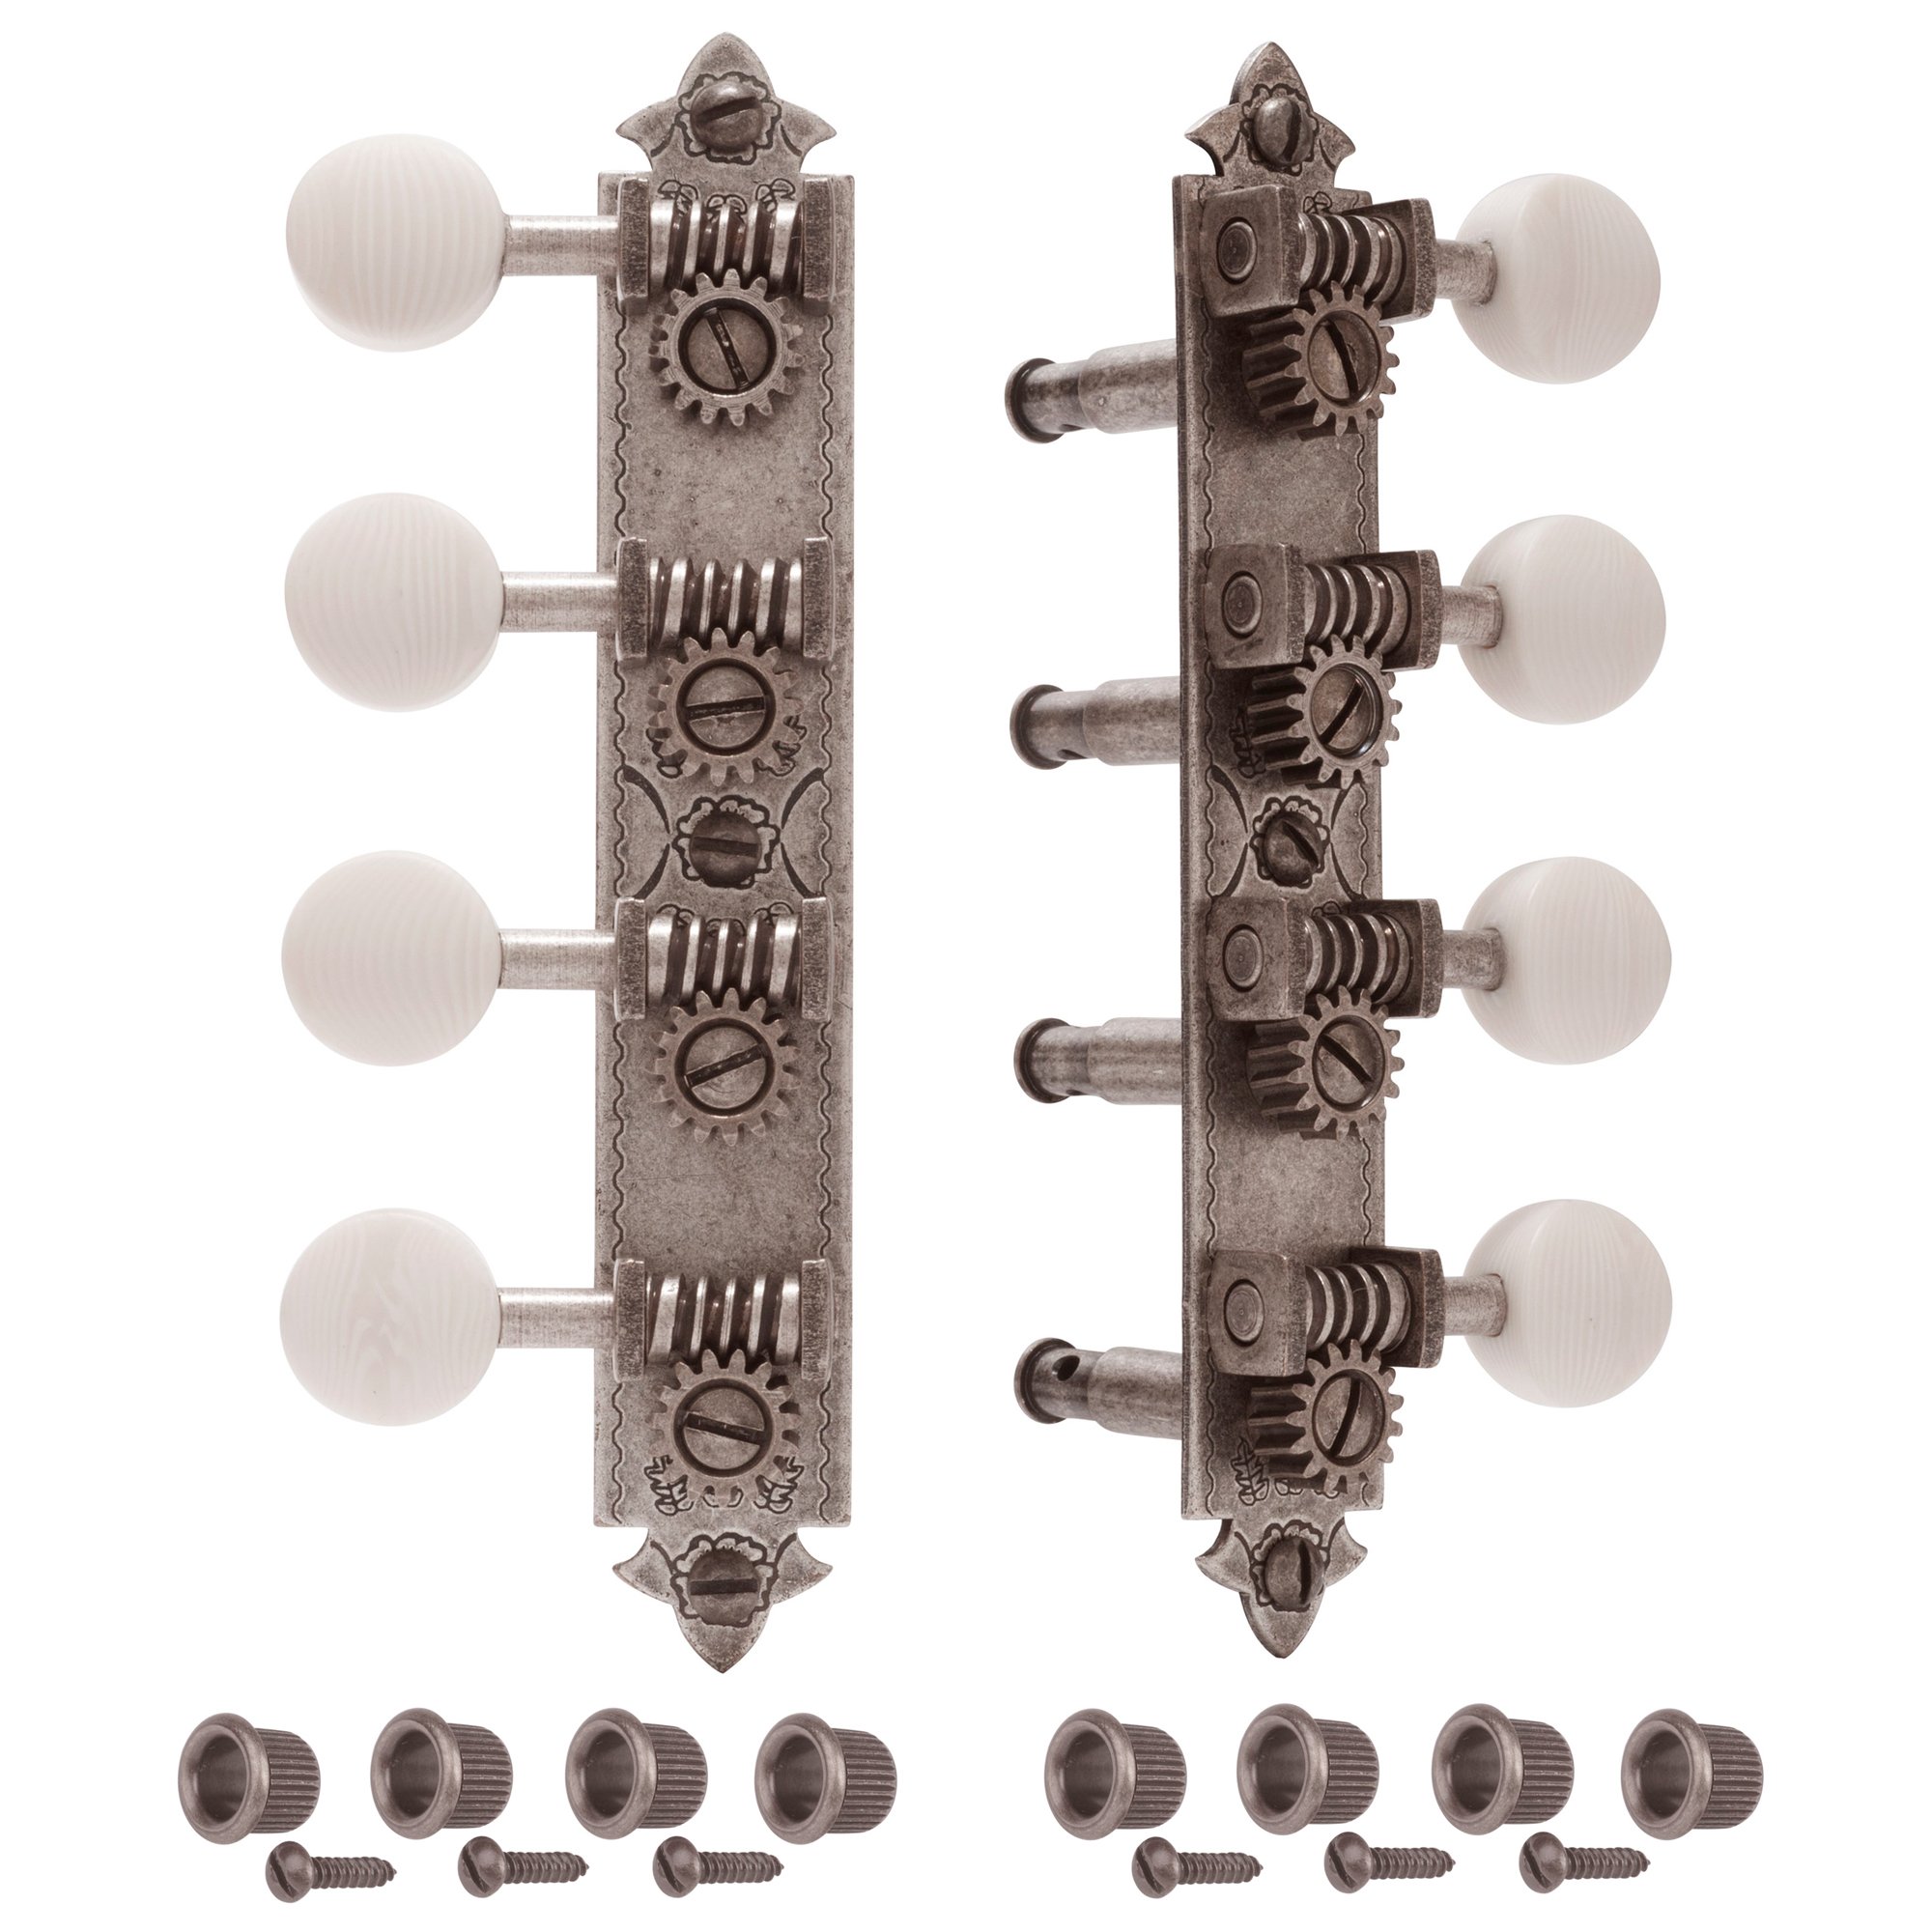
Dan Erlewine: Today, we have a treat. Visitor from Hong Kong, my good friend, Carl Ho [inaudible 00:00:13]. He's a luthier in Hong Kong. He has his own store called Acousick Room. He's come to visit for the third time over five years. And we are having a great time. We have a Gibson A-Style Mandolin here, A-Style Jr, 1925. We refretted it and got ready to string it up and the tuners just won't turn and we cleaned them and lubed them. And it's just too hard to get it. So we're putting a set of Golden Age tuners on it, and Carl's going to put them on using a little technique that he uses in his shop.
Carl Ho: Yeah, my shop is compact, so I would love to use hand tools.
Dan Erlewine: There's going to be a couple of holes on the back that will need to be plugged on this mandolin.
Carl Ho: And this time I'm showing you to do the plug with the hand tools.
Removing the old tuners
Dan Erlewine: Let's get started. Out with the old and in with the new, these are the old tuners. It can get really stiff, and then all of a sudden it gets loose for a couple of cogs. And once you put strings on this and it's pulling that post into the gear, it's even worse. And I had two choices for this. I like these sets of Golden Age Restoration Tuners, because it's more of a rectangular plate, but these posts are a little bit wider apart than these posts, which are original. And when I tried to put these in there, it wants to bend the plate apart. So those posts are going to bind. So I chose these, which is the modern spacing. In 1925, Gibson changed the post to post length by 30 thousandths [on-screen text reads: Golden Age A-Style Mandolin Tuners]. These fit, in fact, I don't even have to use the new grommets because these originals just happened to fit these tuners. And Carl's going to decide what holes need to be plugged, that's his job. Maestro take it away. So Carl, which holes do you think need plugging?
Figuring out what holes need to be plugged
Carl Ho: We'll have to test. We can see that it tilted that way, which is not good. Say this one, it seems just a little bit off. I will accept it. I don't plug these two because they're good. These four definitely will need to be plugged. Okay, first you have to be careful that to choose mahogany chunk with this grain, that direction, because this is what we do with the neck. We will have to cut a piece, a little stick from it like that.
Making the plugs
Dan Erlewine: This is grain matching.
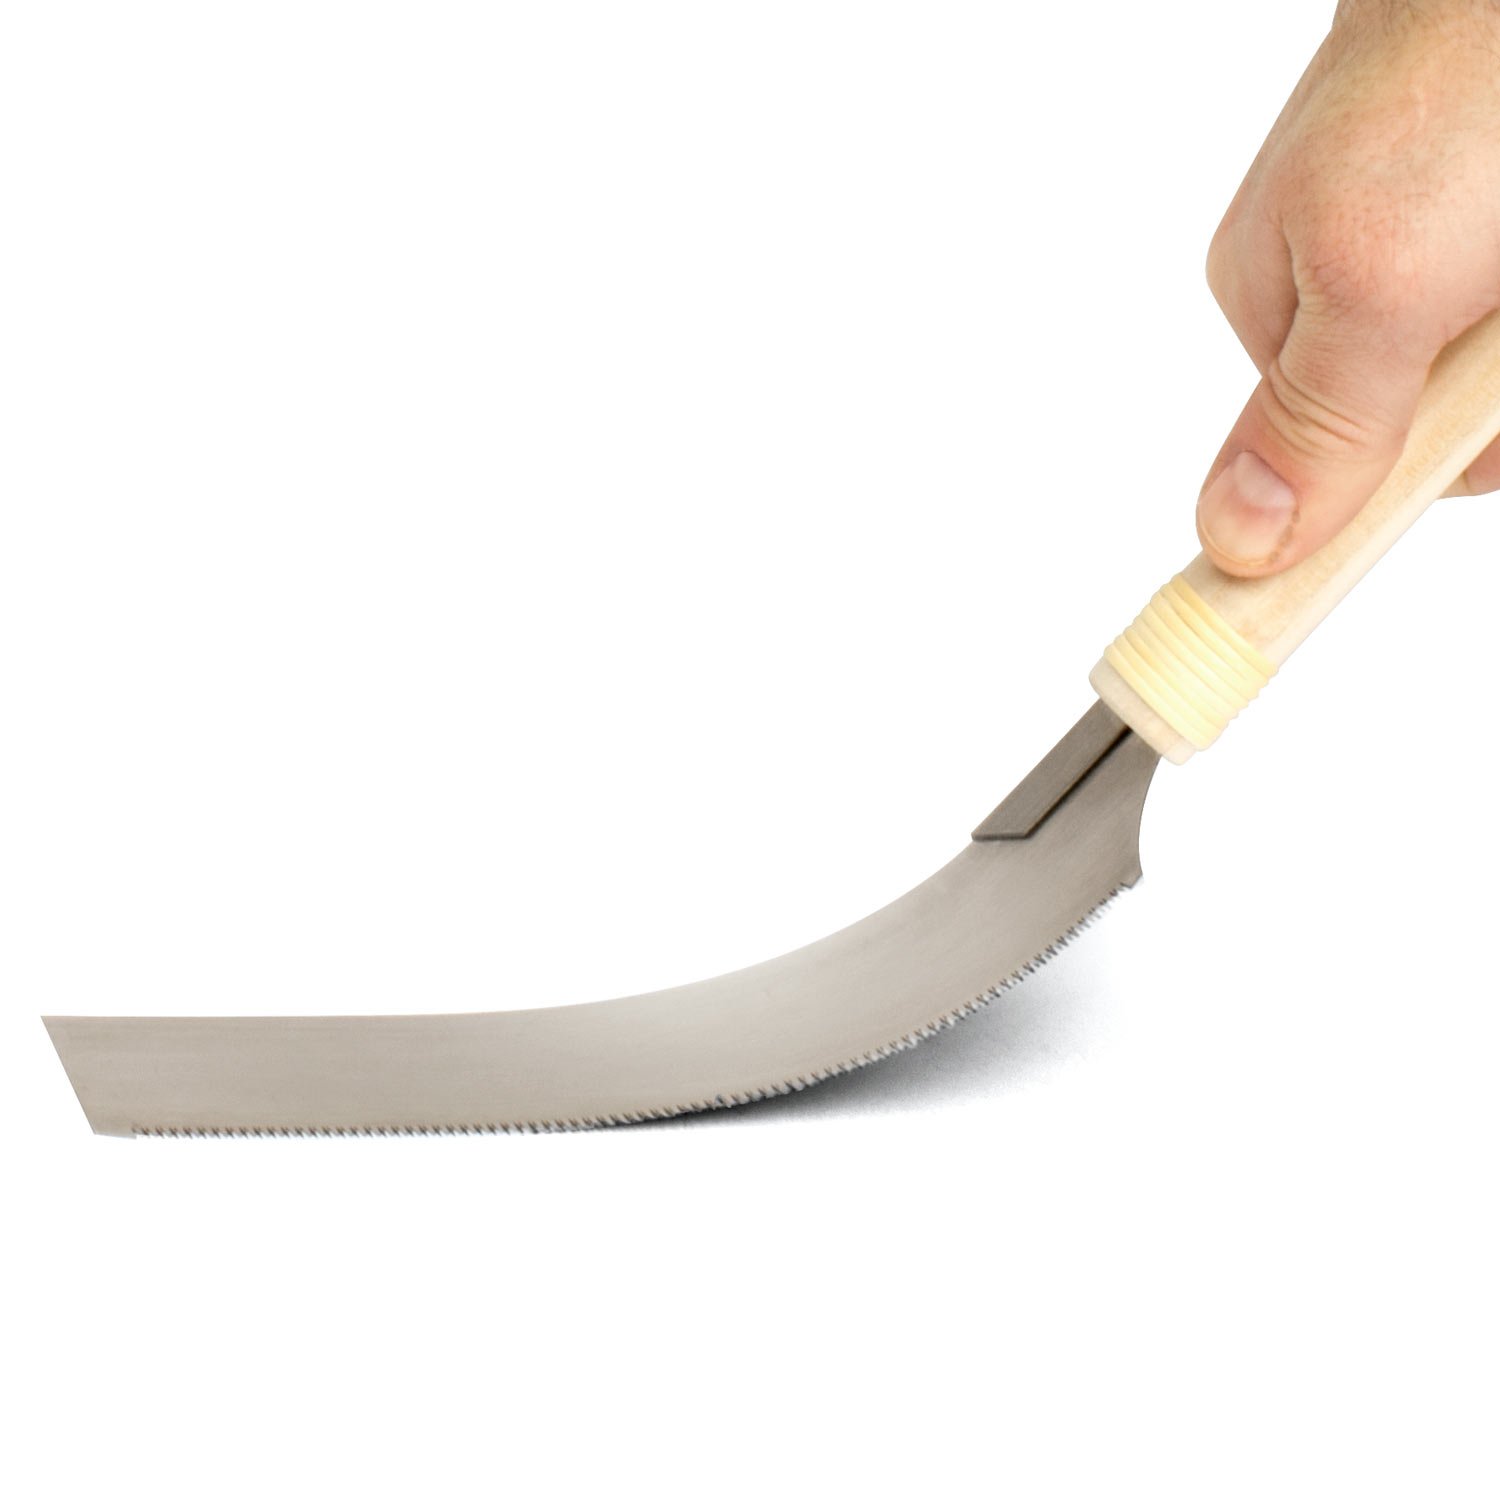
Carl Ho: And just with these Japanese Saw we can do this job easily.
Dan Erlewine: These saws have become my favorite tool.
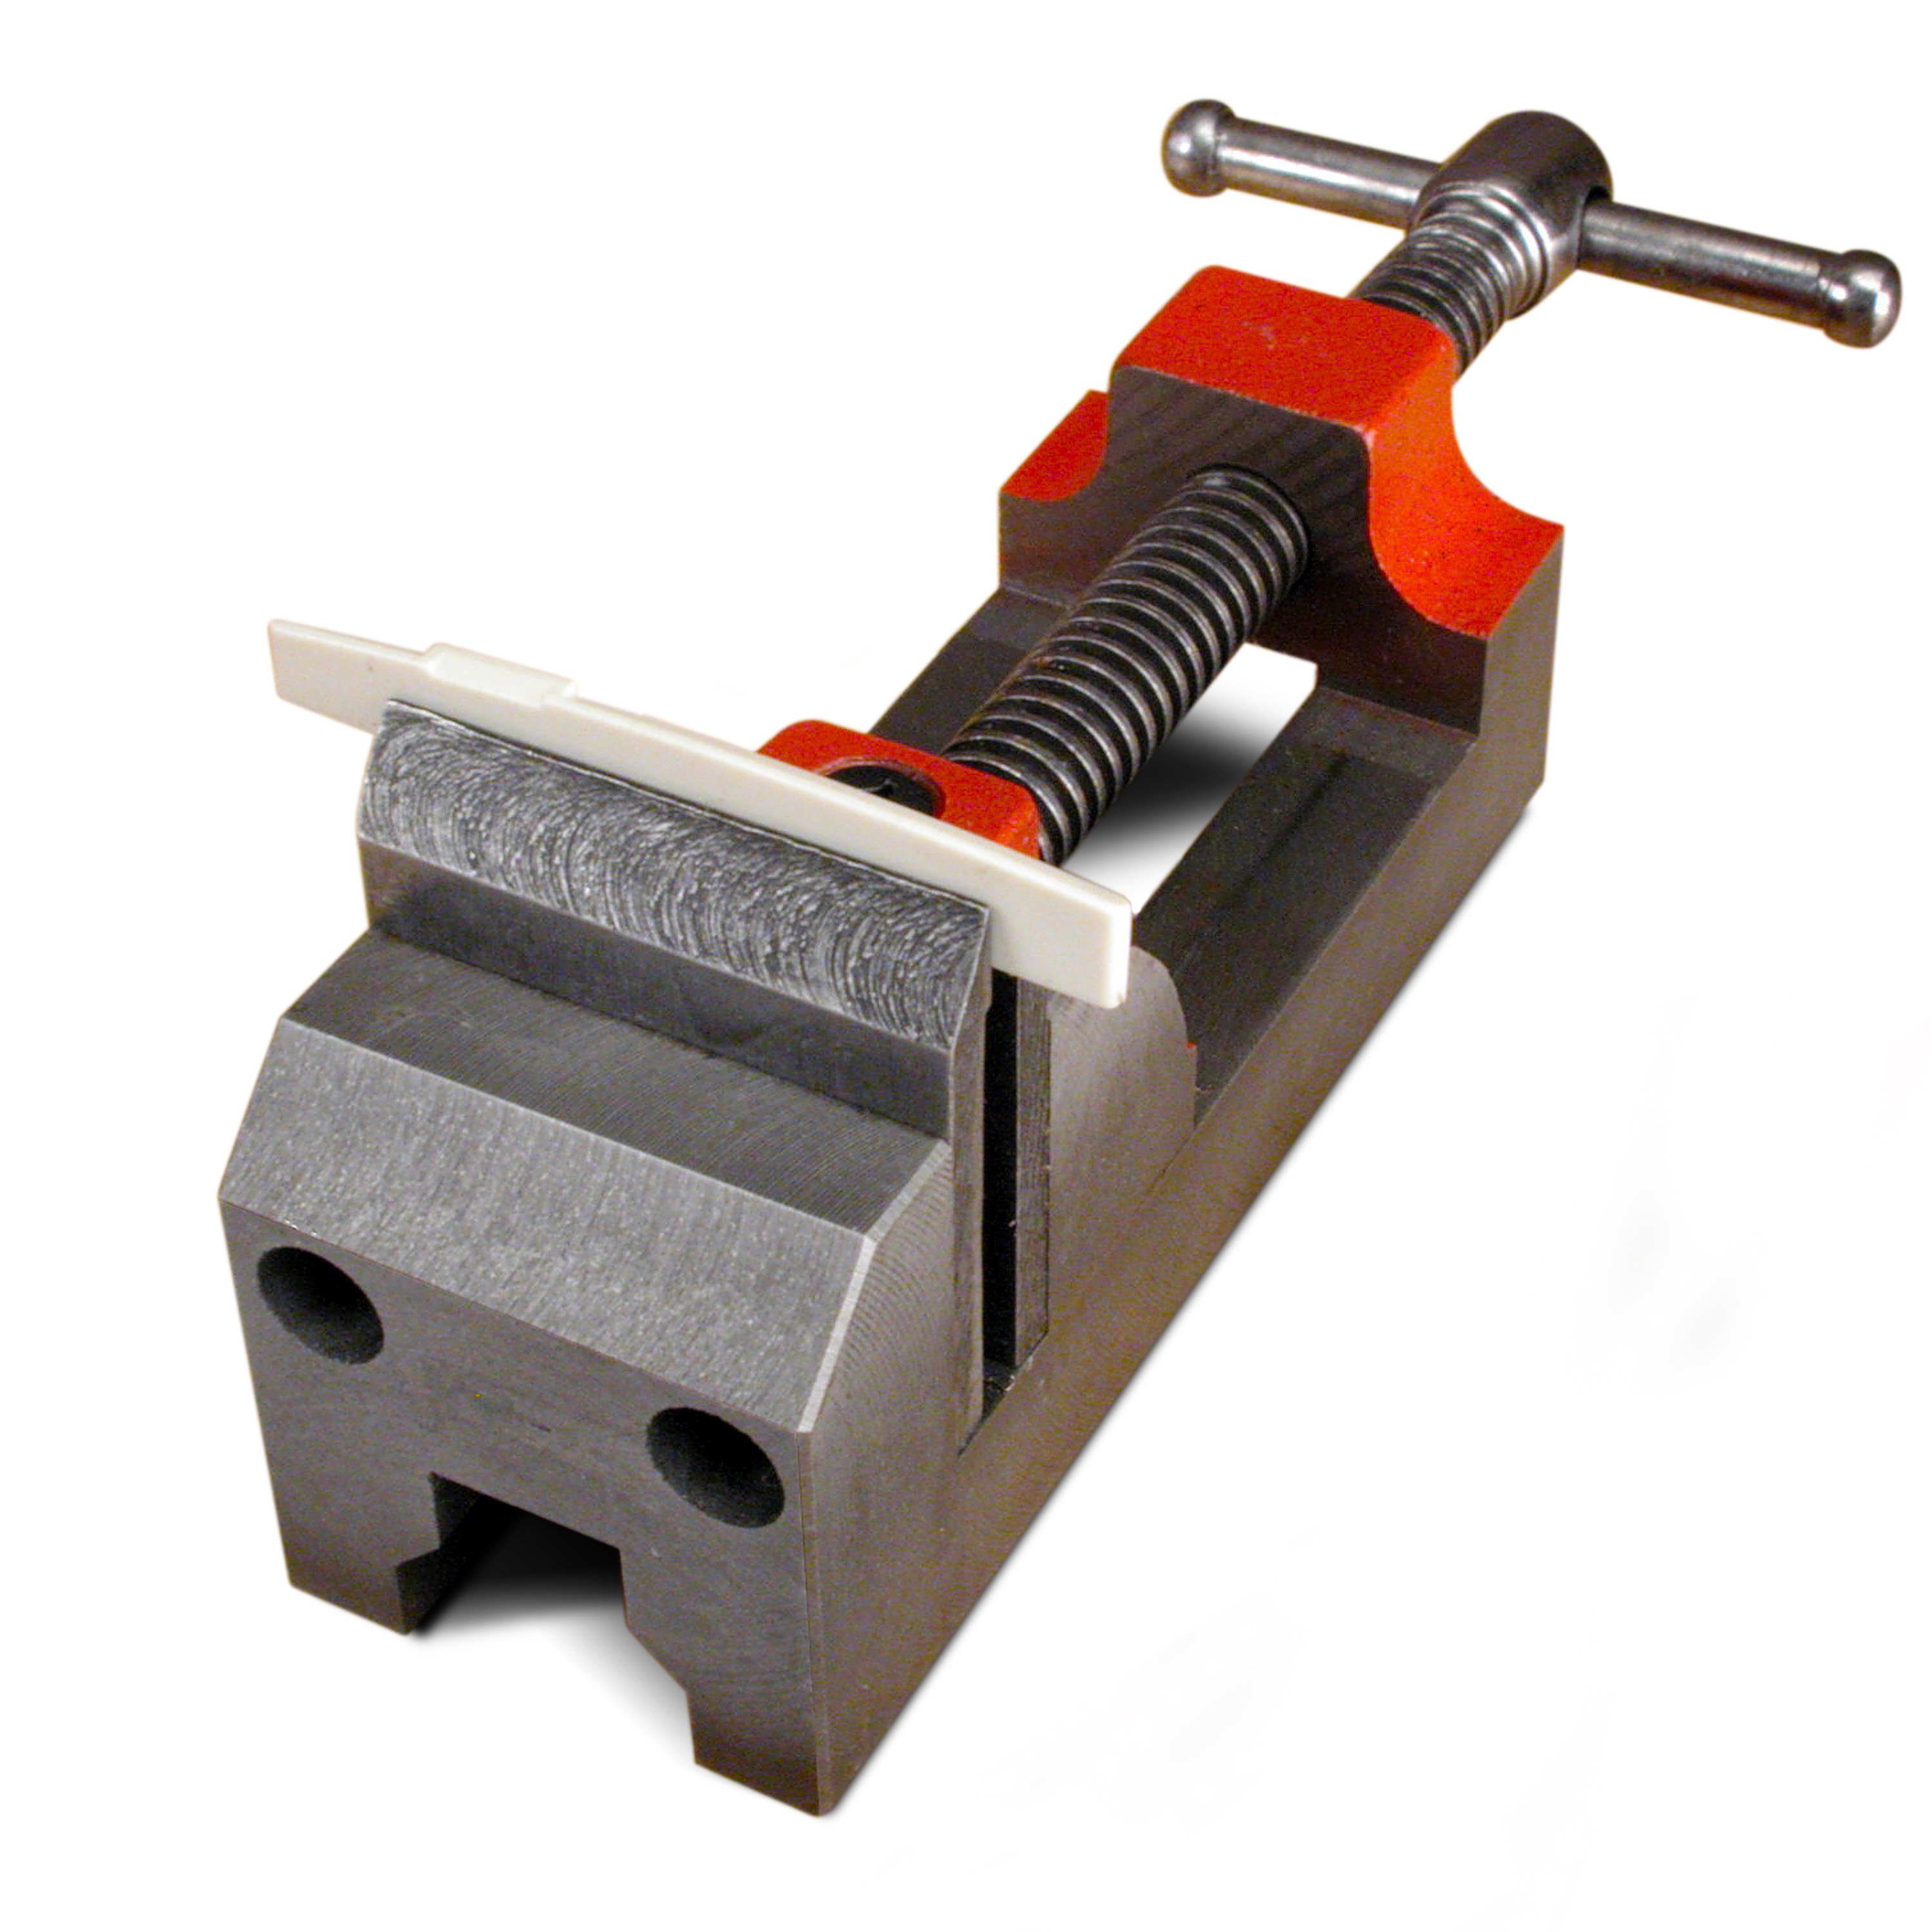
Carl Ho: Yeah, that's mine too.You will need this [on-screen text reads: Nut and Saddle Vise - stewmac.com], nut vise clamp that can hold like this and you'll need a narrow sharp chisel to touch on the tip of the little stick because you want to make it rough to go into the drill that I'm going to show you. You have to do this step quite slowly because of the grain, they break really easy. And that's why you need a sharp chisel to do that gently. We're going to put this stick inside the drill, 5 mm or 8 mm out. Here is the 80 grit self-stick sandpaper and here is the 120 grit. We're going to turn this and sand it. See the tip is becoming more like a cone and we go here and we go here [Carl sands the plug with the drill, moves from the 80 grit to the 120 grit sandpaper]
Do as sharp as you want. And we've got four blocks for four holes. You can clearly see the grain so that it will match.
Plugging the old tuner holes
For this job, we will need a thicker super glue to do this [on-screen text reads: #30 Thick Super Glue - stewmac.com]. When we put the plugs in, we can cut it with chisels and trim it flush. Once the glue is dry, you can just cut most of it by the collar and then we will go with the chisel. Okay, it's good. And now we've got to put the tuners on. Okay, we are going to punch certain holes in the center.
Installing the new tuners
Dan Erlewine: Right now, you've got two holes sort of overlapping. So you're going to partially center the hole right on the glue line, right?
Carl Ho: Yep, otherwise the new drill holes will still follow.
Dan Erlewine: And were right back where they were.
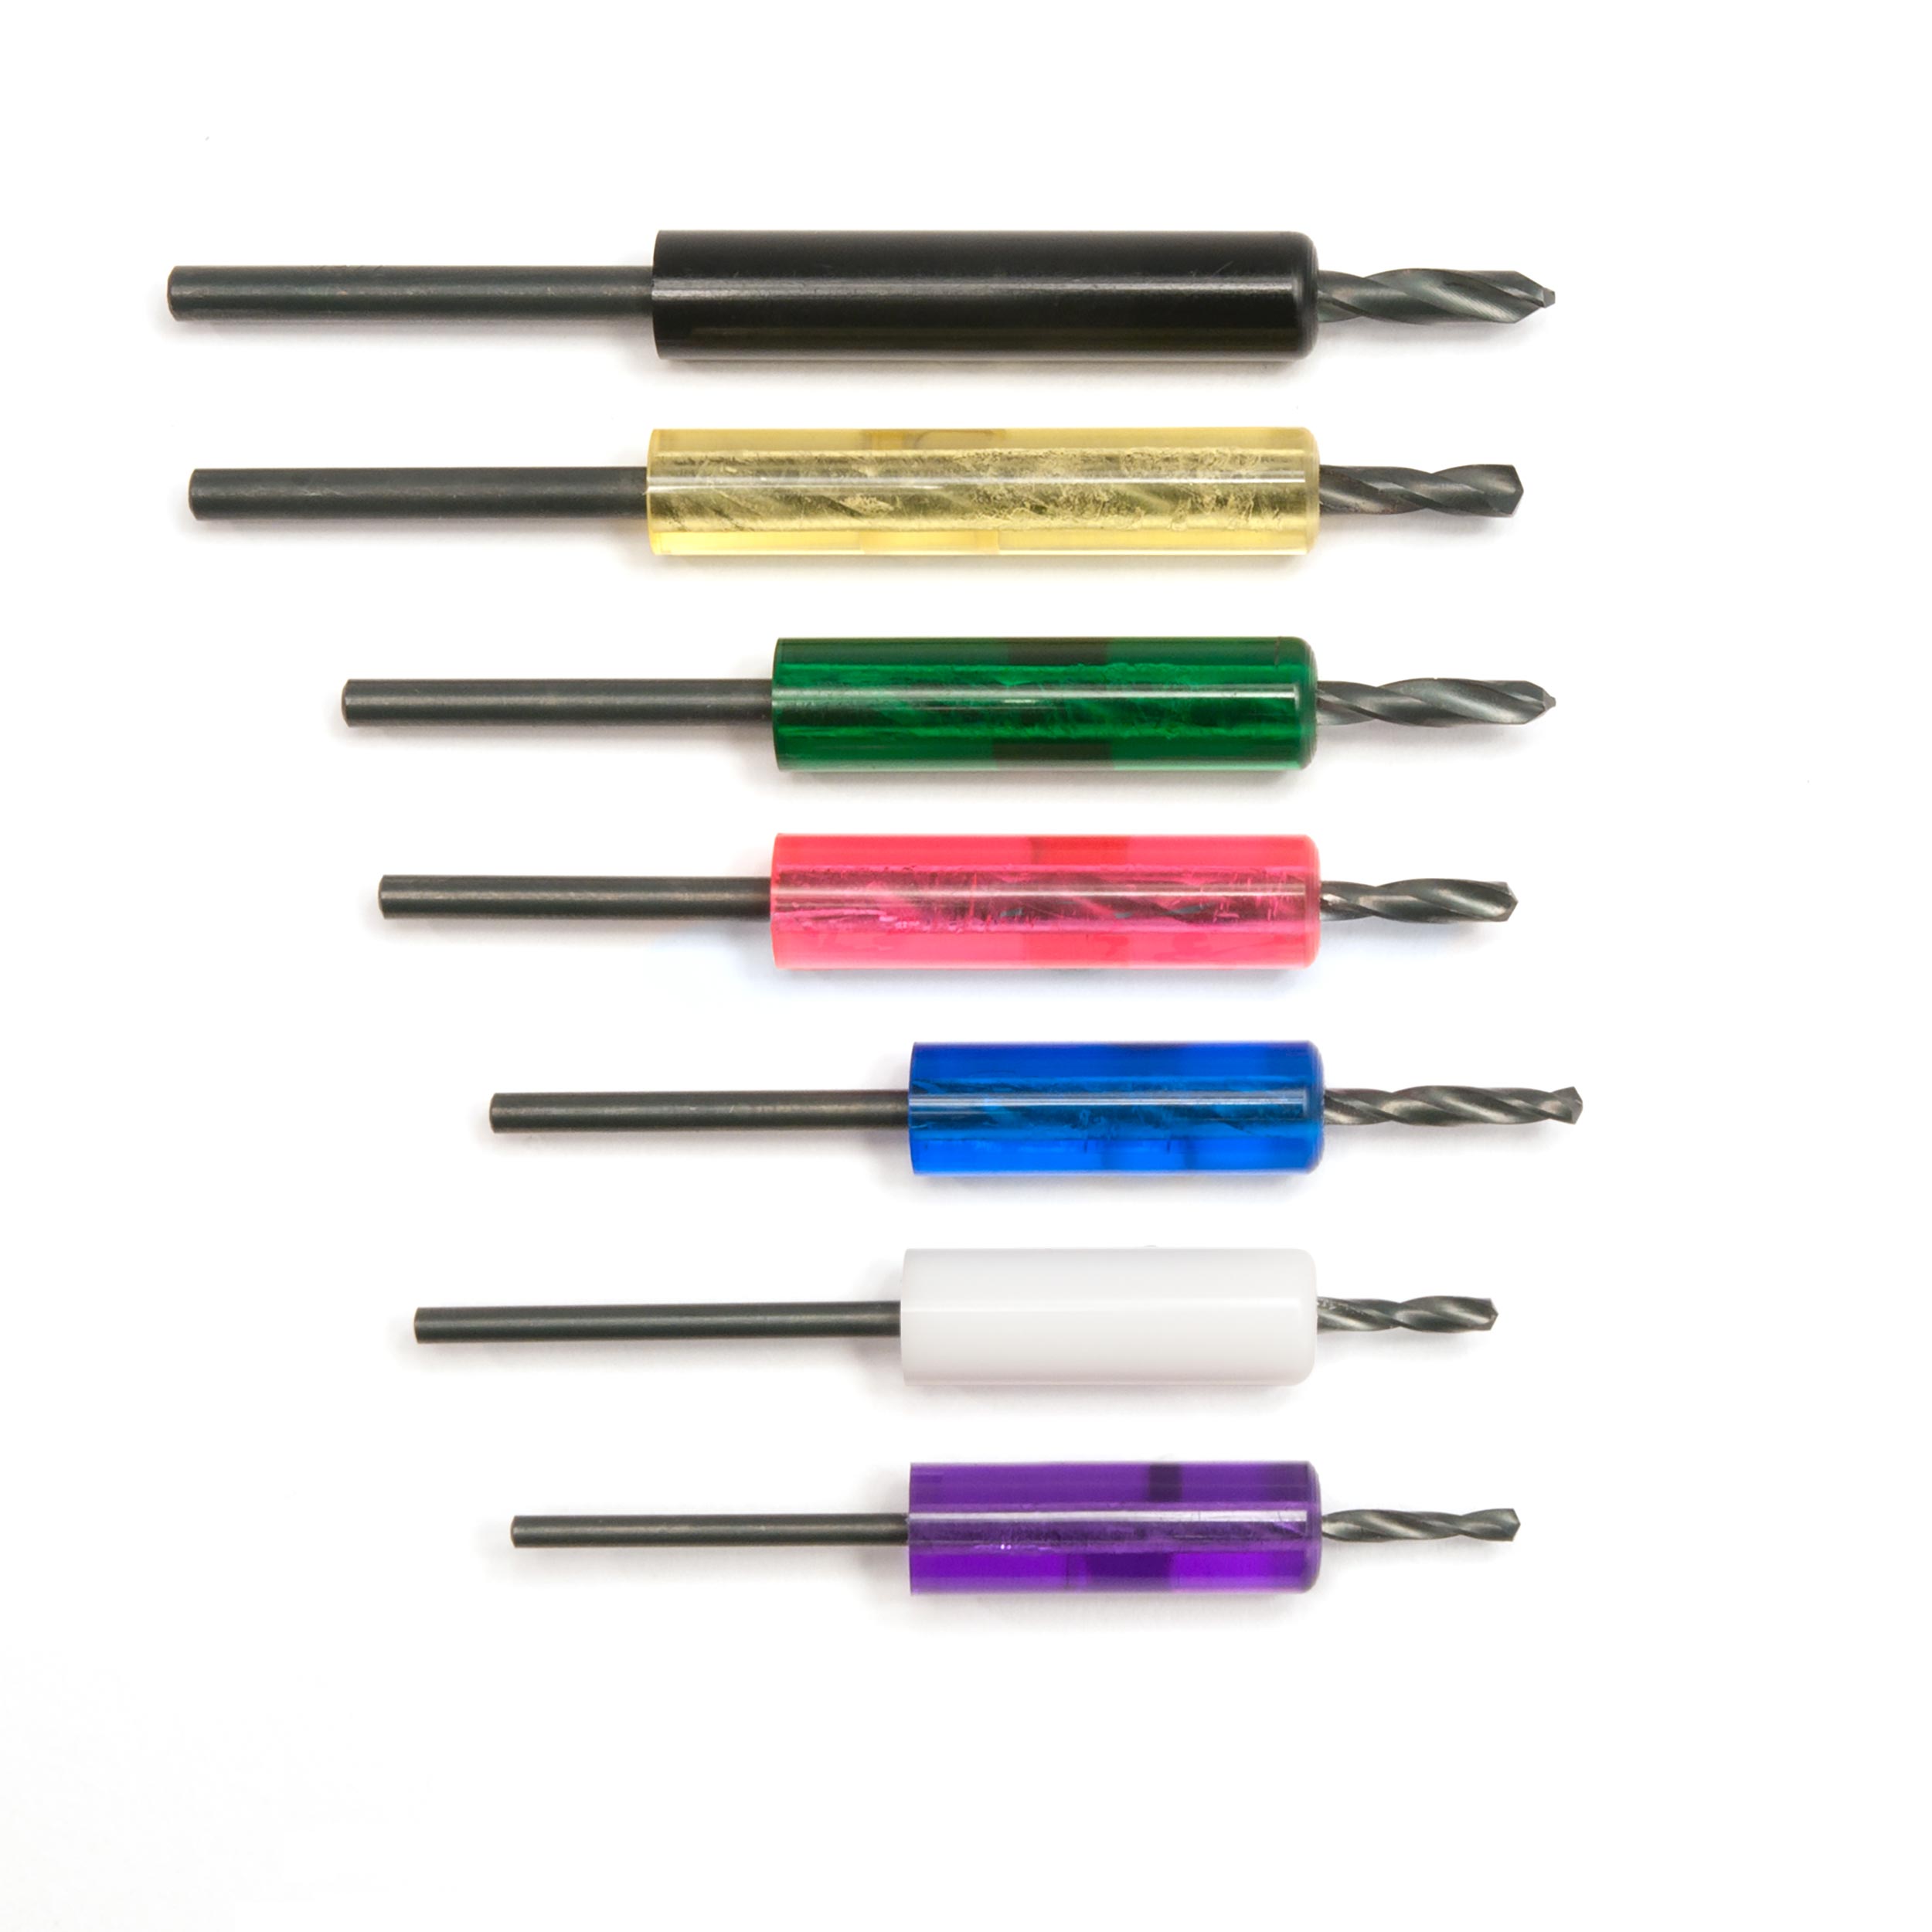
Carl Ho: Old holes, it's not good then. And then we will drill holes with drill bit smaller one with depth stop [on-screen text reads: Depth-Stop Drill Bits - stewmac.com]. Then with the correct one. Now the holes are totally for the new holes of the machine hands.
Dan Erlewine: We can use the original screws that came with the tuners too. My friend Mike is going to be real happy with this. Plus the original nut still fits. We took enough off the fret board that with the new fret still, it's going to be good. Here's a case where the Golden Age tuners solved the problem. They're really good tuners at a really good price. I want to thank you for showing this to us today. Thank you for being here.
Carl Ho: You're welcome. What I've just shown you, can also be done on bass guitars and other holes that you would like to plug.
Dan Erlewine: And if you like these free videos, please subscribe to our YouTube channel. Thank you, Carl.
Carl Ho: You're welcome.
Dan Erlewine: So long.
Carl Ho: Bye-bye. See you next time.

