Soundhole and Rosette Routing Jig Instructions
Instructions for cutting a soundhole and routing rosette rings in a guitar or ukulele using the Soundhole and Rosette Routing Jig.
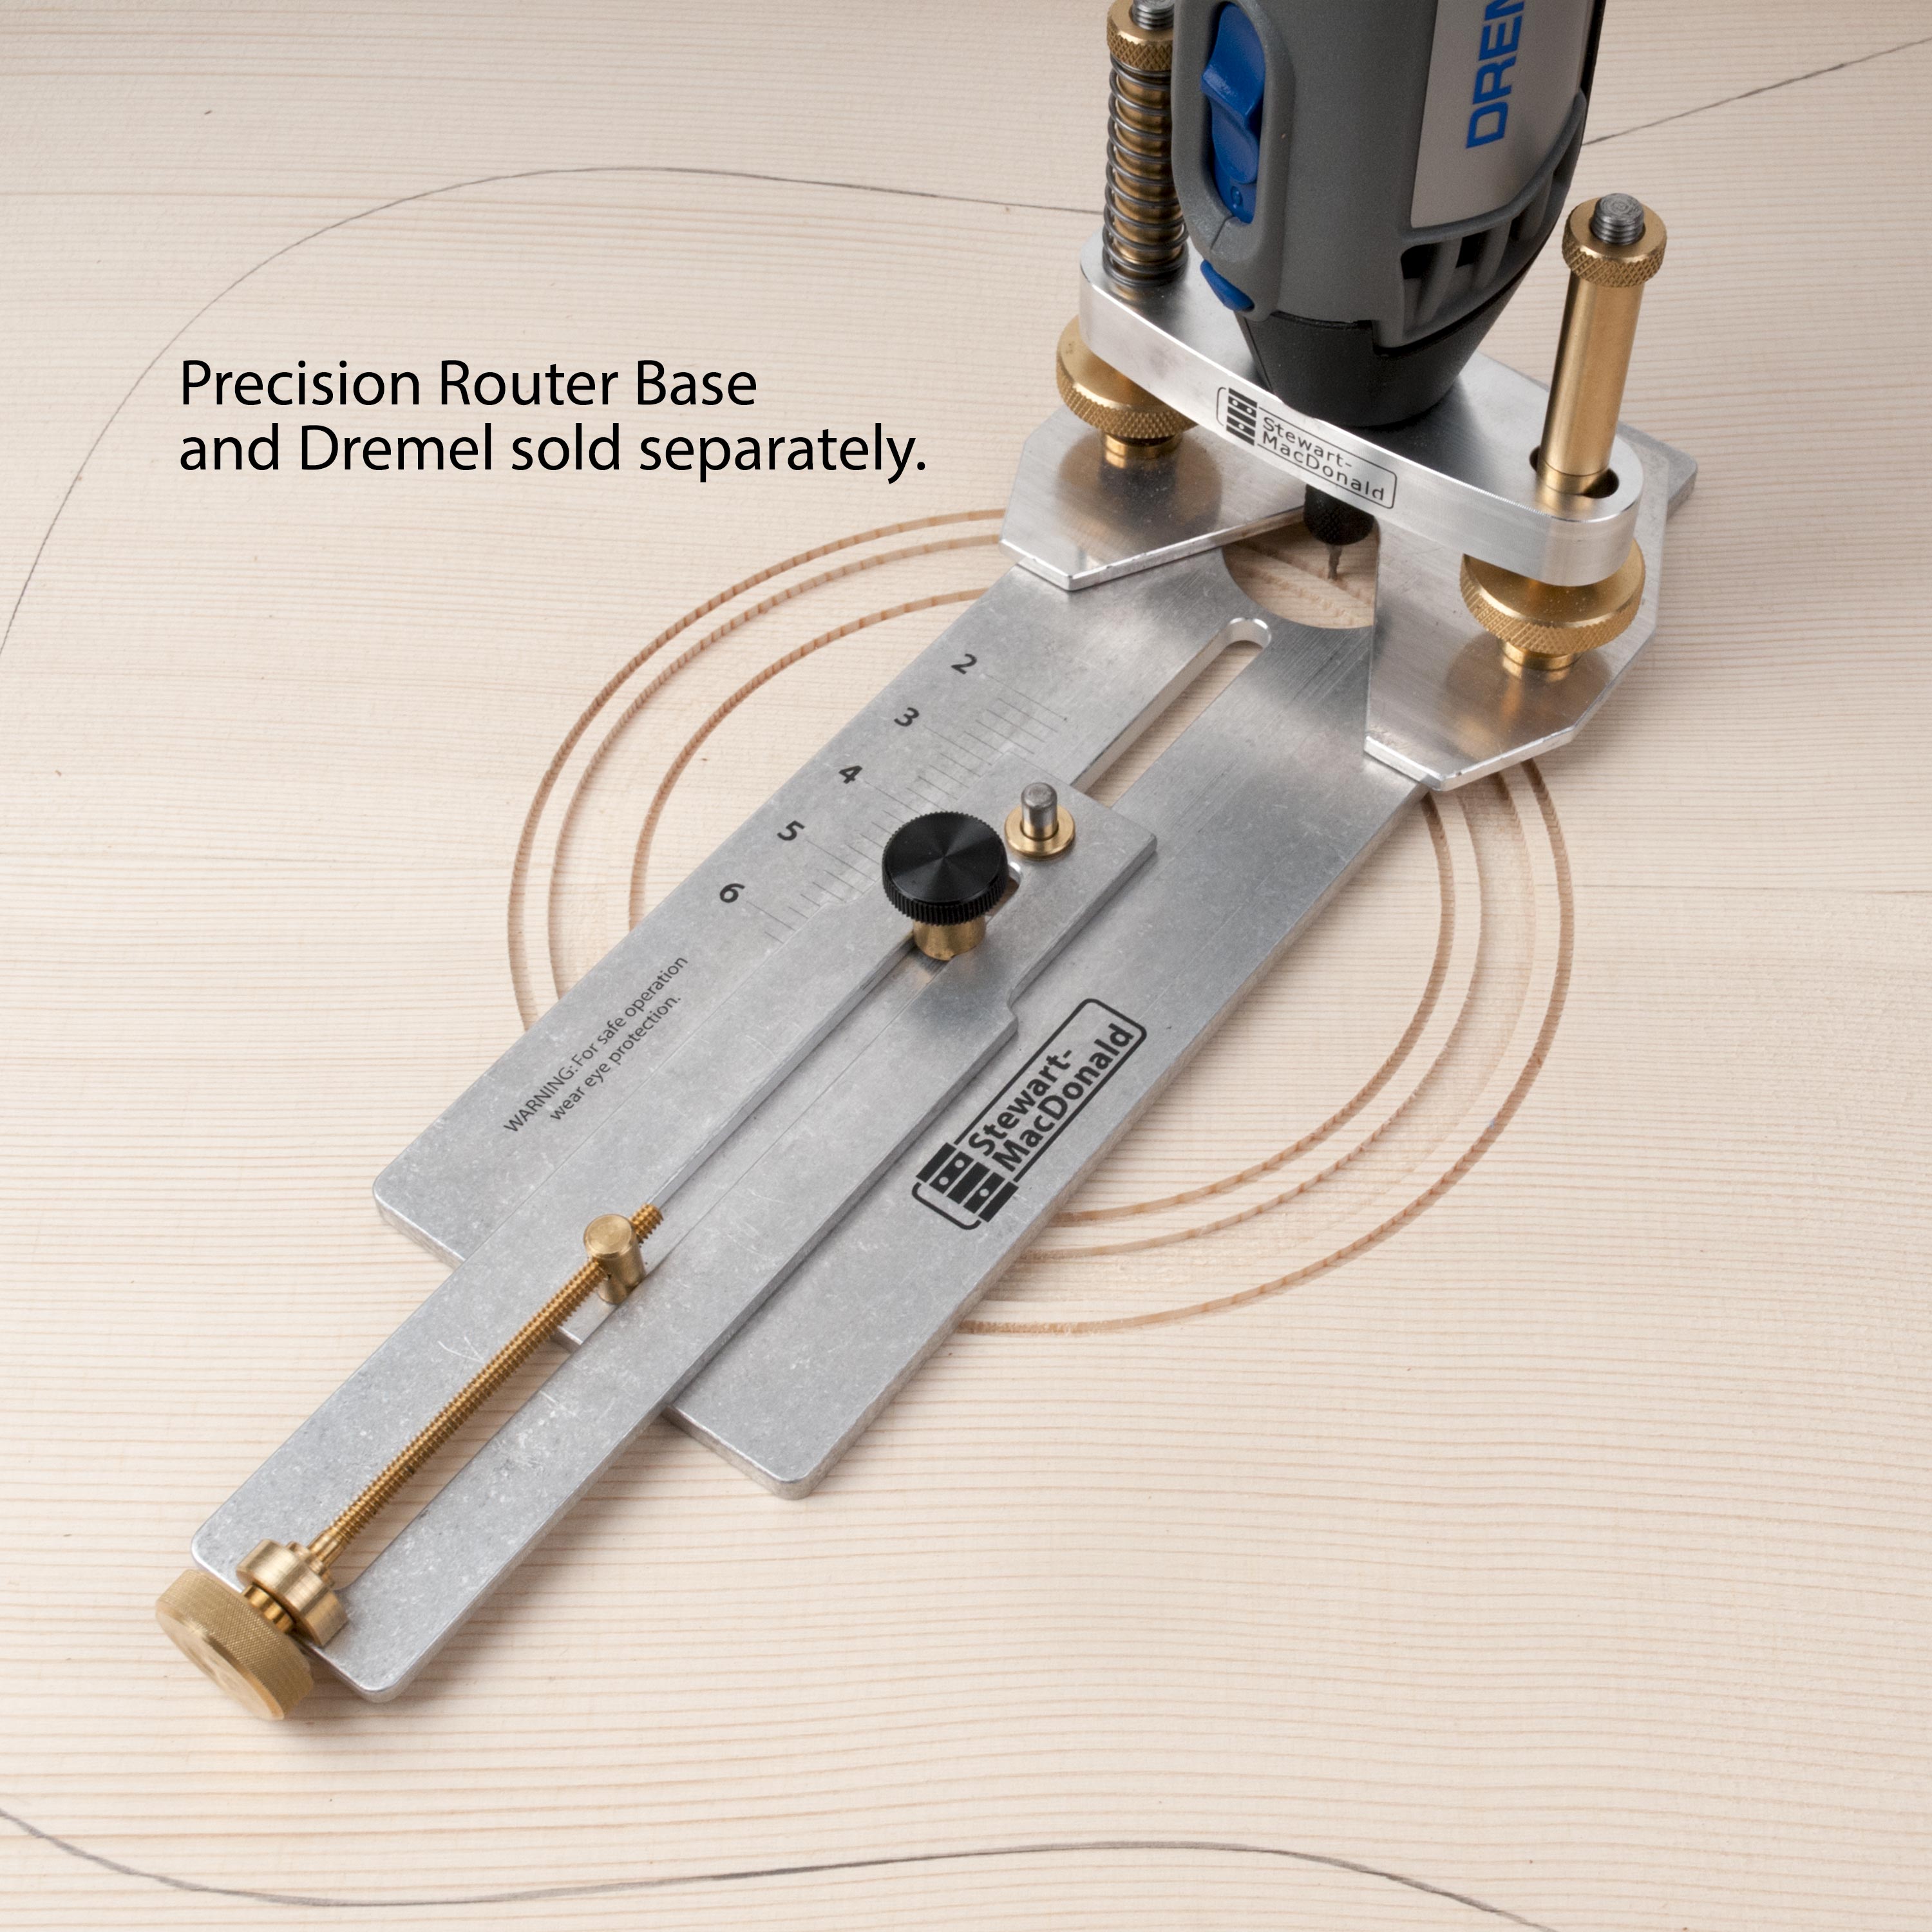
The Soundhole and Rosette Routing Jig works like a compass, holding your Precision Router Base to create precise circles. The jig turns on the pin provided, which is anchored in a plywood work surface. The jig adjusts for 2" to 6" diameter cuts for new guitar or ukulele soundboards. Start by making a workboard large enough to support the entire instrument top (a flat piece of 3/4" plywood is ideal). Drill a hole for the 3/16" pin, located where the center of the soundhole will be. This hole must be drilled absolutely square to the workboard so the pin will be straight and the jig will turn accurately. Choose a drill bit sized so the pin press-fits tightly into the hole—it mustn't wobble. Drill all the way through, using the full thickness of the plywood to anchor the pin. The fitted pin will protrude 3/4" above the surface. Use the two screws provided to attach the Soundhole and Rosette Routing Jig to your router base. Use a fresh, sharp router bit for clean results. We strongly recommend our Carbide Downcut Inlay Router Bits because their downcut design greatly reduces fuzzy edges and tear-out in tonewoods. It's a good idea to choose a bit that's smaller than the width of your inlay. A bit always cuts slightly larger than its diameter, so a channel created by a 1/8" bit may be a bit loose for a 1/8" purfling. It's better to cut multiple passes with a smaller bit to get exactly the snug fit you want. With very thin purflings (less than 1/8") this is not a problem, and you'll be able to match the cutter bit to the inlay. Follow the luthier's golden rule: Test On Scrap before cutting your guitar top! Also test various cutting speeds to find the best technique for the wood you're using. Drill a 3/16" hole in the instrument top at the exact center of the soundhole. Fit the top onto the pin and tape the corners to the workboard. Place the jig onto the pin—the bronze bushing should fit snugly while turning smoothly in a full circle. Set the diameter of your cut by loosening the knurled locking nut and turning the adjusting screw. Use the guide ruler to watch the change in adjustment (this ruler is only a relative guide, since it references the centerpoint of the bit, and the bit may be of any diameter). Firmly tighten the locking nut so that your setting doesn't change while cutting. Set the depth of cut on your router base to match your purfling, leaving the inlay slightly "proud" of the surface—to be sanded or scraped flush after installation. Don't rout too deep, or your inlay will sit below the surface of the guitar top. Take care not to let wood chips get under the jig: this will cause uneven cutting depth. After the rosette rings are routed, the soundhole itself can be cut out. We recommend cutting 3/4 of the way through the top with the jig, then finishing with an X-Acto knife.Make a plywood workboard
Attach the jig to the router base
Choosing the router bit
Drill the center hole
Set the diameter
Recommended tools and supplies
