How to stain a Fender maple fretboard
Issue 310 July 26, 2018
This 1972 P-Bass neck came into Dan Erlewine's shop with a nasty curve that wouldn't adjust out. Dan had to remove wood to make it straight, so now he's refinishing the surface to match the rest of the neck.
- 1972 Precision Bass with too much curve to adjust out
- Wood removed at the nut and the heel to flatten it
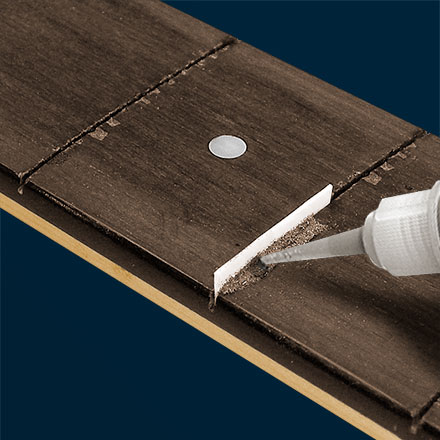
- Neat trick for keeping gunk out of the fret slots
- Perfectly color-matching the slightly yellowed finish
Video Transcription
[on-screen text reads: StewMac tools + ideas for guitarmaking. Staining a Maple Fretboard]
Dan Erlewine: Today in the shop, I have a 1972 Fender Maple Neck Bass that came in very warped, very up-bowed, at least it was. Hadn't been adjusted right for years. And even with the truss rod, you couldn't get it as straight as you wanted. So, the first thing I did was take out the truss rod nut, cleaned around it, bored it deeper, put a spacer in there, put a longer truss rod nut in it. I took a lot of wood off at this end, because we still had some here, and a lot off at that end.
Keeping the slots clean with Teflon Fret Dam
So, I'm about dead flat now. And before I fret a Maple Neck, I like to put the finish on it. In this case, I need to match this White Maple to that color that this wood has aged since '72. And I'm going to put a finish on it. Today's topic is really how to prep this board for that stain and finish. I've cut little strips of Teflon from a Teflon Fret Dam sheet to the radius of the seven-and-a-quarter inch fretboard and put them down into each slot to keep any stain, and glue, and finish out of those slots.
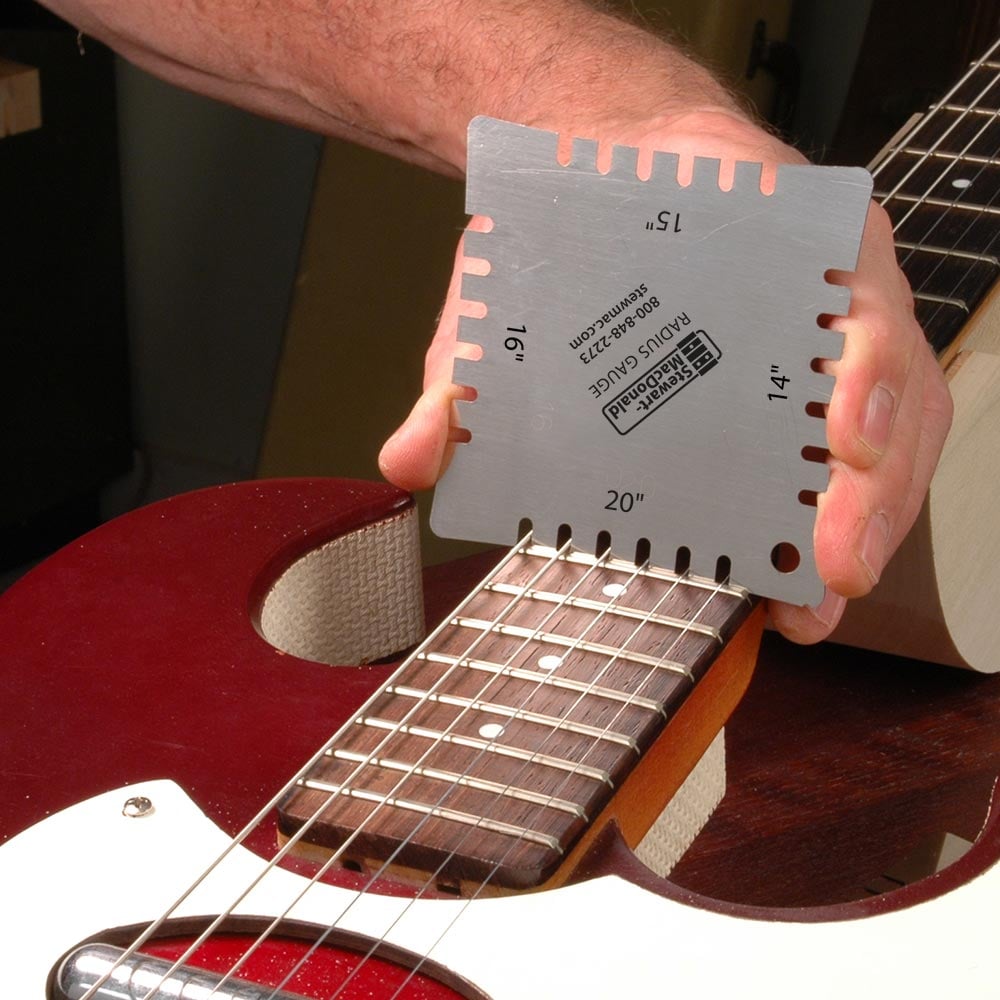
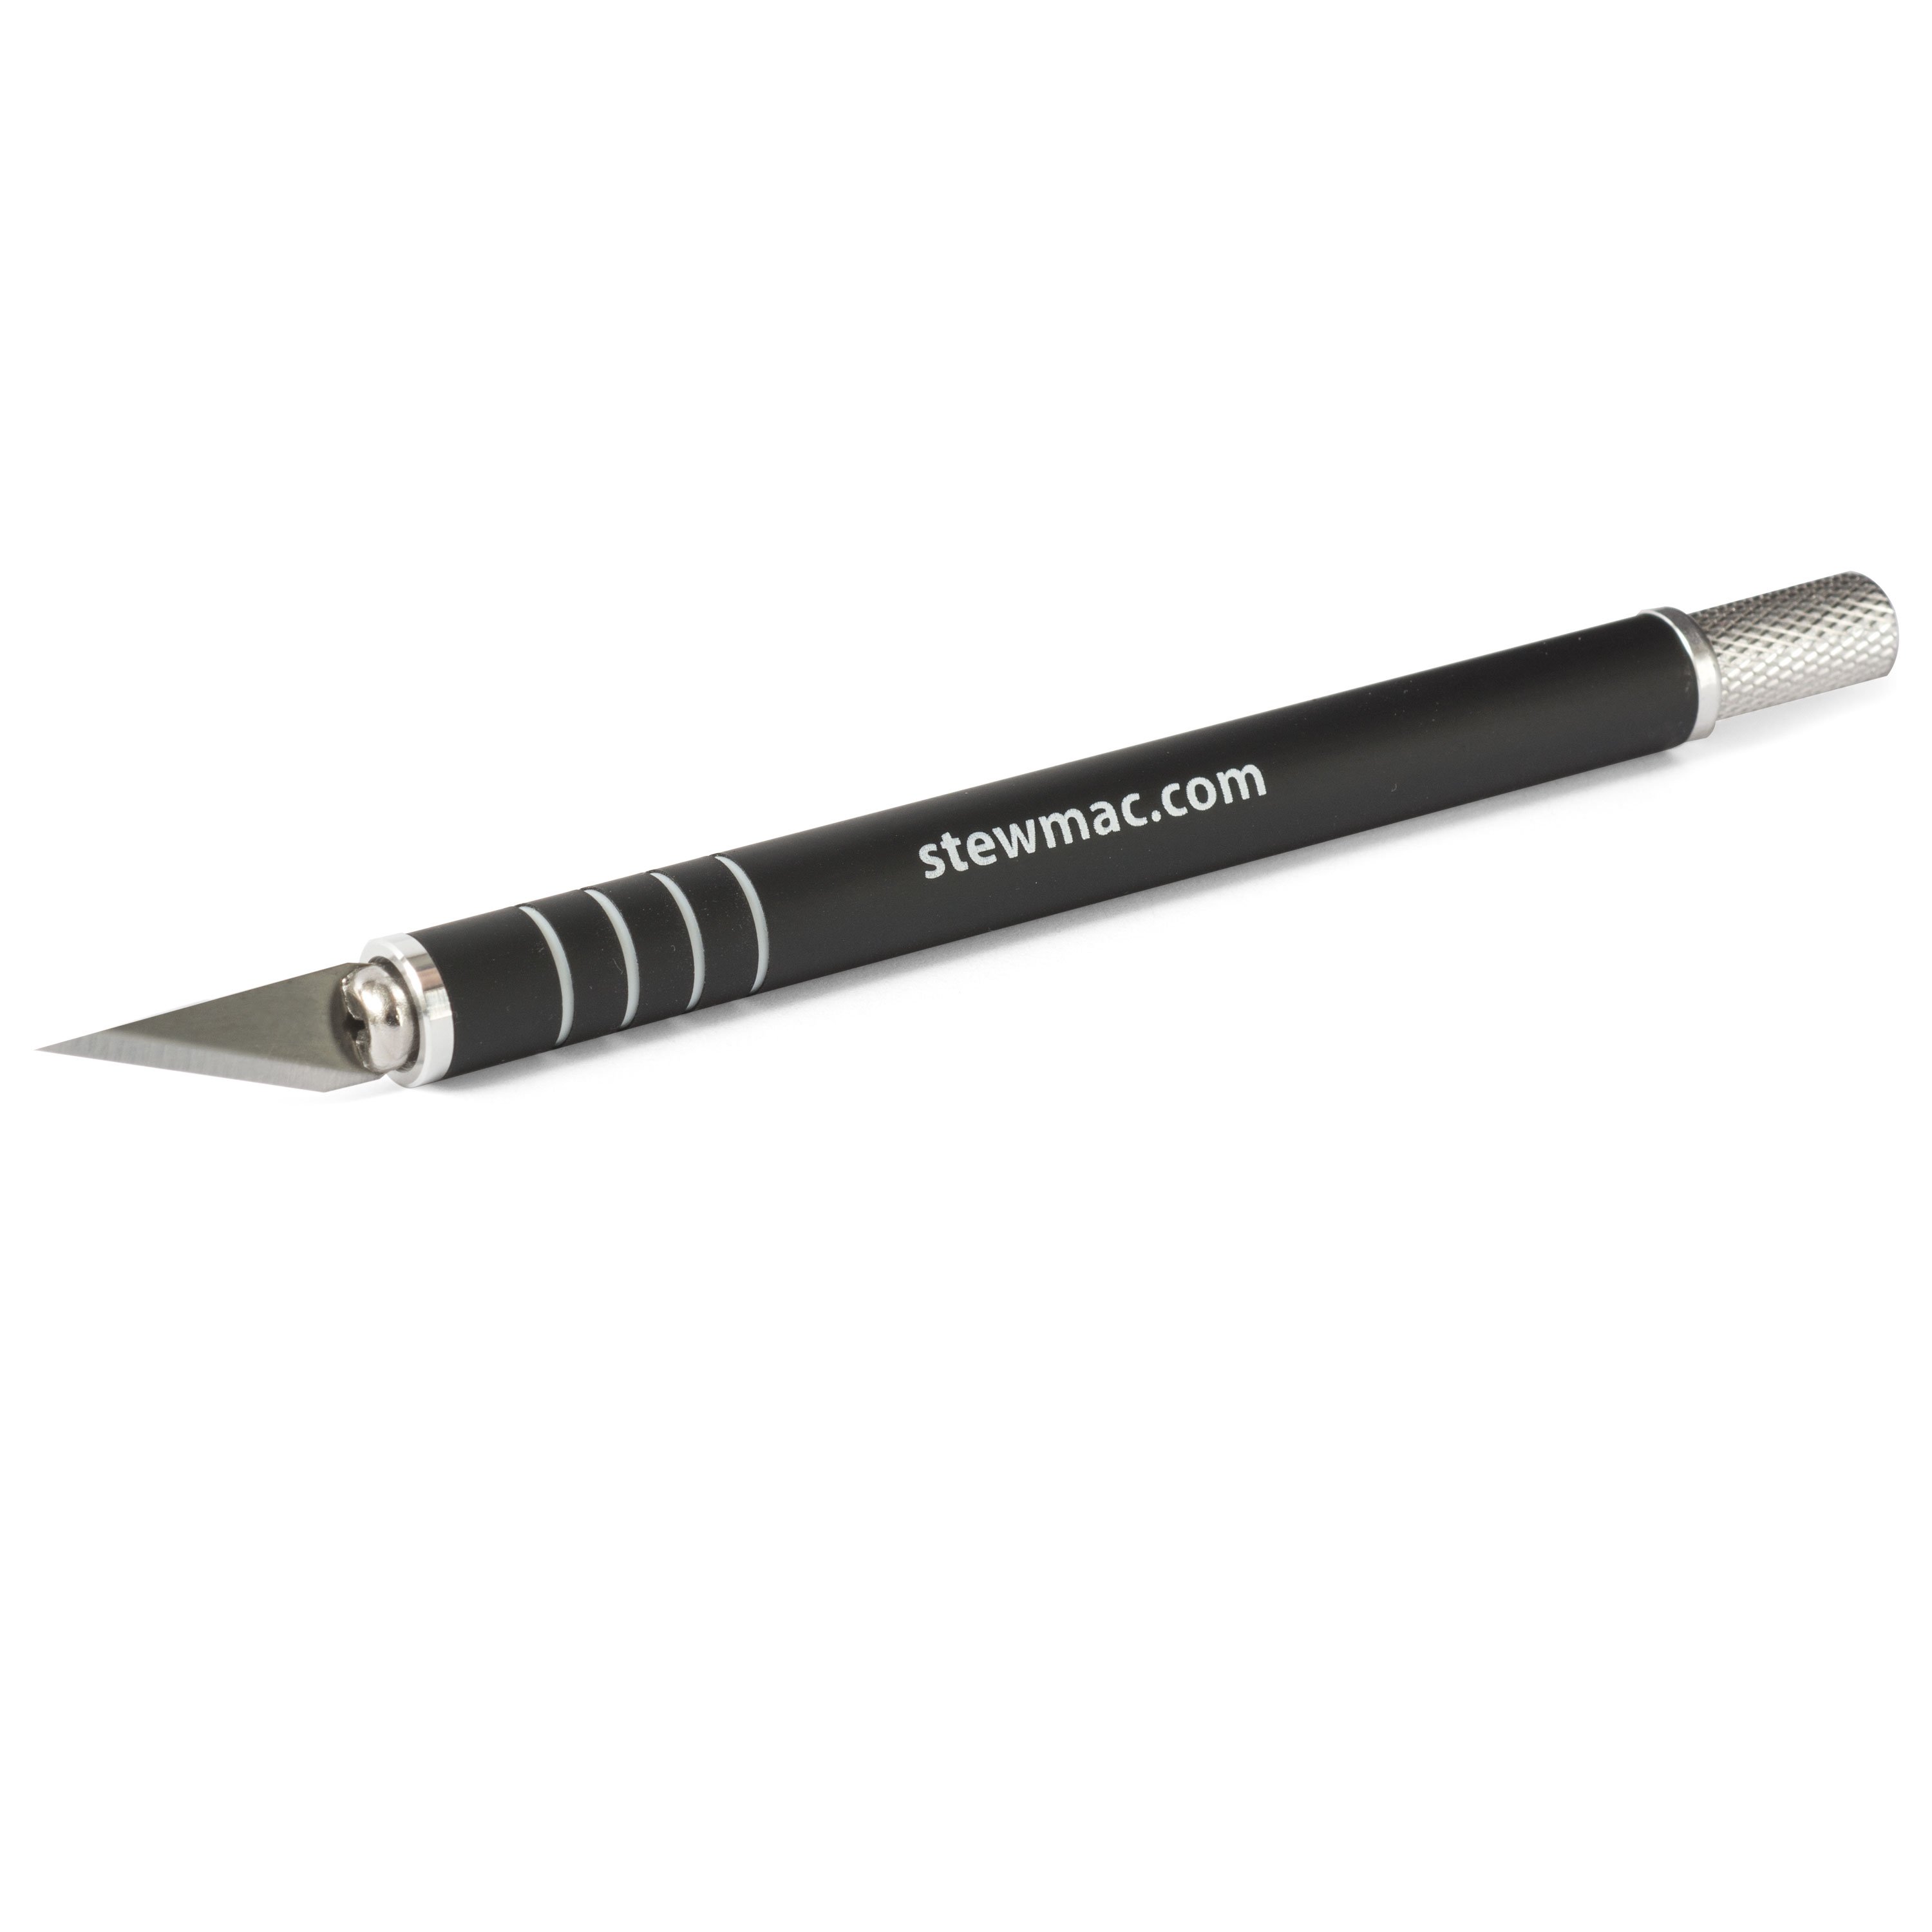
So, when I come to fret it, they're not all full of something I don't want in there. Since I've already filled all these slots, how about I take a few of my filled slots out and show you how I cut them? The Teflon Fret Dam material is about 20 thousandths. That's really good for a fret slot. All I do is take a Radius Gauge, this gauge is seven-and-a-quarter. Then I move over the height of a fret slot, plus a little bit. Got a fresh Number 11 blade in there. I don't try to cut it all at one time. You can break the blade. I'll use this Teflon stuff for all kinds of things. I face calls with it. Gluing calls, no chance of sticking to the glue that you use.
Then I just come across with a sharp chisel [on-screen text reads: Two Cherries Wood Chisel - stewmac.com]. You like a wide chisel, too. So it's sort of resting on the wood. If you had a narrow one, you'd have a much better chance of cutting into the wood. I want to get this as flush as I can, as I want to be able to go back and forth with the rag when I stain it. It's a little tricky to carve these down, because the chisel wants to dig down into that Teflon. It can cut the strip in half. I'm pressing the Teflon down a taste as I do this to keep it down in the slot. And don't cut your finger. So, now there's a case where I cut down into it. You got to be careful. I was rushing it. Then another piece. Teflon cuts like butter. So far, so good.
Perfectly color-matching the finish
Let's mix up a stain. For a color to match this old base, I'm using one of our new colors, maybe 10 of them now adding to our line [on-screen text reads: ColorTone Liquid Stains - stewmac.com], that take care of all the vintage colors you can imagine. So, if you're deep into finishing, then you're going to love them. This one is called, "Straw." Think of a golden straw laying in the barn, and the sun shining on it. That's the color this can produce.
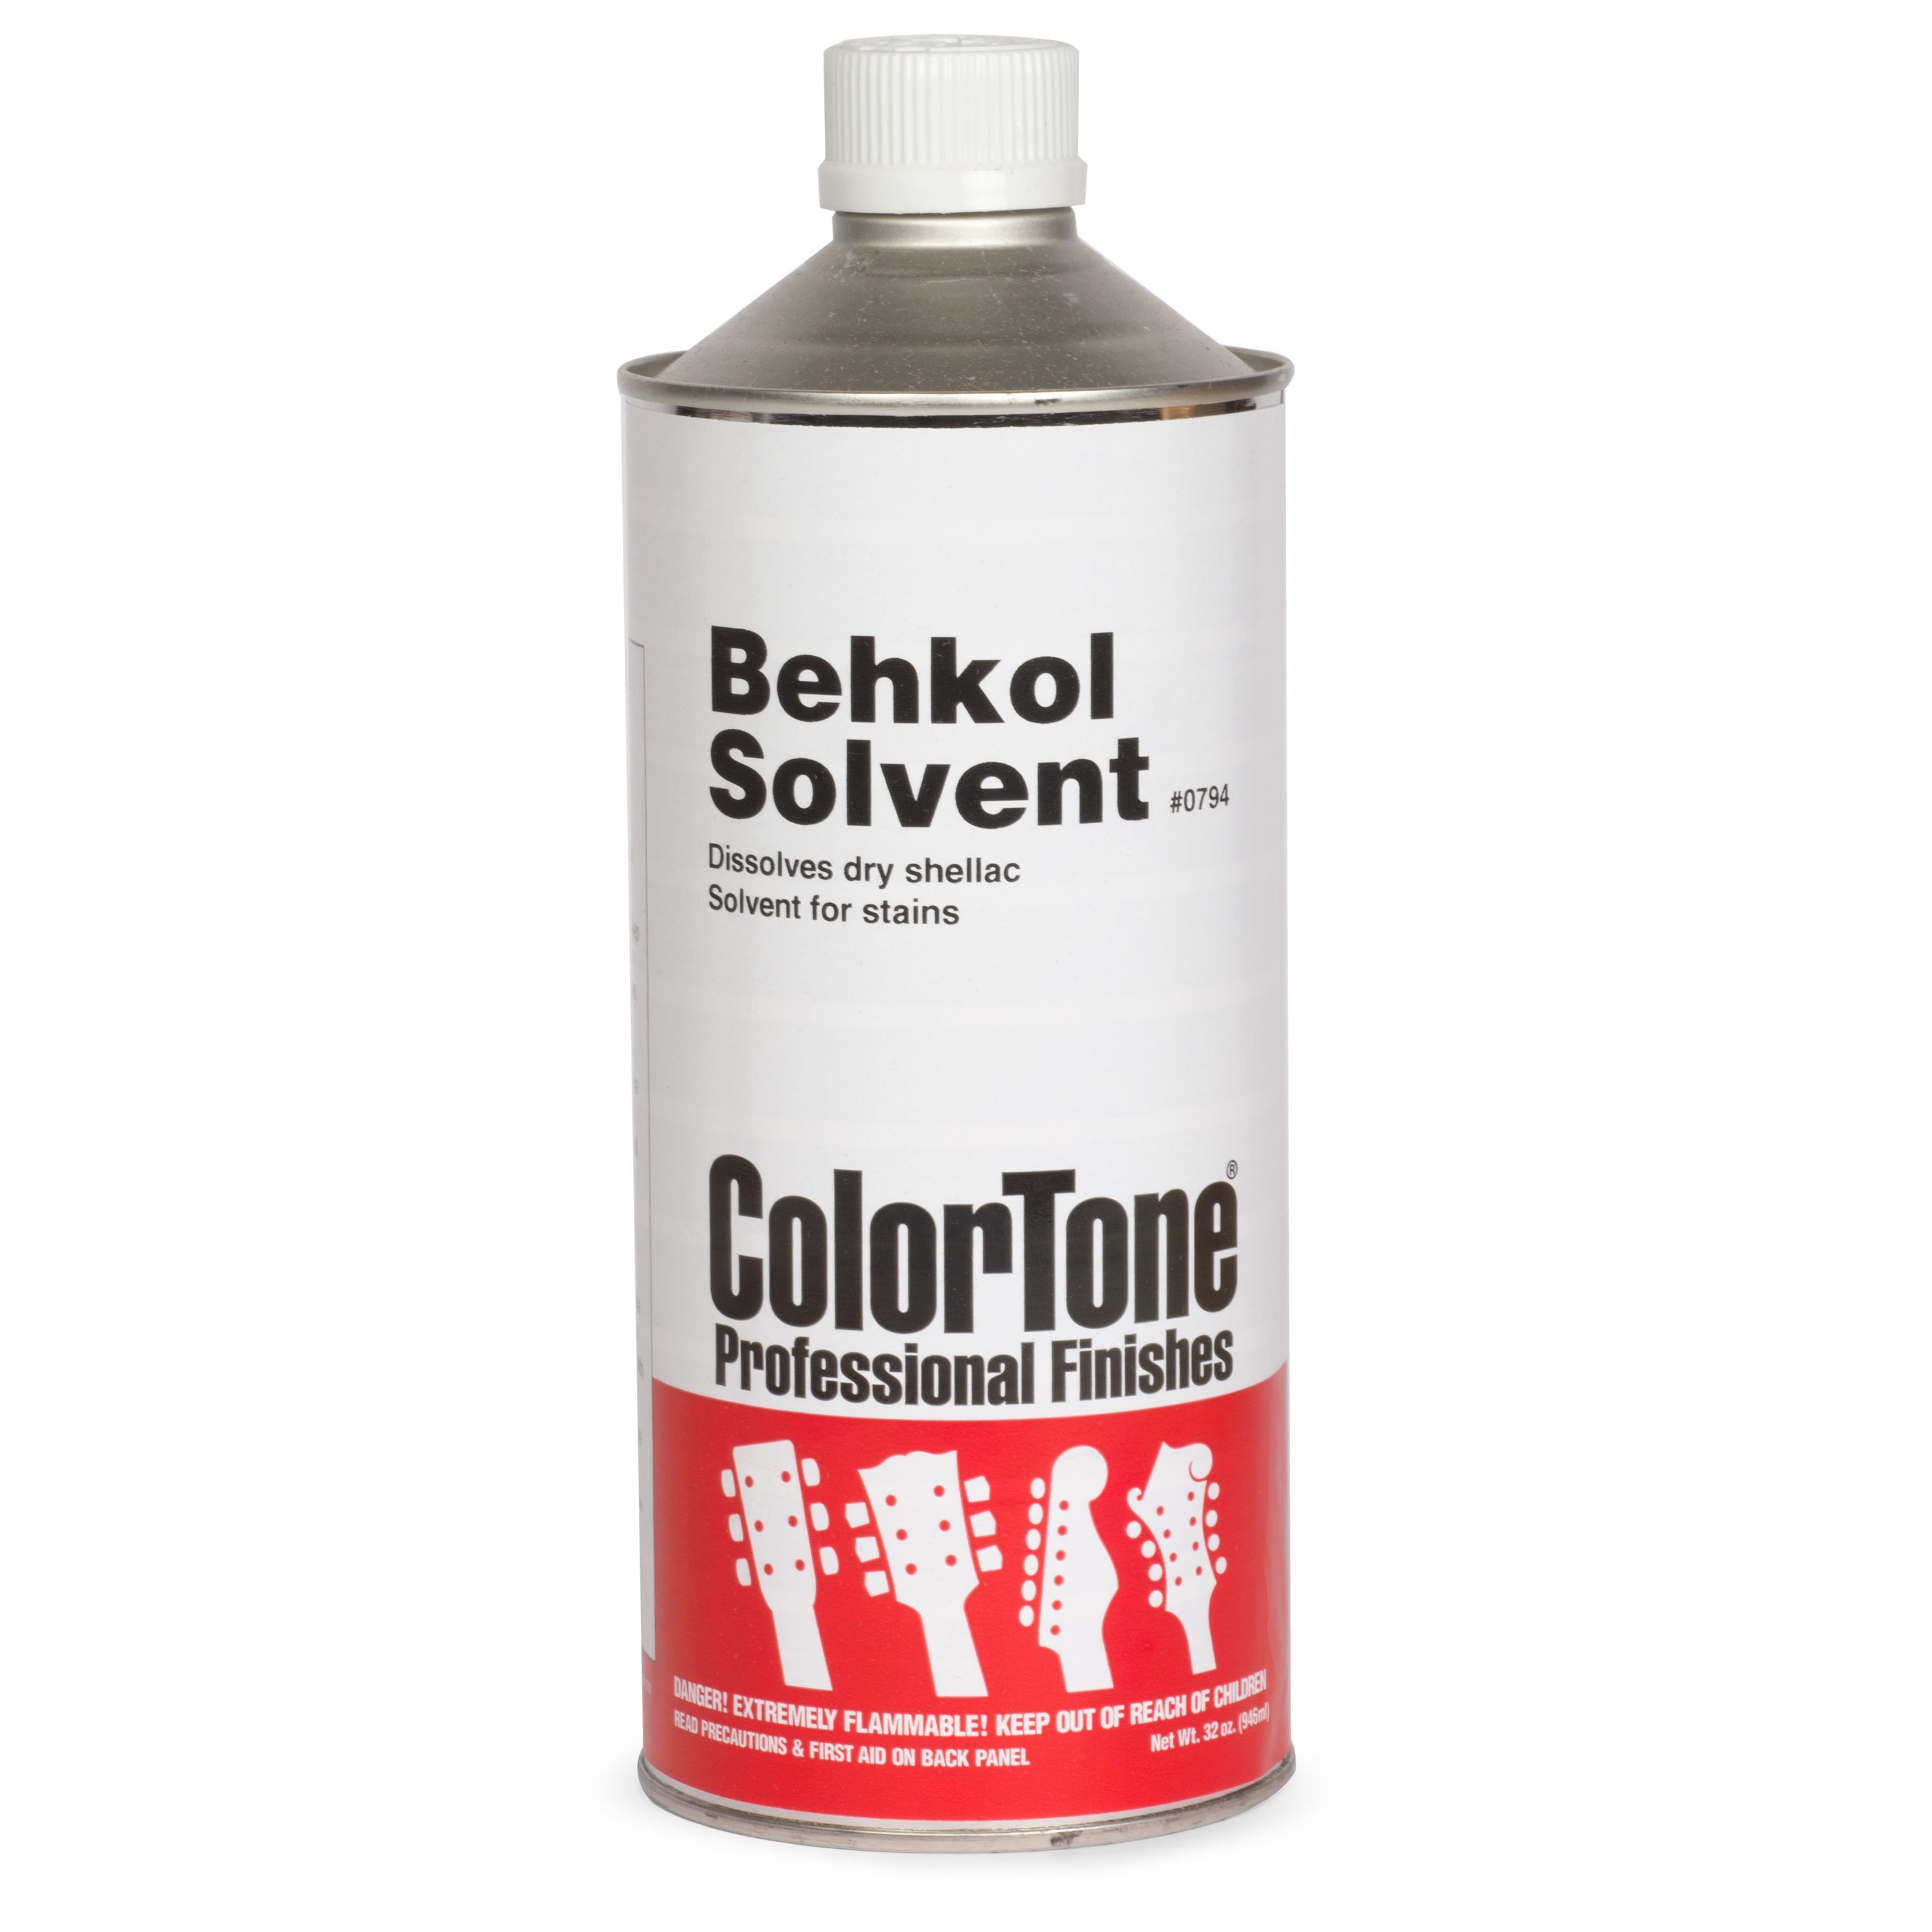
You want to use a pin or a needle or a poke pin and just poke a hole in the top of your color tone bottles. Don't cut it off like you might glue because you'll have too much come out whenever you don't want it. Now, there's a small airbrush jar full of Bekhol [on-screen text reads: Behkol Solvent - stewmac.com], which is denatured alcohol. I'm not going to put much in, I'm going to start with a few drops. Here's three drops, and I'm going to see what that does for me [Dan applies some of the stain to the wood and sees how closely it matches the finish on the guitar]. Need more. Three more drops. As it dries, it'll lose some of that darkness. I'm going to give it some more. Now we have nine drops of stain. When it's wet, that's looking perfect. I'd start with that.
I'm on the right track. A little bit more to it. Yeah, looking good. I'm going to quit right here. It's not going to get any better than that. Straw. That's all there is to it.


