How to Adjust the Action on an Acoustic Guitar
V-ACTIONACOUSTIC
Customers call us every single day asking us how to adjust (usually lower) the action on their acoustic guitar. This video has been on our "to do" list forever and we've finally found the time to put it together for you.
Here's what's covered in the video:
How to adjust the action on an acoustic guitar
When we're talking about action or string action. We're telling you about the distance between the top of the fret and the bottom of the string. Action affects how the guitar plays, feels, and sounds. Action is a personal preference. You might like it higher or you might like it lower.
Style of music influences preferred action
The style of music you play might influence your decision. For example, flat pickers and bluegrass players have heavier strings. Typically, they might like a slightly higher action because they have a heavier attack whereas, a finger-style player playing on a lighter gauge of strings might like it a little lower and have a really delicate touch on their picking hand. Again, it's all preference. There are no set rules, here. If your action is too low and you have a heavy picking hand, you have a good chance you might get a fret buzz if your action is too high. You might be having to work a little harder on your fretting hand than you need to. And, if it's really high, you could be affecting your intonation. I'm going to show you how to check your action and that's something that anybody can do. Then, I'll show you how to change the action on an acoustic guitar. In this case, I want to be lowering the action. Adjusting the action on an acoustic guitar can be more involved that an electric guitar. But, if you're patient and careful, you can do it and it doesn't take a lot of tools to accomplish. Watch and see whether you want to try it yourself or send it to a repair shop.
Checking and measuring action
The two places you check and measure your action are at the first fret and at the 12th fret. Before we go too far and start measuring things, let's take a minute to consider how the guitar plays and feels. Make sure it's in the tuning you play in and has your preferred set of strings on it because the gauge string you choose will affect your action and your setup.
First, play the guitar
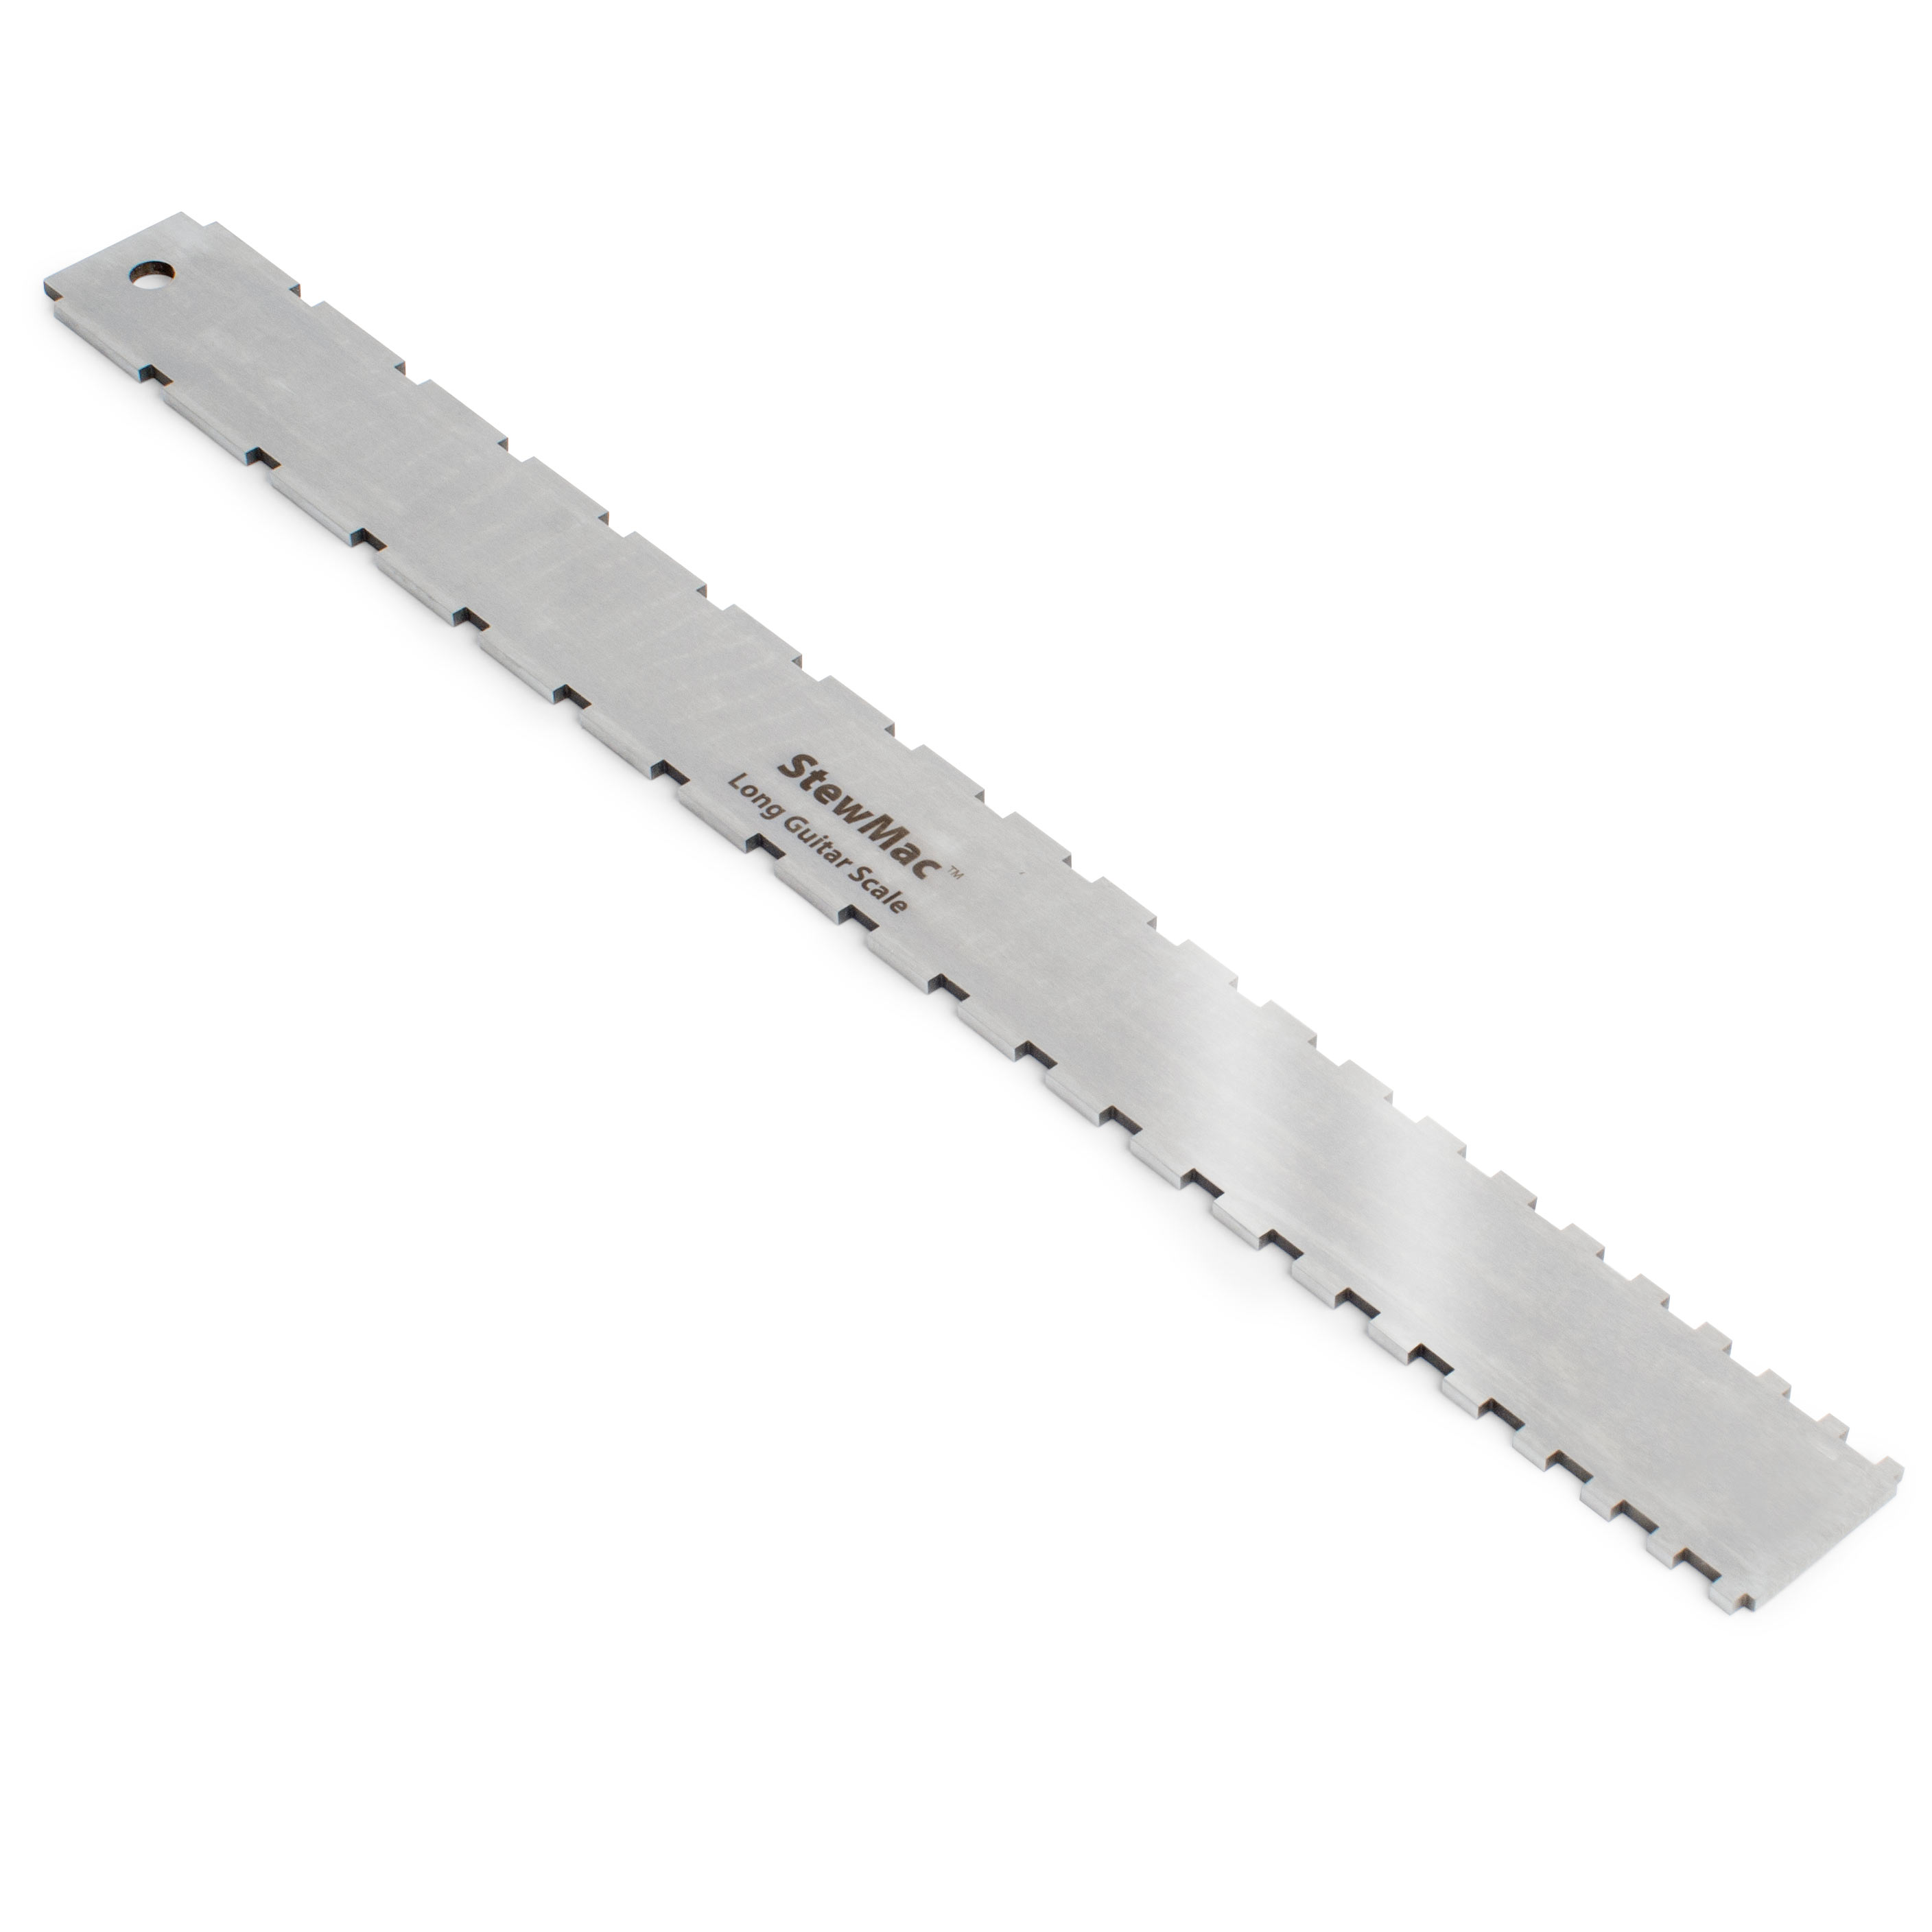
What do you like? What don't you like? Does the guitar play stiff like you're working too hard to fret a note? Is the action too low? Are you getting fret buzz if you bend a note? Is it fretting out? These are all things you're going to want to consider. On this particular guitar, playing it up and down the neck on the treble side it feels really good. On the bass side, it's a little bit stiff and the nut is pretty good at the first fret. It's a little stiff toward the bass side but it's very playable. Next let's take a look at the neck. The neck might be straight from end to end. You might find it to have a curve in it. It could have backbow which is typically, a bad thing. You're probably going to have fret buzz. Or, it could be upbow, which is also called relief. This relief helps prevent fret buzz. A vibrating string needs room to move. If your action is too slow, the moving string will touch the fret tops. That's a type of fret buzz. Some people like a little bit of relief if they have a heavy playing attack or just to give a little breathing room on a big bend. I can say that too much relief will make the guitar feel a little stiff and can affect your intonation. I use this precision straight edge to check for straightness across the top of each fret and down the length of the neck. If you don't have a straight edge, you can use the guitar string itself. As a straight edge press 1 string down at the first fret and press the same string down at the last fret. Then, use a free finger to feel for a gap under the string. Here, we can see a gap which means the guitar has relief. If you have no gap the neck is straight or maybe in backbow. So, if you found you had relief, you might take a second and sight down the neck hold the nut toward you and look down. If the part of the fingerboard that’s over the body is rising up, this is what we call a rising tongue. This can be a problem that could cause fret buzz because the frets are higher than the rest of the frets before the body. It'll probably mean fret work and maybe a repair shop. What you'll hope to find is that the frets after the body are the same height as the frets before the body. Or maybe they even fall away a little bit. That's called following and it's generally a good thing. This particular guitar has plenty of follow but, a little more relief than I would like. If you need to make changes to your action, there are three places to adjust it; at the nut, at the saddle and the truss rod. You might have to just adjust one of these or you might have to adjust all three.
Adjusting the truss rod
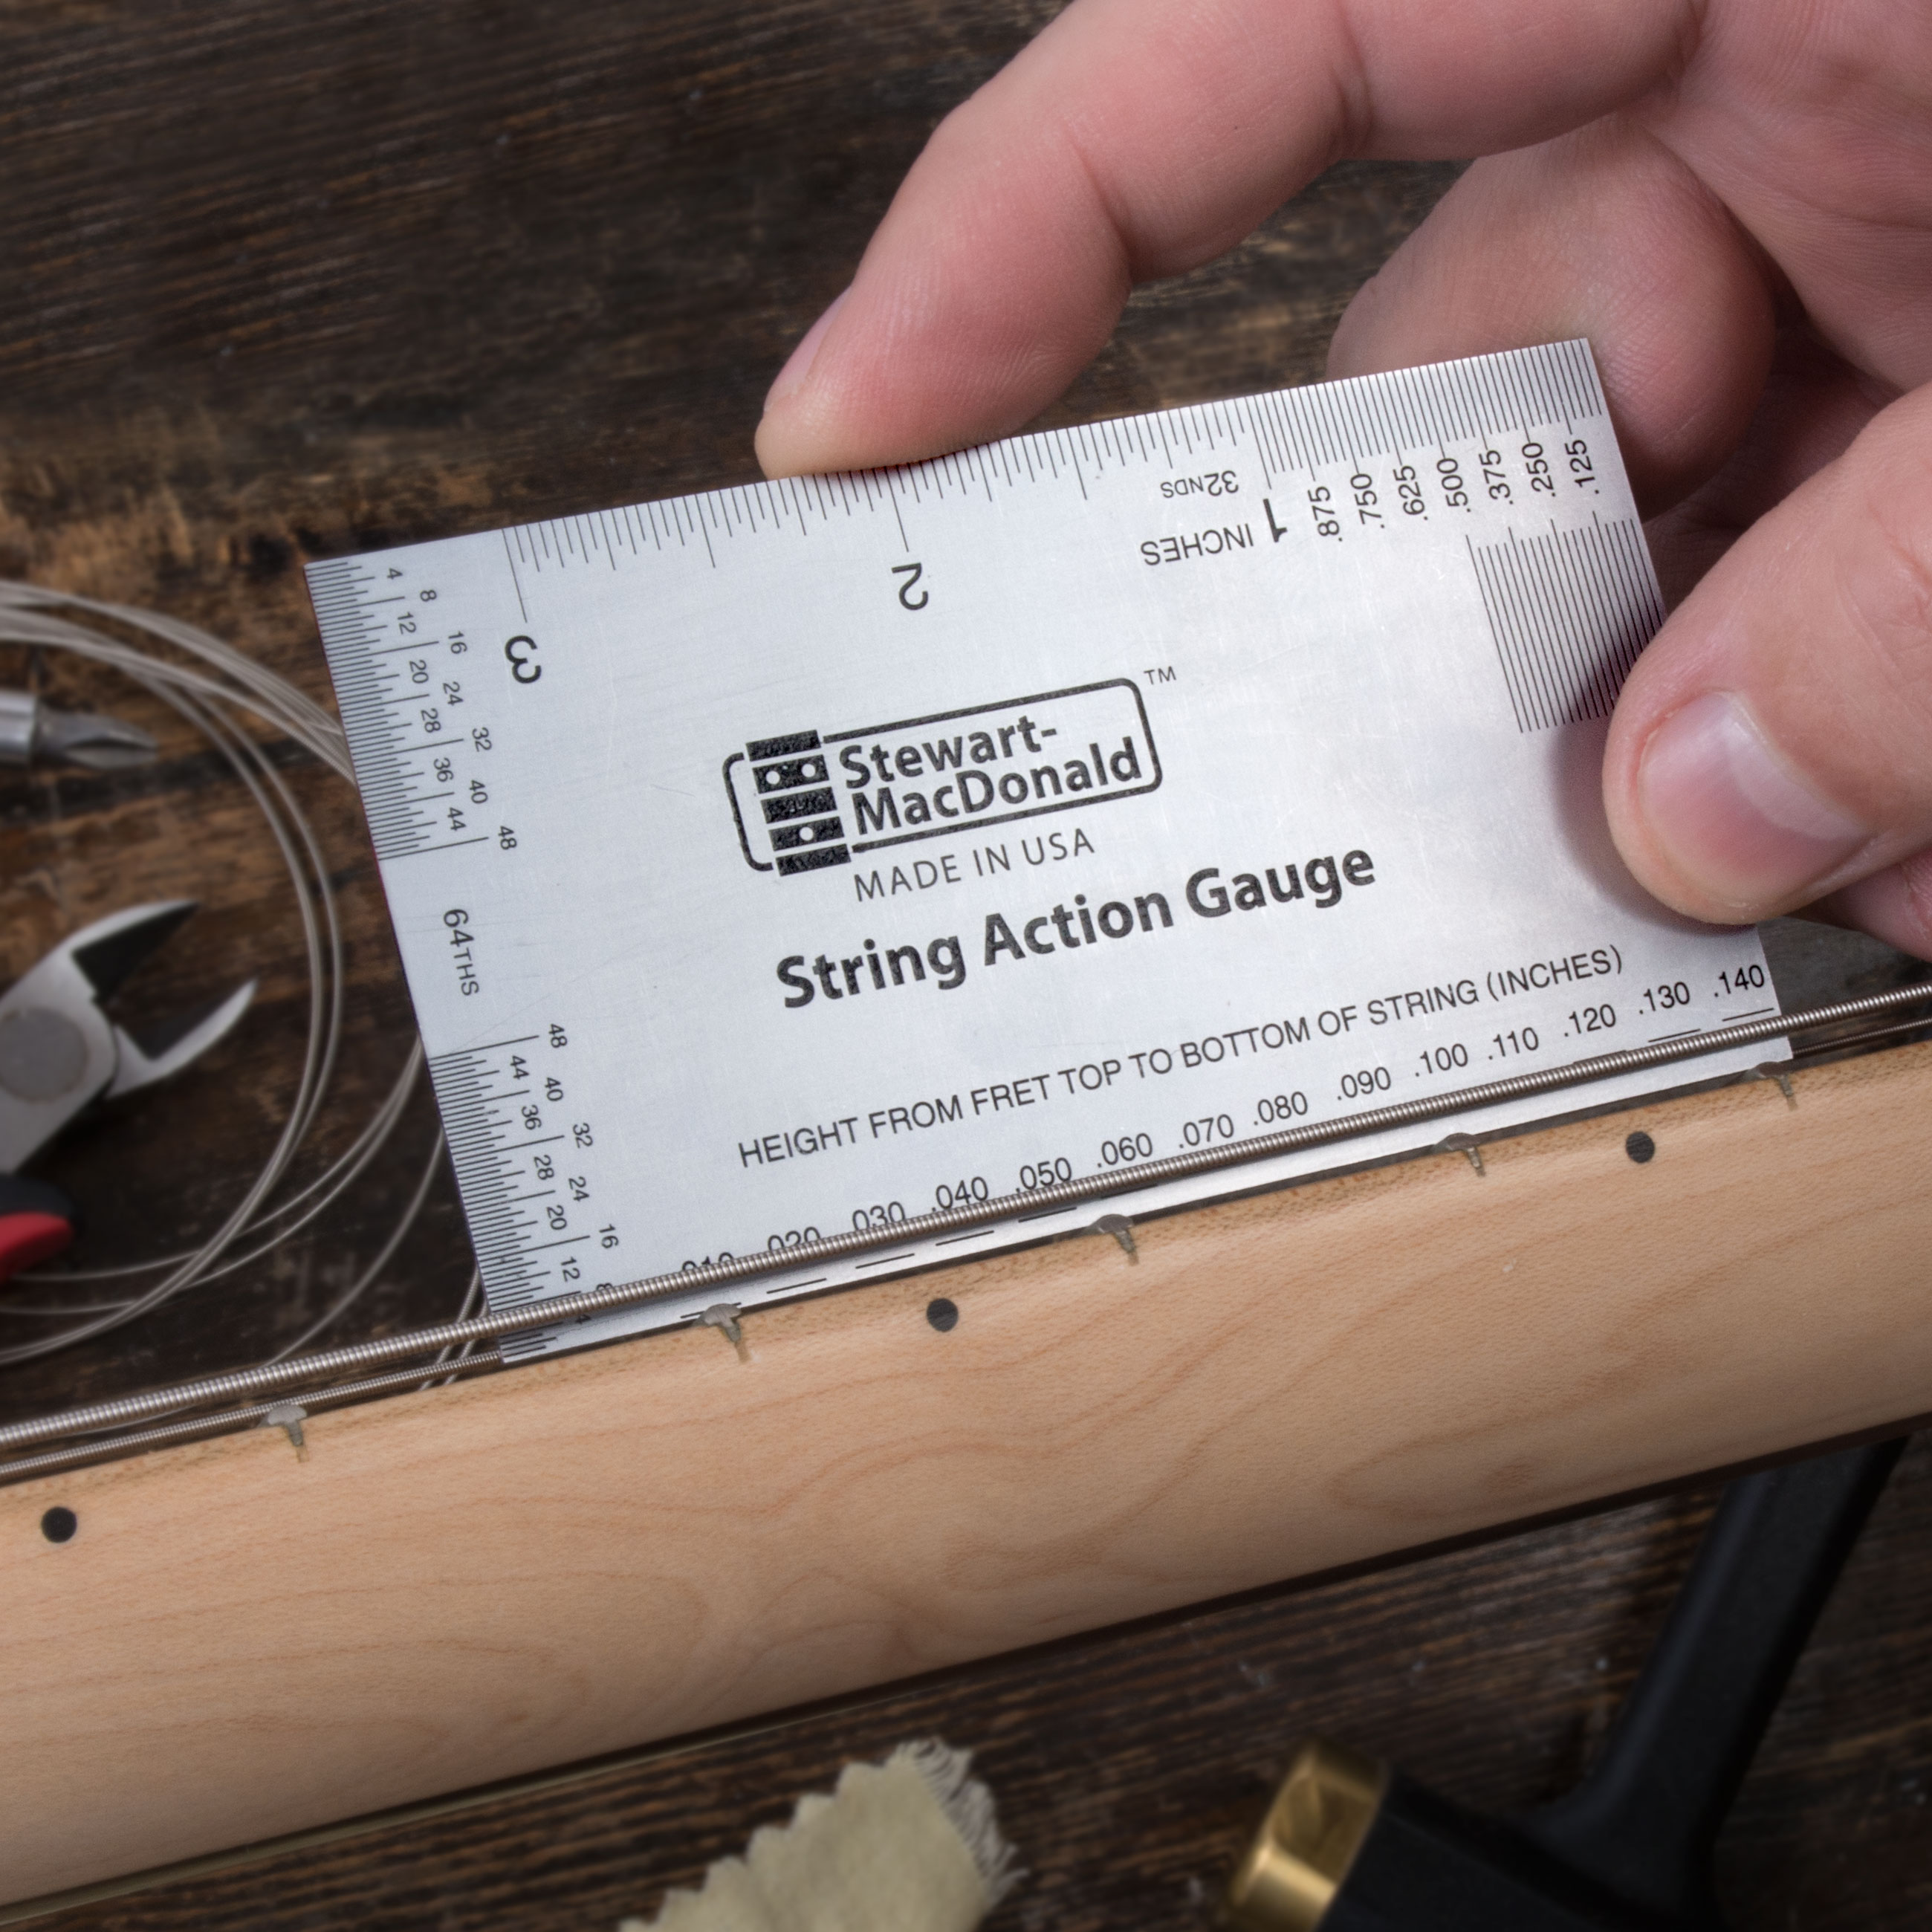
Let's start with the truss rod. Most necks have a truss rod to provide reinforcement and for adjusting straightness. The adjustment point will either be at the peg head or through the sound hole. There are two main kinds of truss rods; single Action and double action. A single action truss rod can only work in one direction. Tightening it will straighten the neck or put it into backbow. If you loosen it, the natural upward pull of the strings will give you your upbow or relief. A double action truss rod can work both ways. They can force the neck into backbow or straighten the neck or it can force the neck into upbow, giving you relief. If you're not sure what type of truss rod you have, take a minute and google your guitar so you know what you're working with. Before we adjust the truss rod, let's measure the action so that we have a reference point and so we know where we started. Using our string action gauge, I'm going to take a measurement at the first fret, under each string, and at the twelfth fret, under each string. To straighten the neck or remove relief, you want to turn the truss rod to the right, or clockwise. To add relief, turn the truss rod to the left, counterclockwise. In this particular case, we need to straighten the neck so, we're going to go clockwise. If you have a truss rod with removable adjustment nut, now's a good time to remove it and lubricate it with some petroleum jelly. A little Vaseline on the threads will make adjustment much smoother and may save you some potential heartache. I'd like to make my truss rod adjustments in small increments. An eighth of a turn at a time and checking my progress as I go. Big turns can mean big changes and you should never force a trust rod that doesn't want to move. It's like a quarter turn, total, to put this guitar exactly where I want it. Let's check our action again now that we've made that truss rod adjustment. We can compare before and after measurements. The adjustment definitely helped. The action is still a little stiff. And on this particular neck, we can't make it quite as straight as we'd like without getting a little fret buzz. So, we're going to leave a taste of relief in there so it still plays and feels good.
Adjusting the saddle
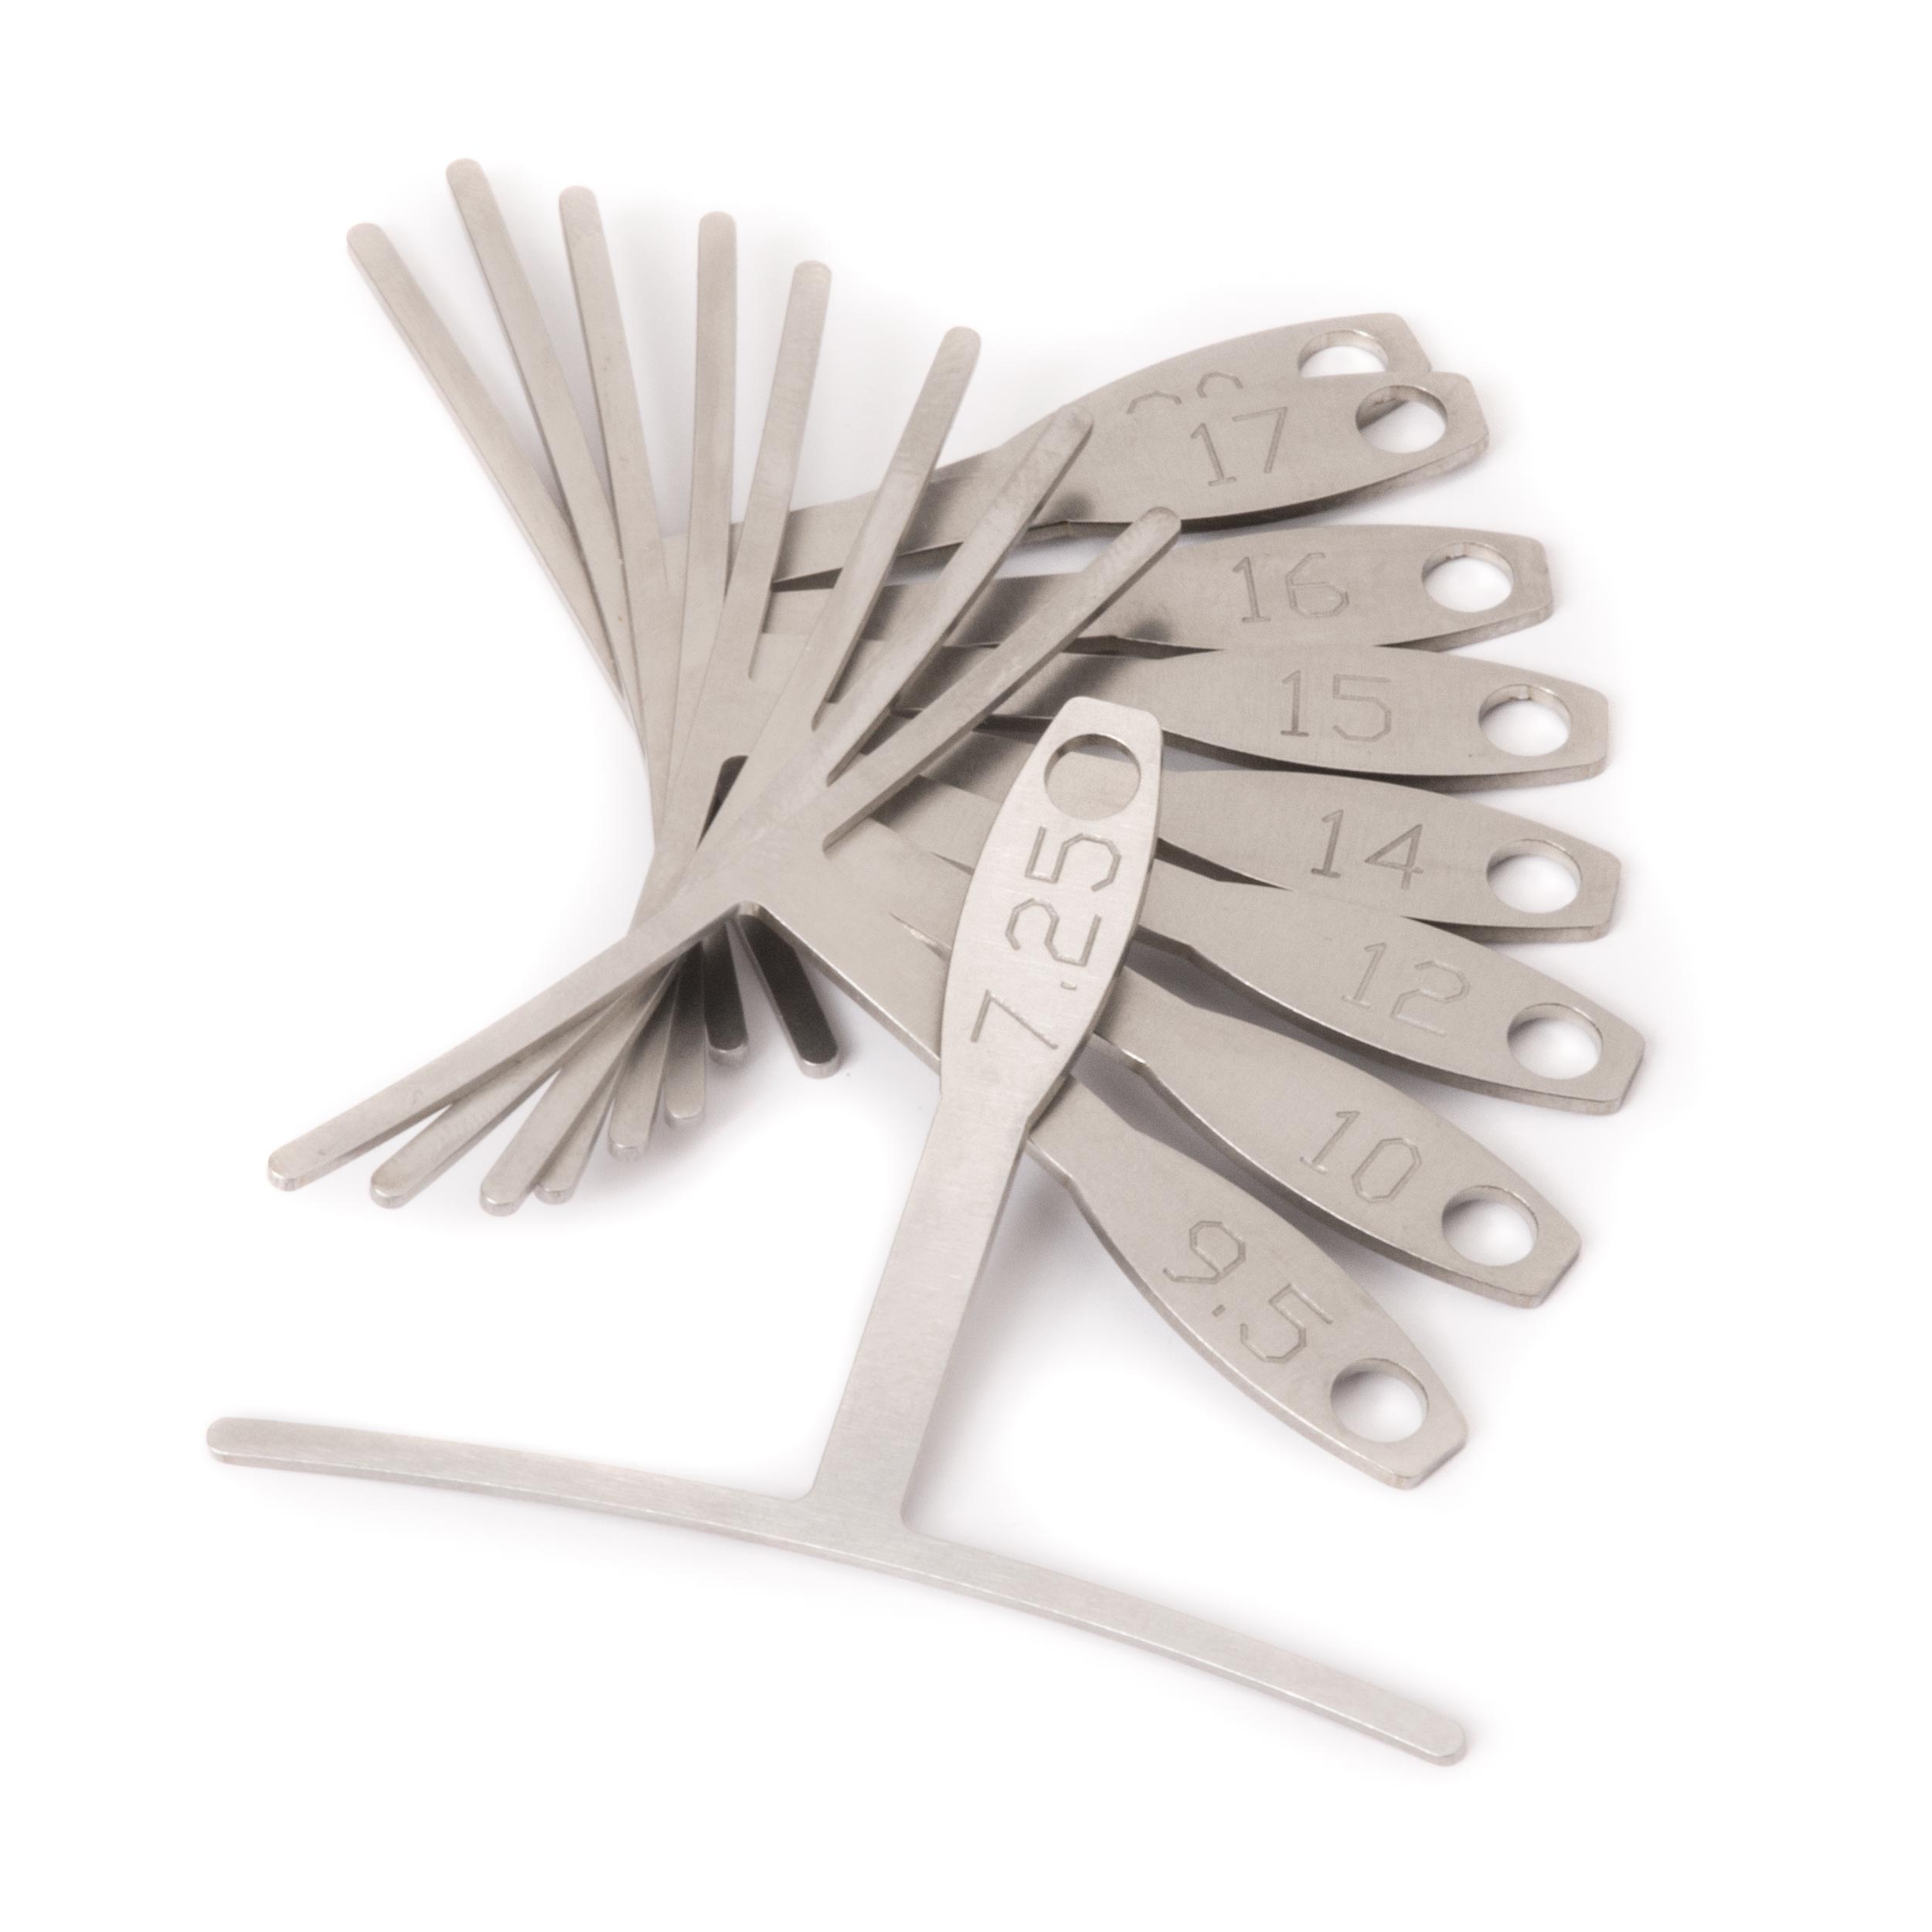
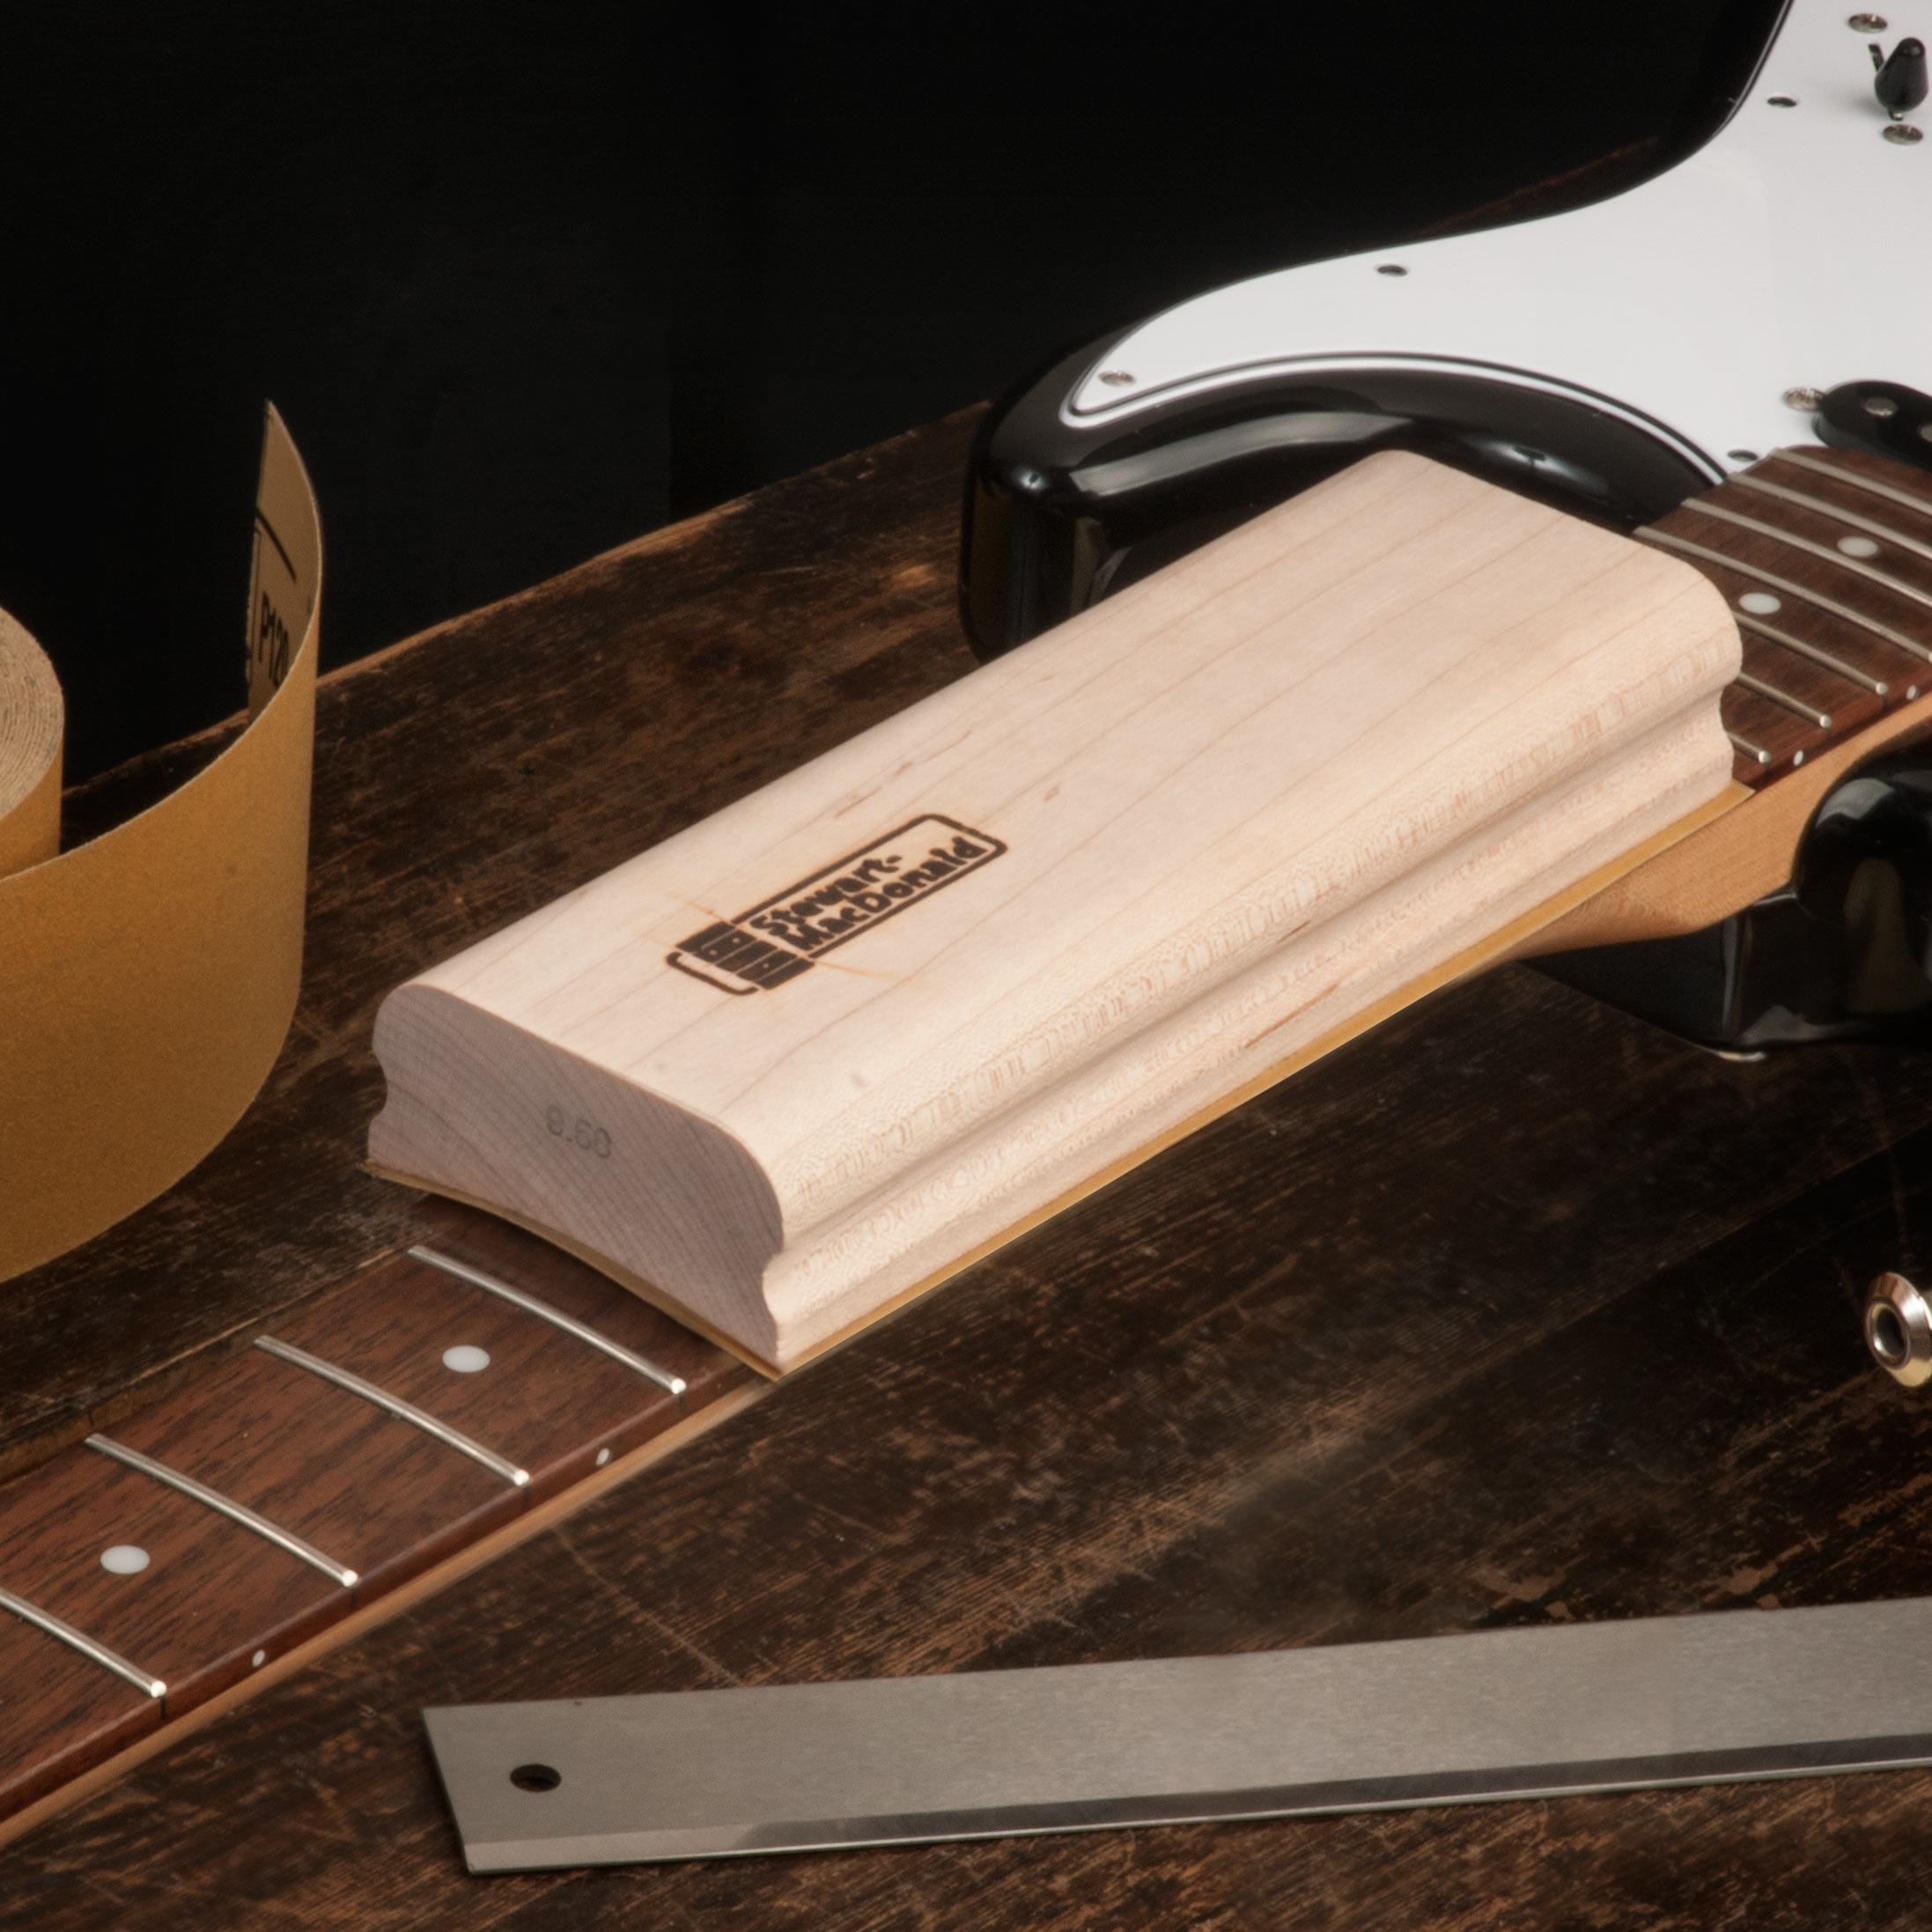
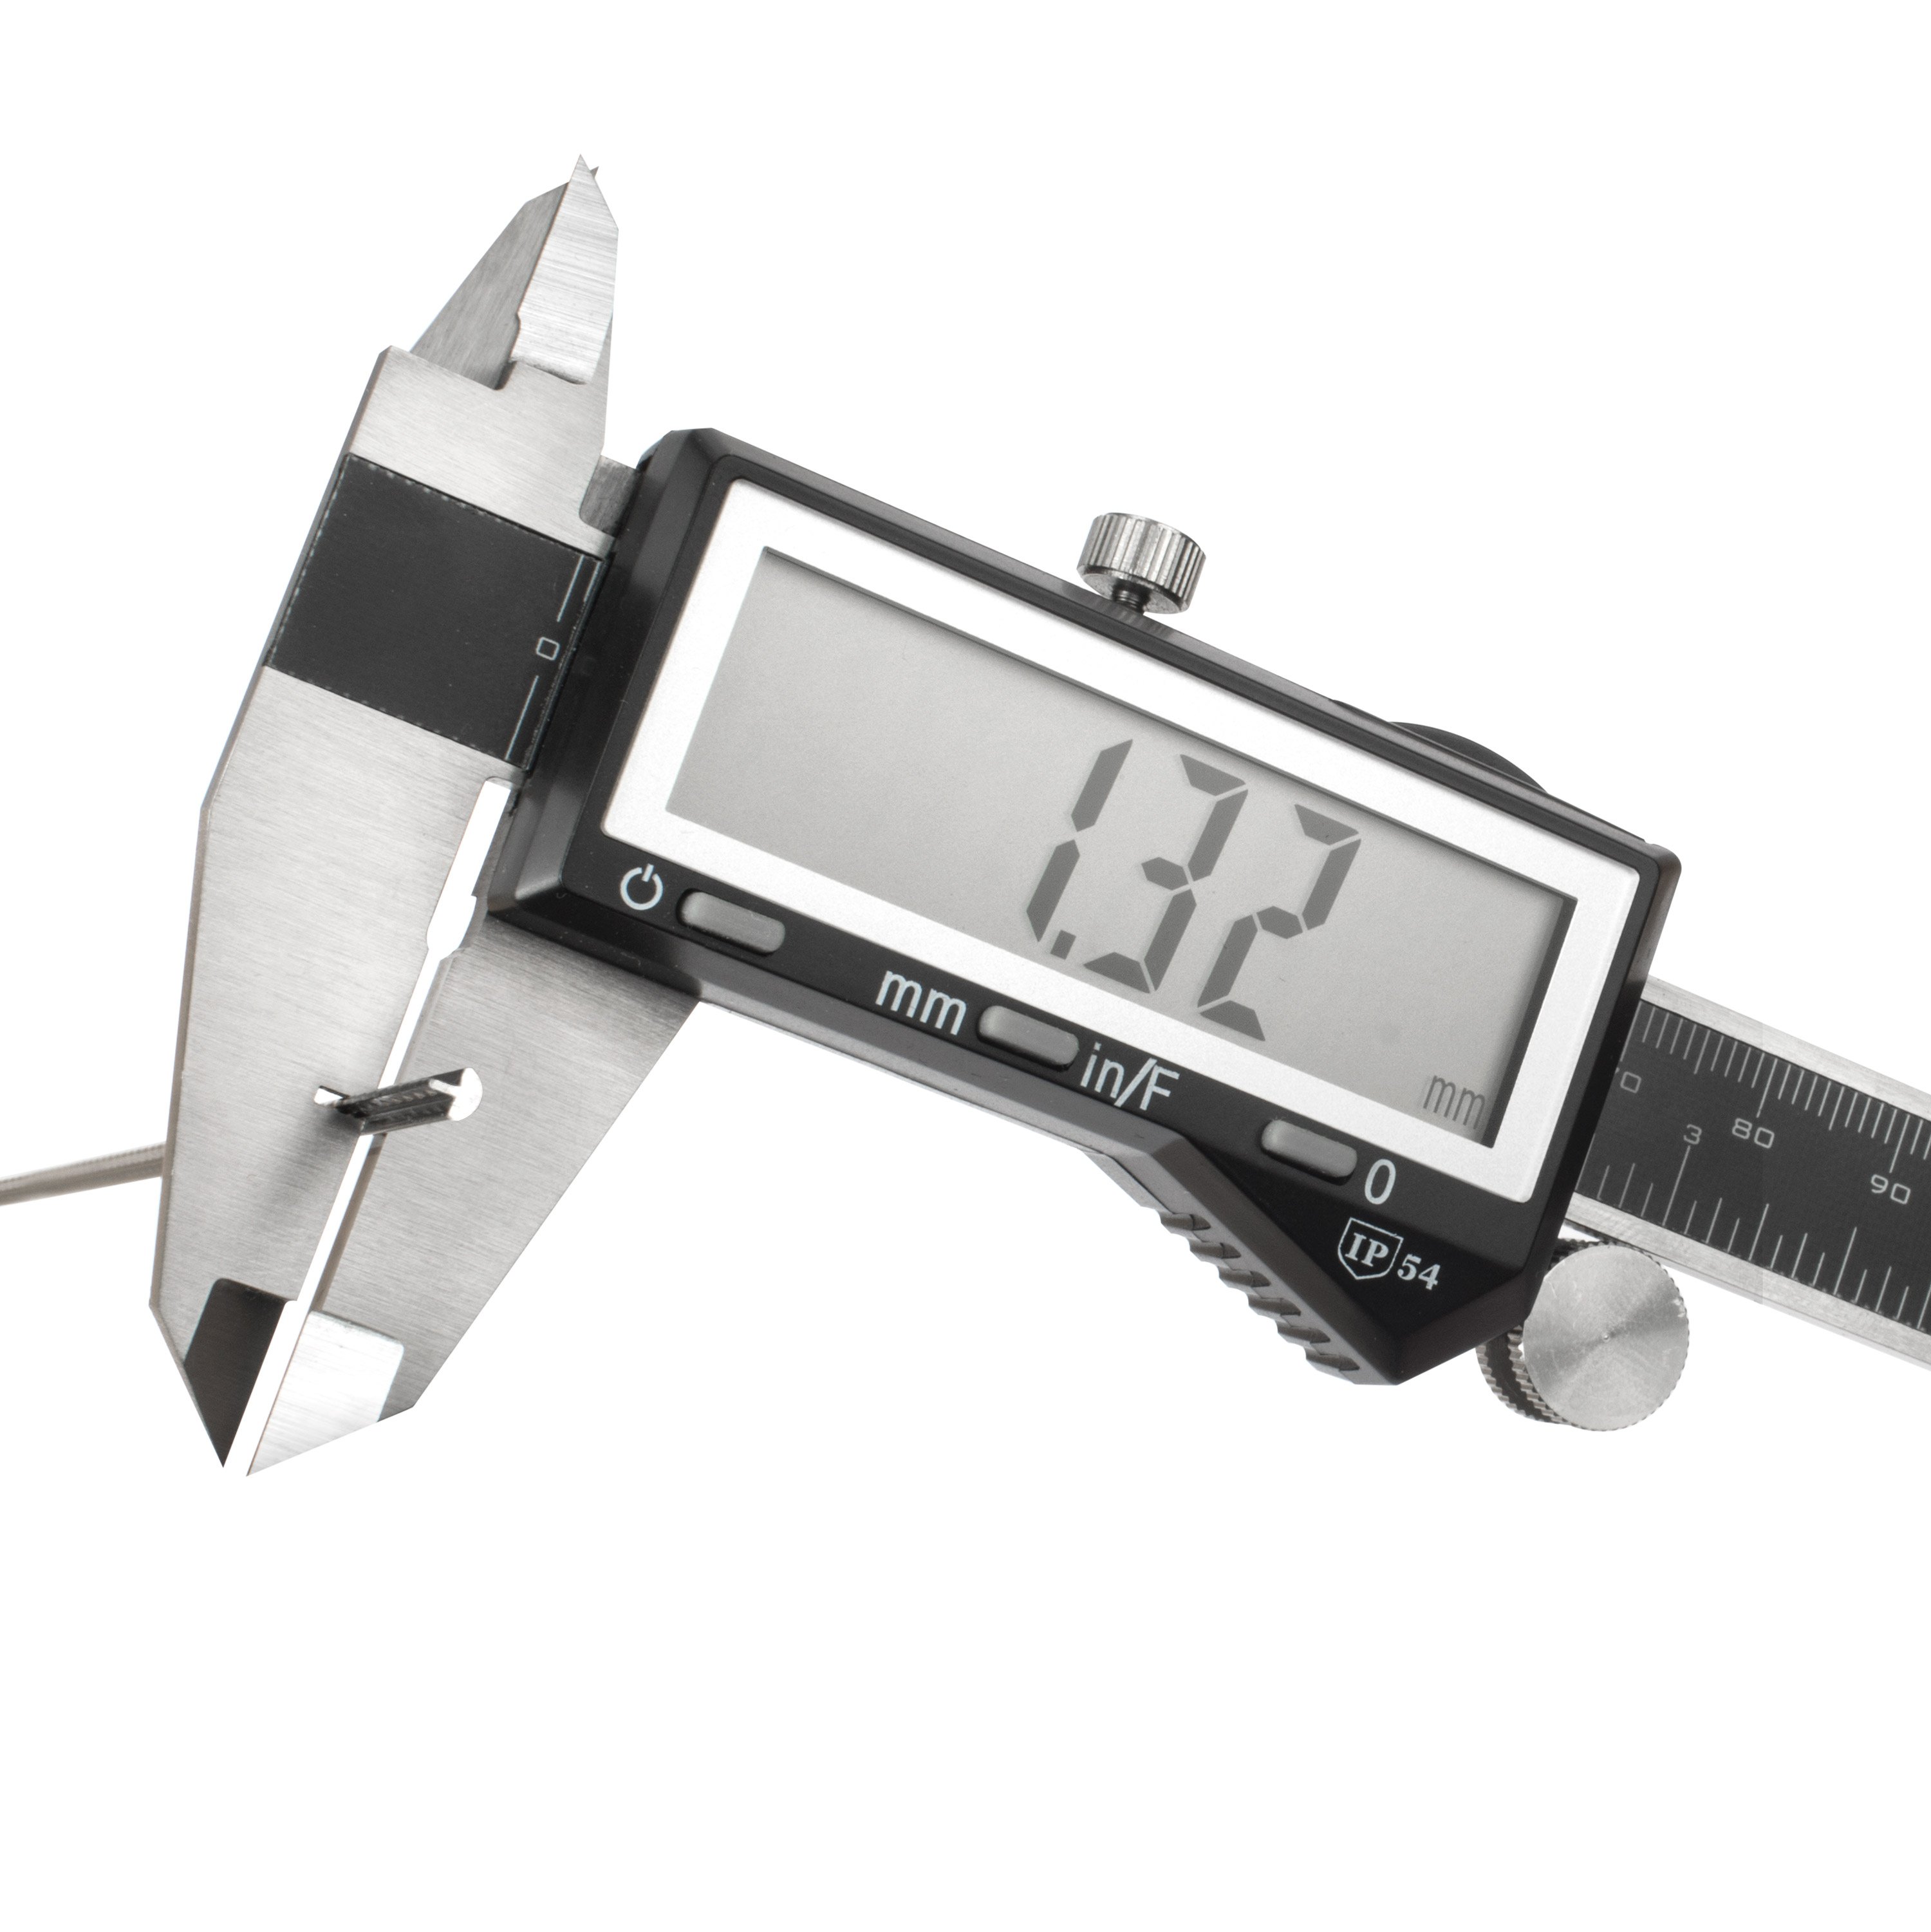
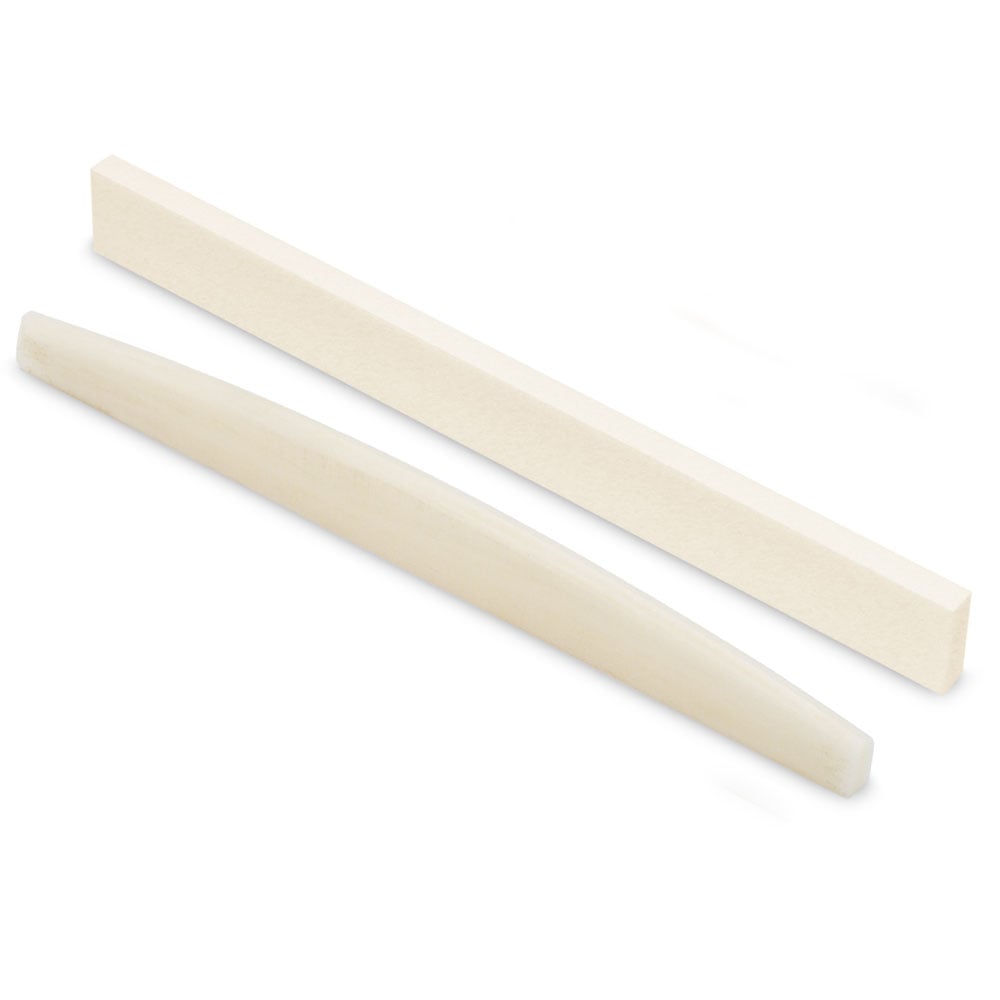
So, moving on we need to look at the other two points of adjustment; the nut and the saddle. I'd like to start with the saddle. You need to compare the radius of the saddle with the radius of the fingerboard and the frets. Generally speaking, it's important that they match for the best overall playability. If the radius at the saddle is tighter than the fingerboard, then the middle strings could be taller than they need to be. If the radius of the saddle is flatter, the middle strings could be too low and possibly buzz. In this case, the saddle radius is spot on. If you have a radius that's pretty close, you can also continue on. For example, the difference between a 9 ½” radius and a 10” radius or a 10” and a 12”; that's close enough to work with. If we're talking about the difference between a 10” and a 20”, you're going to need to change the radius of the top of the saddle. The best way to do that is with a radius block which means you have to reshape the top of the saddle. So, here's where acoustic guitars can be more involved than most electrics. Most electric guitars have bridge or saddle adjustment built in. On an acoustic guitar saddle, it's one piece of material so you have to file or sand to lower it. if you need to raise the saddle, you're looking at a shim or possibly making a new saddle. For some of you, this might mean it’s time to take it to a repair shop. If you're up for the challenge, it's time to get the tools you need to do the rest of the job. Here's how to adjust the height of an acoustic guitar saddle. The action I’m after at the 12th fret on the bass side is ninety thousandths. The action I'd like to see on the treble side is seventy thousandths. Measure the first fret action at each string. Write these measurements down just to have for reference later. Now, how much to lower the saddle? Looking at my measurements, I want to lower the 12th fret action by twenty thousandths. That means I need to take forty thousandths off the base side. I don't want to take any off the treble side so, I'm going to taper that to zero at the treble side. I'm going to mark 40 thousandths on the bottom of the bass side saddle and then I'm going to connect the line from the bass to the treble side and that's the material I need to remove. Using that pencil line as a guide, sand the bottom of the saddle to the final saddle height. If your saddle was too low instead of too high, you could make a shim out of a piece of paper, plastic, or wood to raise it up. Or, you could have it replaced which would be an easy job for any repair shop.
Adjusting the nut
We've made adjustments to the truss rod and to the saddle. The other point to consider is the nut. Remeasure all six strings at the first fret. The measurement will likely have changed after the saddle adjustments. In our case, the wound strings are still about five thousandths, or so, high. Lowering the action at the nut means deepening the individual fret slots which will bring the string closer to the top of the fret. Using the nut files to fit my string set, I'm dropping the E and the A strings to 20 thousandths above the first fret and the D and G to 15 thousandths above the first fret. This is where I want this one but, it's all about preference. You can go a little lower or have it a little higher. It's up to you. You've just filed the string slots deeper. It might be necessary now to knock the top of the nut down so the strings aren't too deep in the slots. General rule of thumb is you don't want more than half to three quarters of the diameter of the string buried in the nut. With the guitar strung back to pitch. Check your measurements. Play the guitar. If you like how it feels, polish the nut and saddle, string it back up and you're done. You can see that setting the action on an acoustic guitar can be more complex than most electrics. But, if you're patient you can do it. Subscribe to StewMac's YouTube channel for more videos on guitar repair, guitar building and guitar mods.

