Introduction to engraving
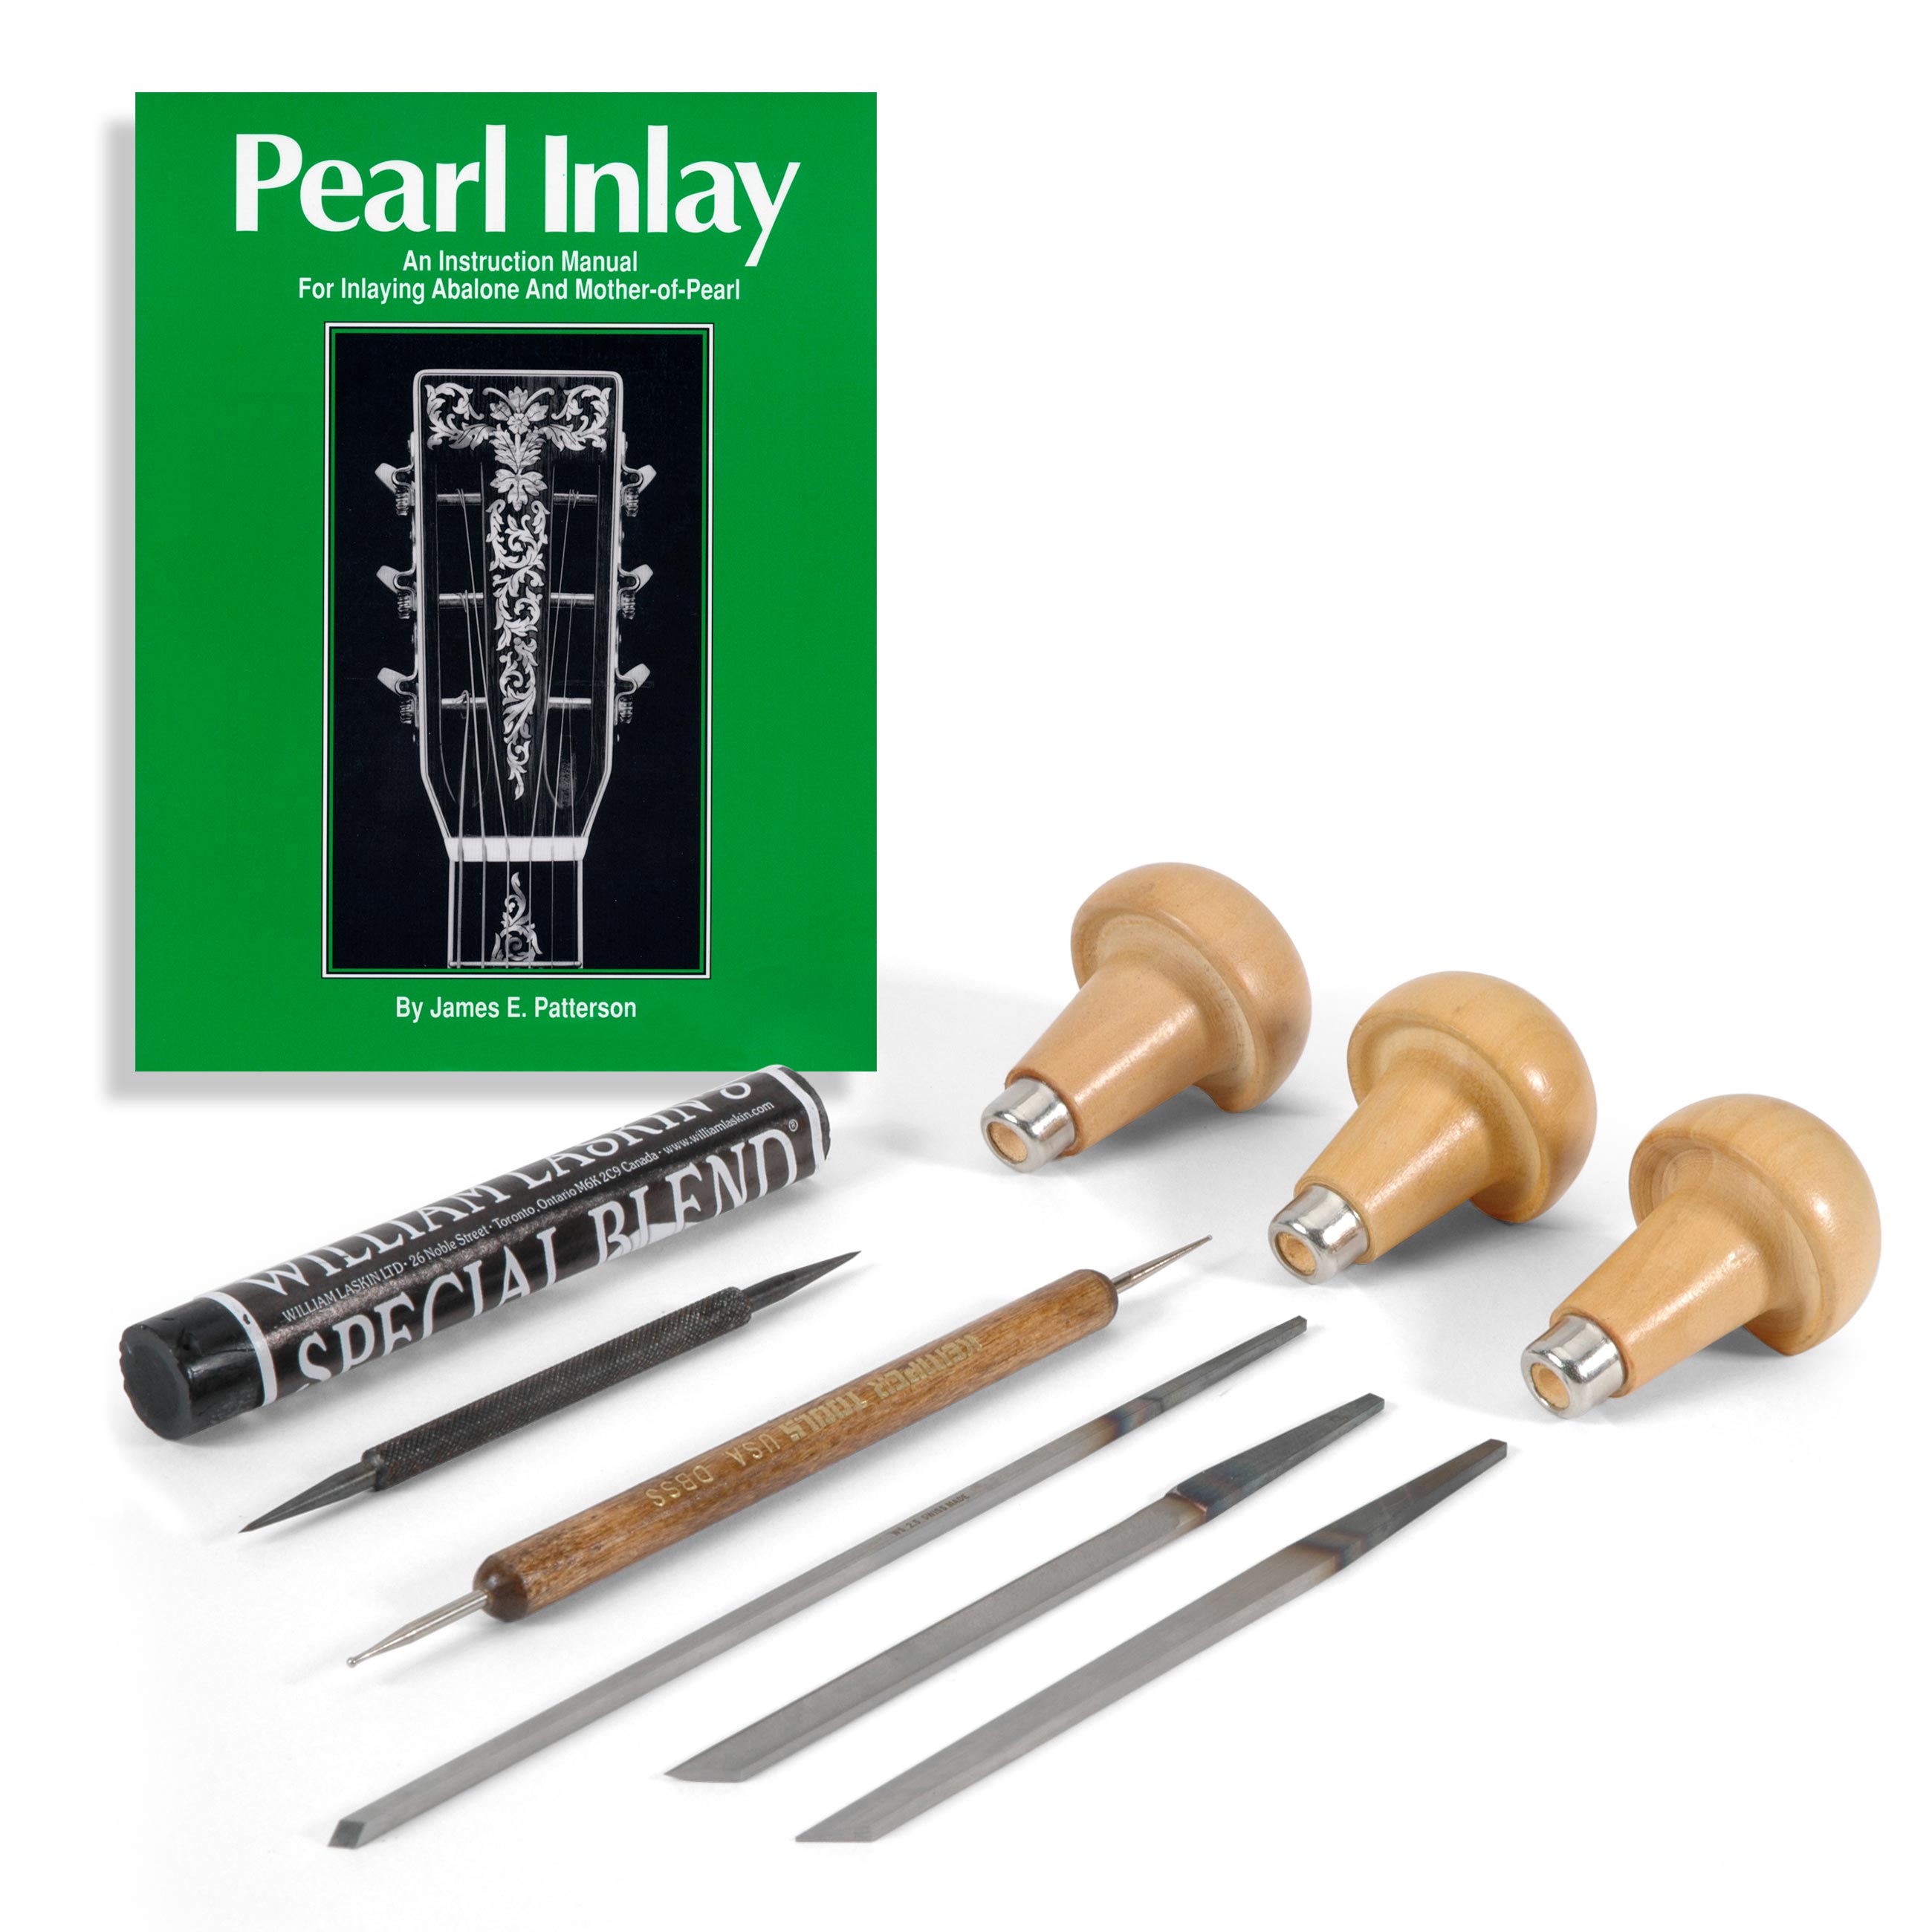
An introduction to engraving using the Essential Engraving Kit.
Engraving is often done on pearl inlays to add fine detail that is not practical to saw in it when cutting out the inlay pieces. The smooth surface of mother-of-pearl is scratched, cut or gouged to be later filled with a black material. Only the cuts are filled, to add detail and depth to the image. Filled engraving can contribute tremendous realism and snap to the final "look" of the work. Engraving is accomplished in several ways. An old method, still in use today, is hand engraving. More recently, pantographs were used to engrave from master patterns. Today computer controlled machines are used to engrave various materials. Hand engraving artists to this day, engrave the plates to print and stamp currency, add detail to the most expensive firearms and, of course, decorate great musical instruments. Pantograph machines engrave using "drag" point scribes or rotary cutters to cut the surface of the pearl, and the cuts are usually uniform in width. Multiple lines, close together, are used to increase width. Pantographs can enlarge or reduce from master patterns but, even for one-of-a-kind engravings, a master pattern still has to be created. Computer engraving (CNC) is also done either by drag point or rotary "V" cutters. With sophisticated V-Carve programs, the cutting depth can be varied during the cut. Variable depth "V" cutting enables a wide range of line width which more closely resembles hand engraving.
Hand engraving is still the height of the art and yields vastly superior results. The sign of master level hand engraving is smooth, varied width lines that make the decoration come alive. Mother-of-pearl is engraved by hand using small chisel-like tools called gravers or burins. These come in several shapes and styles to cut single and multiple lines. Hand engraving can be successfully accomplished by the beginner by keeping the design as simple as possible. Use a design with straight lines or just a few fairly simple lines such as a star, a feather or leaf veins. Keep working and practicing and attempt more and more complicated patterns as your technique gets better. The graver is a slender piece of hardened steel with a stubby, mushroom shaped, flat bottom wooden handle. Gravers come in several shapes; wedge, diamond, rounded, and grooved.
The handles for the gravers have a small starter hole that needs to be enlarged to accept the tang of the graver. Select the graver you will be fitting to the handle and drill out the starter hole to a bigger size. If the tang is tapered, (many are) find the width of the tang about 2/3rds the way from the small end, and drill with a bit this size. This will allow the graver to jamb in the handle without slipping out. Test the hole size in a scrap block of wood to be sure it is right. We recommend two different sized drill holes to ensure an even better fit: Find the size of the tang about 1/3 of the way from the tip and drill this hole the full length of the tang. Then drill only 1/3 of the way with the larger bit.
When the graver and handle are combined be sure that the flat side of the handle is down and the graver is vertical with the cutting tip down. This allows best control of the tool. Hold the graver with the little finger and ring finger of the right hand (if you are right handed) curled under the flattened part of the handle. The other two fingers are curled around the steel blade. The thumb is pushed against the other side of the steel shank. A good firm grip is required to control the graver while cutting in the pearl. Gravers are provided long, so the artist can cut them to the length that best fits their individual hand. As a rule of thumb, the tip of the graver should protrude about 1/4" beyond the hand while in use. The gravers can be cut off quickly by laying them on a wet shop towel and using a Dremel cut-off wheel. Keep wetting the towel so the graver stays cool during cutting so it will not lose its temper. A sharp graver is needed to make the work go well. The front face of the graver is angled back about 45 degrees, then ground and polished to a mirror finish. Keep the edges square and sharp. A very slight rounded ramp is put on the bottom edge to allow control of the depth. Lifting and lowering the handle of the graver while the tip is engaged in the pearl, will steer the tip up or down and give the experienced engraver fine depth control. Take the time to sharpen your tools, it makes life easier while engraving!
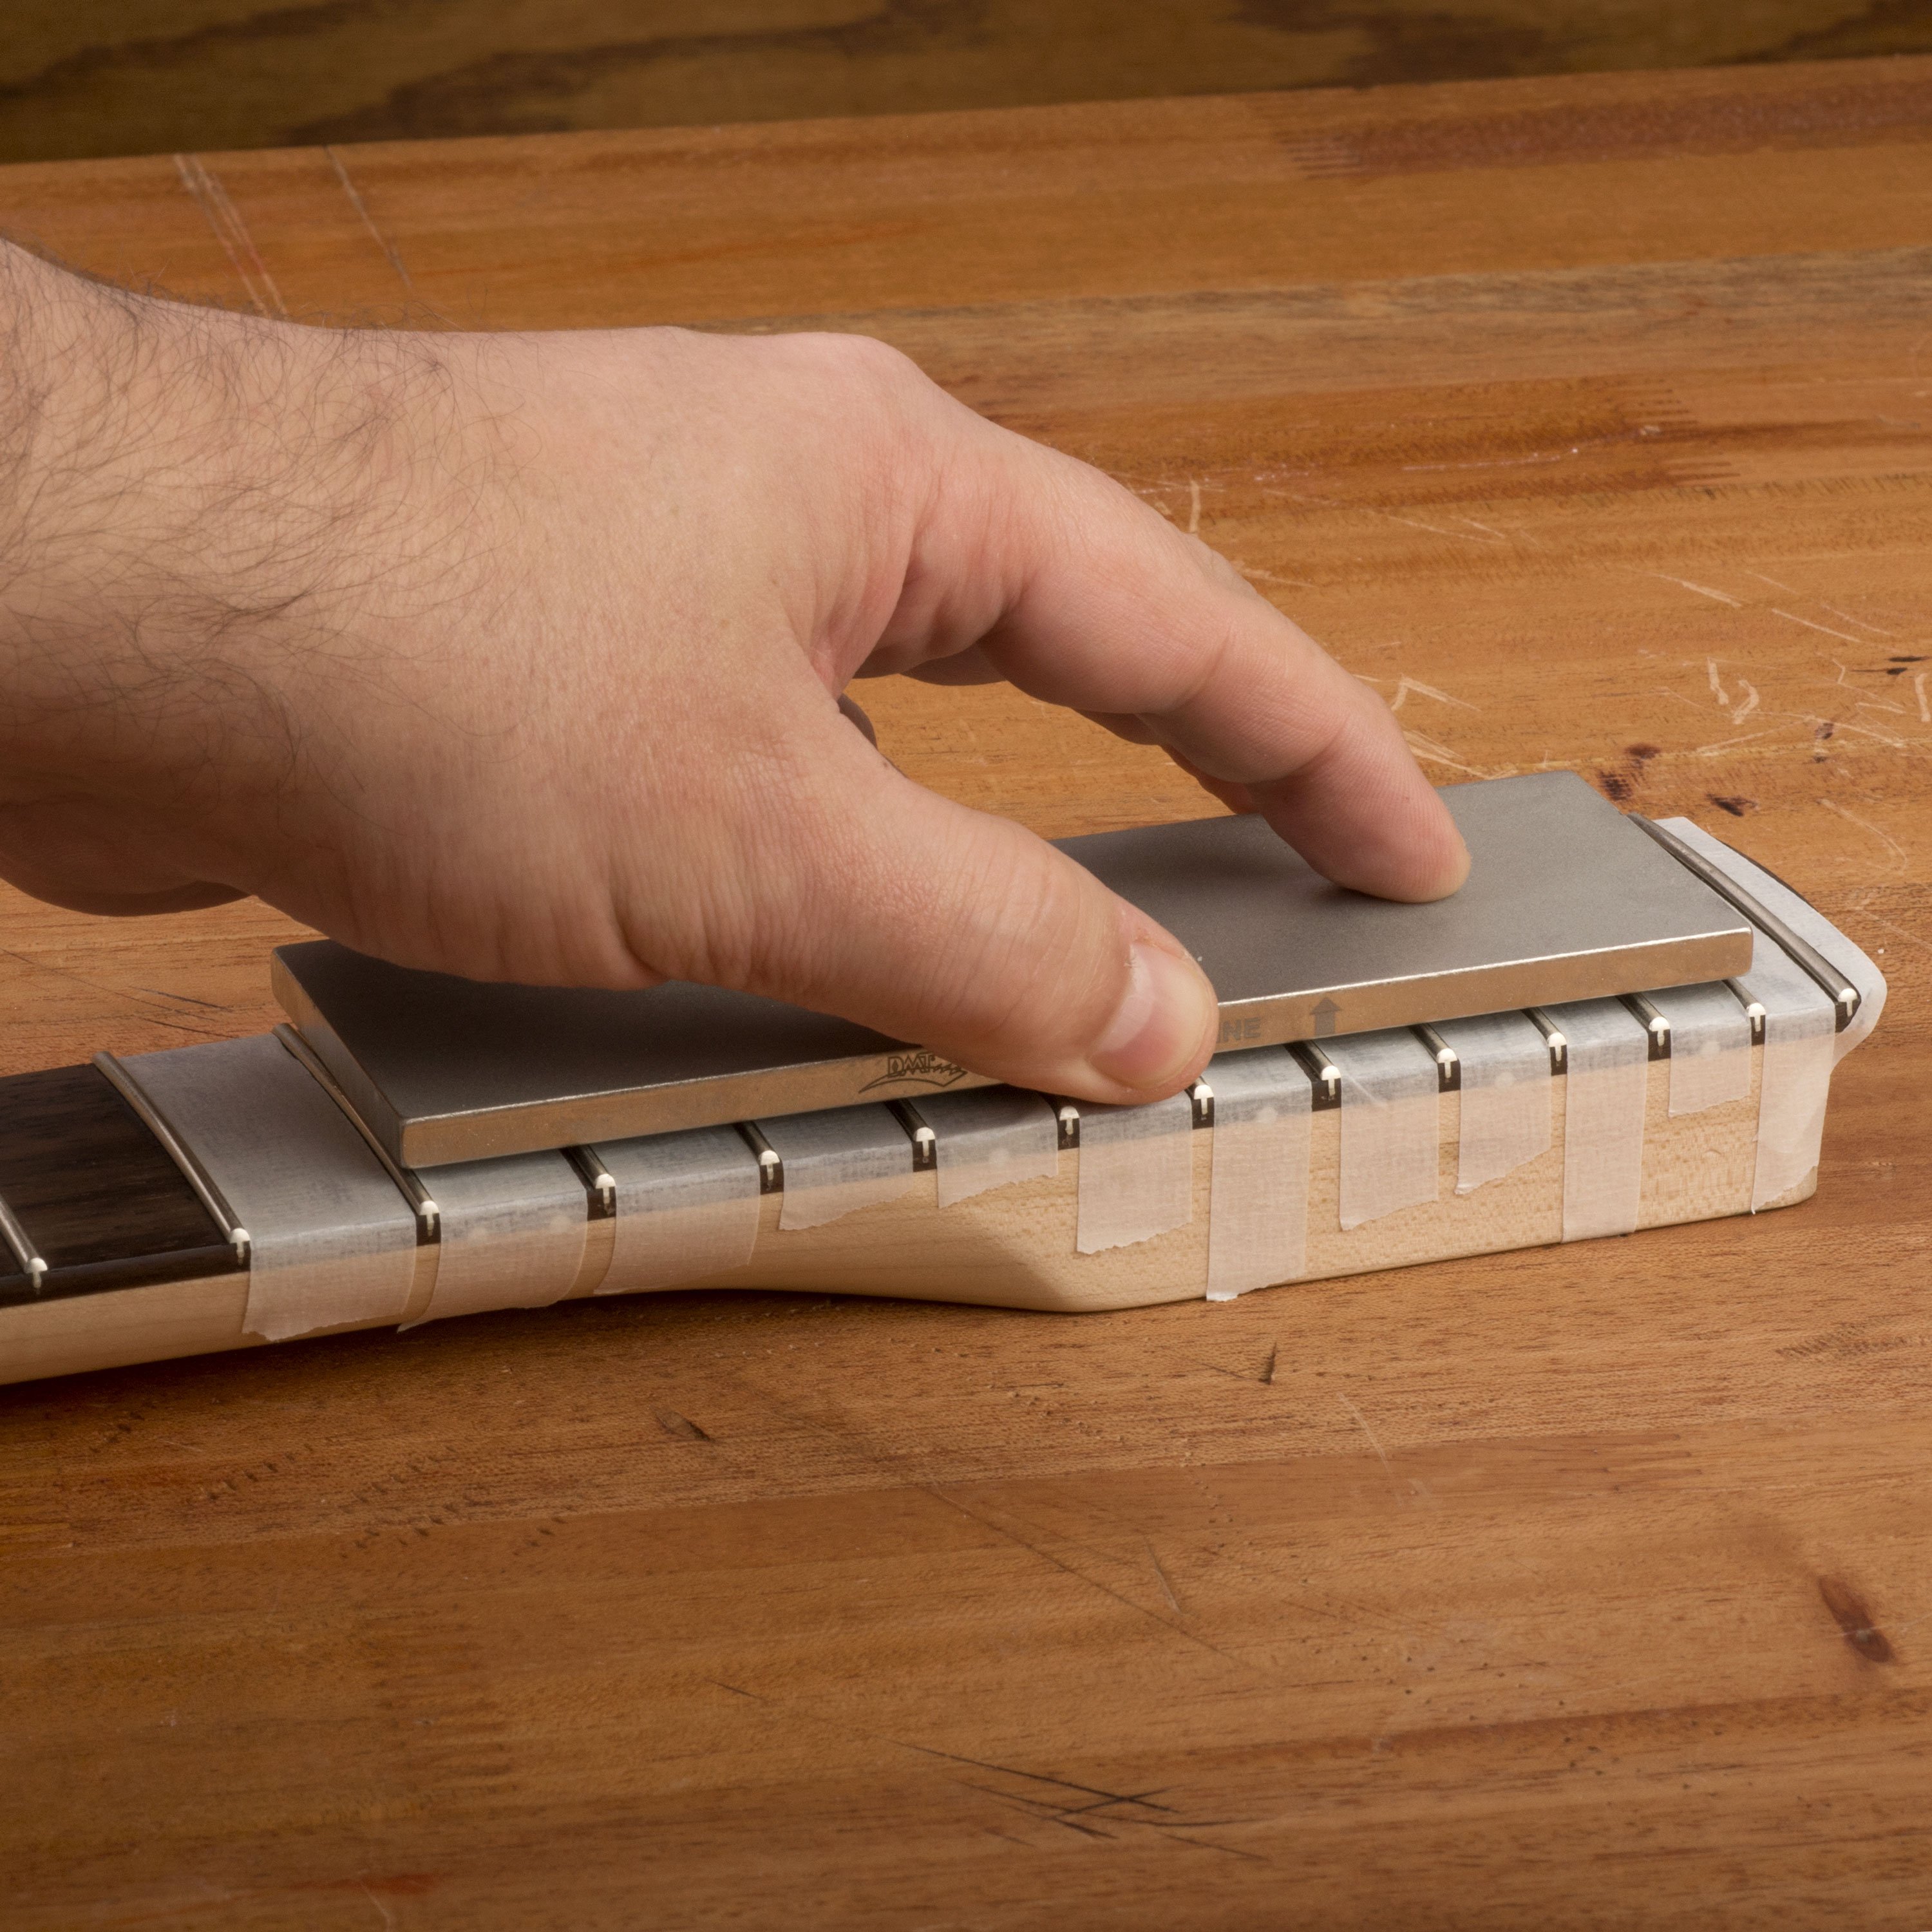
You can do your fine grinding with a fine diamond-coated block, like our Diamond Fret Lever #5257. Once extra fine grinding is done, use polishing rouge or Micro-Mesh sheet (#3706) taped to a flat surface to get the final mirror finish.
The two basic cuts are the straight line and the curved line. Execute a straight cut by sliding the thumb along the material in a straight line. Using the other hand as a guide to slide against can be helpful. Cutting curved lines requires the thumb to act as a pivot. Press the thumb firmly on the work and spin the rest of the hand around it. Hold the tip of the graver closer to the thumb to get a tight arc. Hold the tip further away to get a wider arc. Some engravers spin the work and hold the hand and tool straight. These are the basic strokes. Adding varied pressure, changing the distance to the thumb during a cut, and tilting the blade during a cut, will add pizzazz to the work. Of course, start with the basic cuts and practice these before adding the other techniques. Make light cuts at first and follow these with a second and third pass to deepen and widen the cut as needed.
The best results are obtained by first cutting the pearl, inlaying it in the material, leveling it, and polishing it prior to engraving. Polish to at least 600 grit. Mother-of-pearl is a non-uniform material. Add an uneven or rough surface and engraving becomes even more difficult. In addition, rough surfaces or scratches remaining after insufficient polishing will grab the fill material and create unwanted marks on the pearl. Transfer the engraving pattern to the smooth pearl by drawing, tracing, or heat transfer. If you are a good artist, you can simply draw the design directly onto the pearl. A second method is to have the pattern on tracing paper and align it on the pearl. With tracing paper you will be able to see through it and get it aligned perfectly. Make a tape hinge so that it can be lifted and returned to perfect alignment. Double check and, when satisfied, place a good grade of carbon paper between the pattern and pearl. Trace over the lines of the pattern with a ball tip stylus. This will give a good clear line and allow the pattern to be used over and over again. Check that all lines are traced well. If not, just the lines that are not well traced can be redone. A light spray of clear lacquer will fix the tracing so that the pattern will not smudge during engraving. Another way to transfer the design is to use a reversed photocopy (Xerox copy). Align this with the copied side face down against the pearl and iron the back of the paper. The toner will soften under the heat, stick to the mother-of-pearl, and remain there when the paper is peeled away. This method is a bit tricky and alignment is more difficult. The heat needs to be uniform (around 450 Degrees F) or uneven transfer will occur. We recommend practicing heat transfer before going right to the job. It is wise to begin by using a sharp pointed scribe to lightly start the lines. Use a straight edge for the straight lines and a curved line drafting template for the curved lines to get a groove started. Drag the scribe lightly a few times against the template until a distinct groove is started on the surface of the pearl. Then proceed with one of the gravers to ride in the initial groove. Deepen and widen it as desired. Remember that contrast is desirable (very thin to wide lines look great when used appropriately). Some basic designs will look fine with scratched lines only.
Clean out the cuts. Compressed air and a clean, stiff brush will aid in getting out all the debris so that the filler will stick in the engraving.
Some engravers prefer to accent the engraved lines with permanent black artist's ink, which accents the depth of the cuts. Apply it with a toothpick, carefully scrape off excess dried ink with an X-acto blade, and be careful not to let the ink bleed into the surrounding wood. A common method is the use of a black filler crayon. Get some material off the crayon onto the pearl and work it into the cuts. Wipe back and forth with a stiff plastic straight edge, such as a piece of an old credit card about 1/2" wide. Use it as a chisel (shearing off the excess above the cut) and use it as a squeegee (forcing filler down into the grooves). Moving back and forth, while changing strokes with good pressure, will eventually work the stiff filler completely into the cuts and remove the excess above the level of the polished pearl. This will give you the first look at the engraving. If the lines need extra work, or some lines were missed, this can be done in a repeat of the above steps.
Here are examples of some classic patterns and shapes, and some modern illustrations from our engravers here at Stewart-MacDonald. Copy them for your project, or create your own!


Sharpening tip


