How Maegen Wells installs pickguard binding
Issue 276 December 29, 2016
StewMac visits guitar maker Maegen Wells of Forestville, California. Maegen’s specialty is building archtop acoustic guitars. Using a 1940s Gibson as an example, she shows how to create a beautifully bound tortoiseshell pickguard with black/white/black purflings.
- Shaping the pickguard to a template
- Laminate four purflings to create a multilayered effect
- Shop-made wooden caul that matches curves
- Cutting precise miter joints
Video Transcription
[on-screen text reads: Maegen Wells - Maegen Wells Guitars]
How to install pickguard binding
Maegen Wells: Hi there. My name is Maegan Wells. We're hanging out here in my shop in Forestville, California. This is where I make archtop guitars, acoustic guitars and mandolins. I specialize in archtop guitars and one of the many, many things that I love about building them is making all of the hardware that goes along with it. I have the tailpiece, pickguards, bridge and saddle fitting the bridge, making the pickup rings.
I have an archtop here in the shop, an old 1940s Gibson that's lost its pickguard, which happens a lot over time. She's in pretty good condition. She just needs a little bit of love and a new pickguard. Here's one I have made. It's almost done, and I'm going to show you how we do that.
Shaping the pickguard to a template
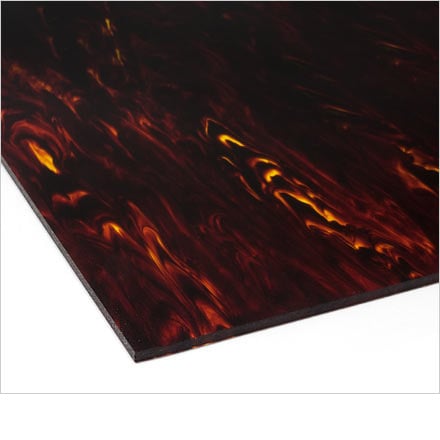
So we're going to start with this piece of acrylic [on-screen text reads: Archtop Pickguard Material - stewmac.com]. It's solid plastic with a beautiful Tortoloid pattern on it. You can harvest two pickguards out of one sheet if you lay it out properly. I made this template off of the blueprint. I just cut it out of the blueprint and glued it down to the plexiglass [on-screen text reads: Blank Template - stewmac.com]. You cut it out on a band saw, sand to the lines, and now you have a really great template for routing patterns.
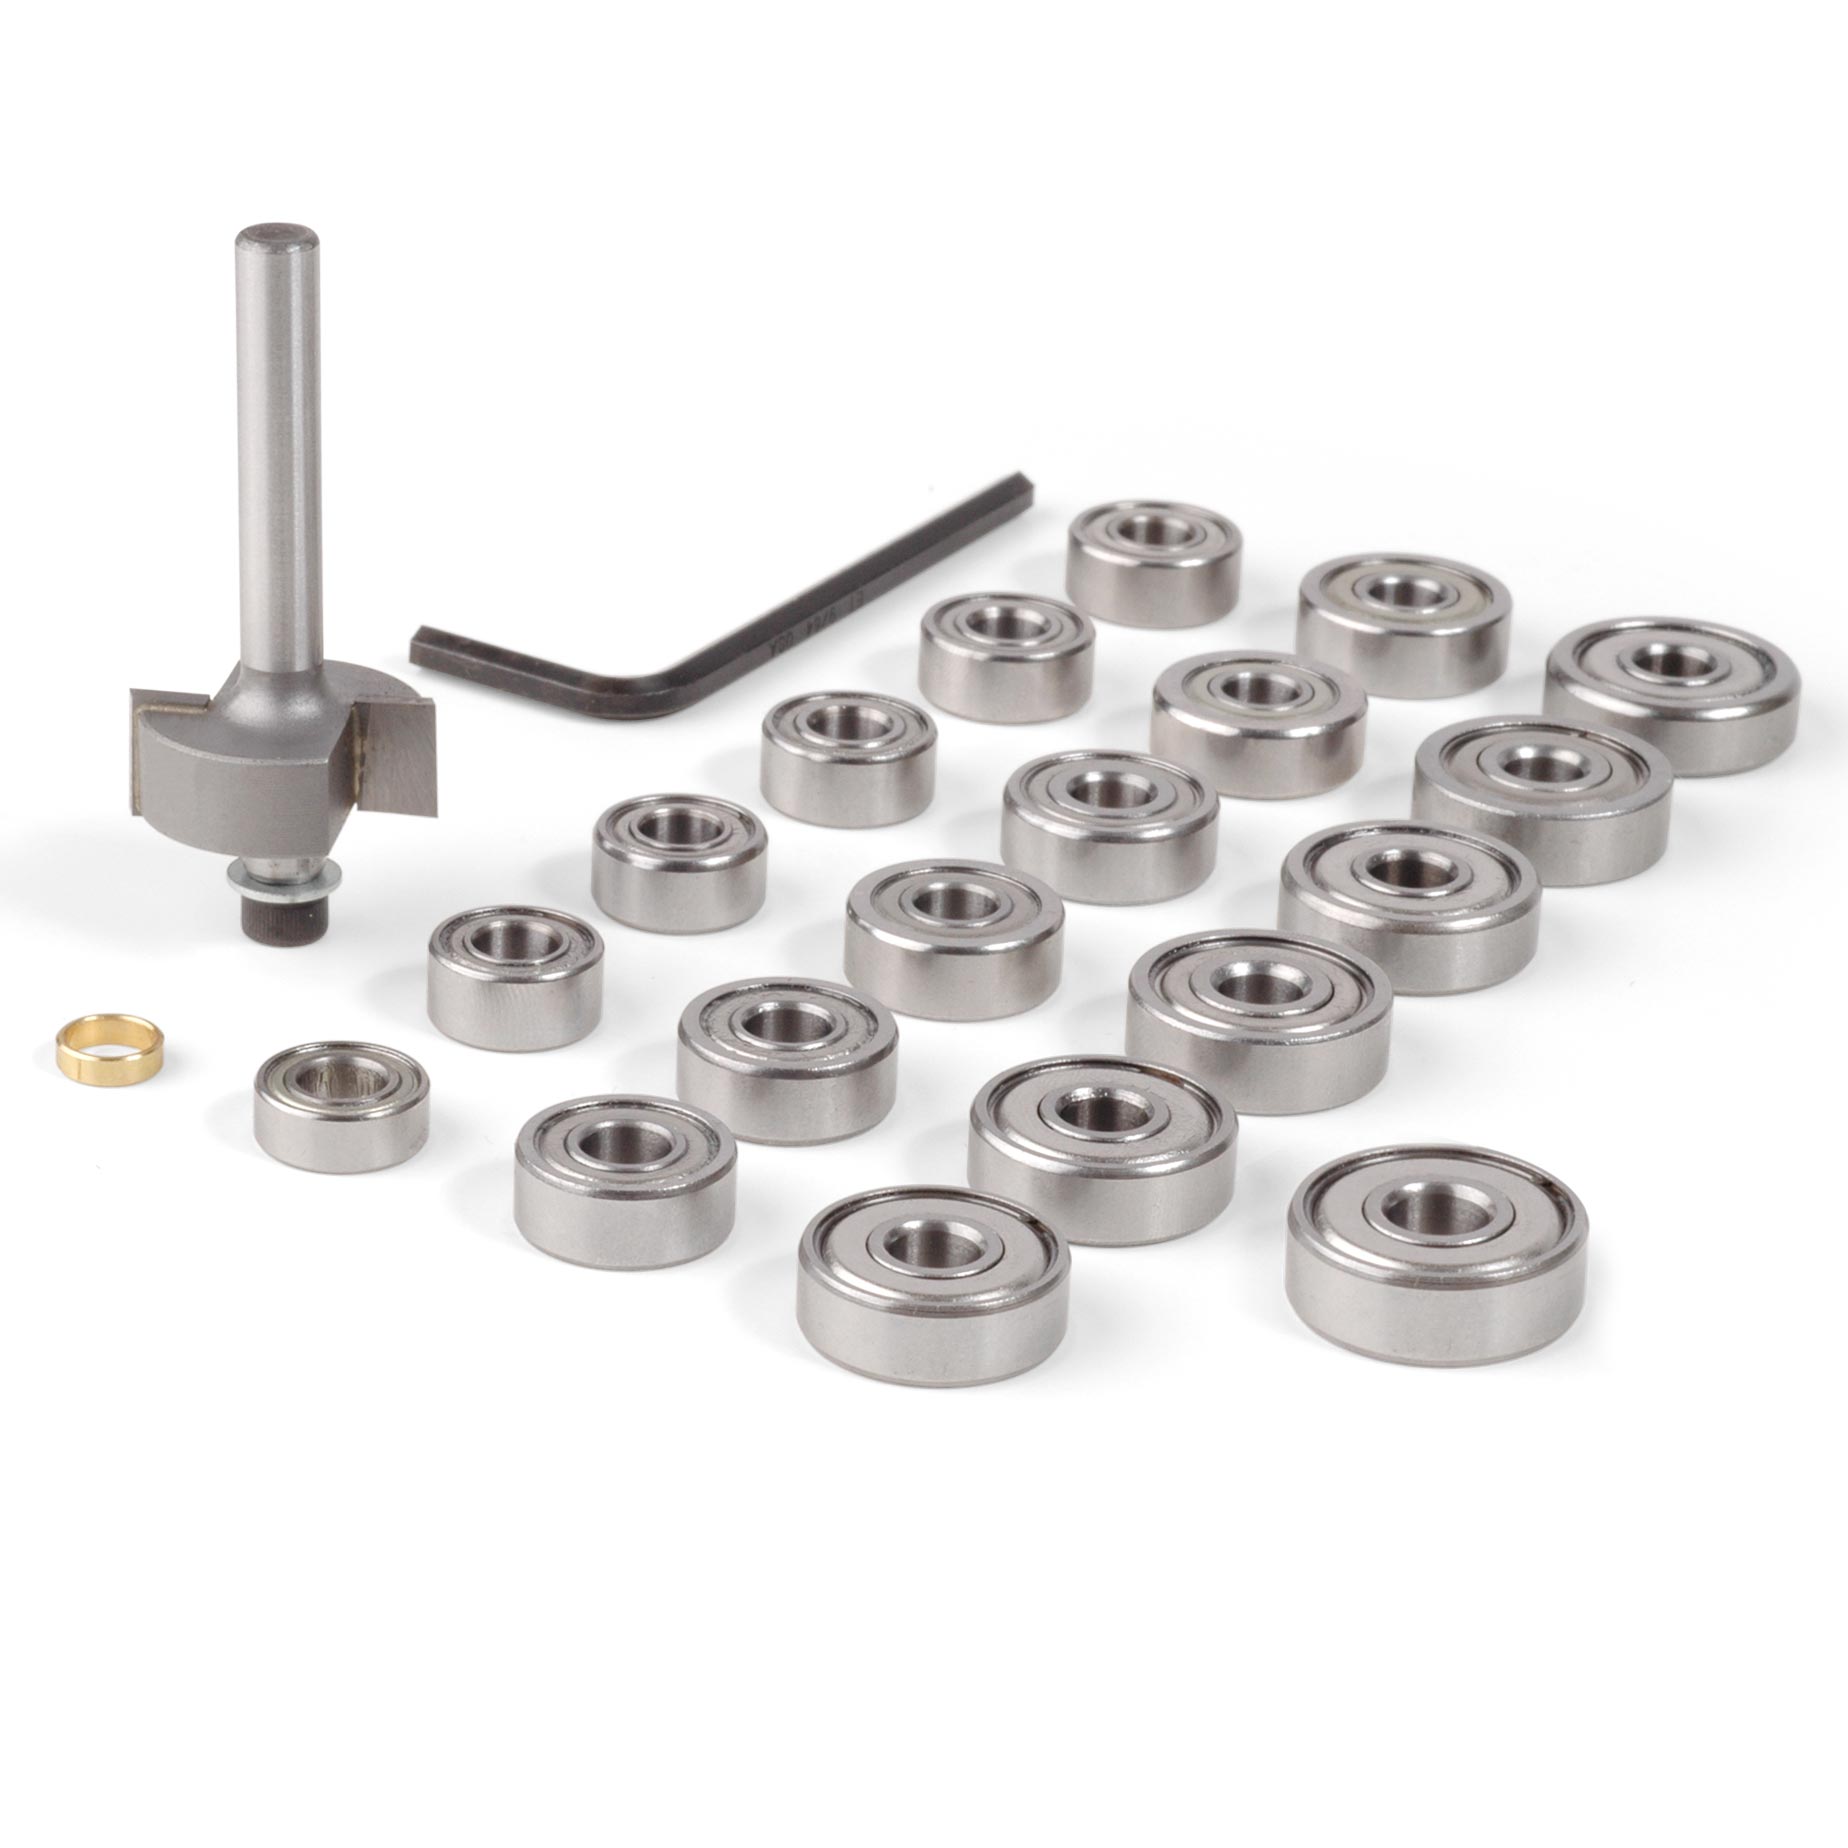
So then I cut this out on the band saw, which the acrylic cuts beautifully on band saws. It routes beautifully. I cut it out and I end up with the shape. It's about an eighth of an inch oversized. I'm going to secure this to my template with some Double-Stick Tape, and we are ready to route our pickguard [Maegen runs the template and pickguard through the router. The router bit bearing follows the template for a smooth cut]
[on-screen text reads: Binding Router Bit - stewmac.com]
Laminate four purflings to create a multi-layered effect
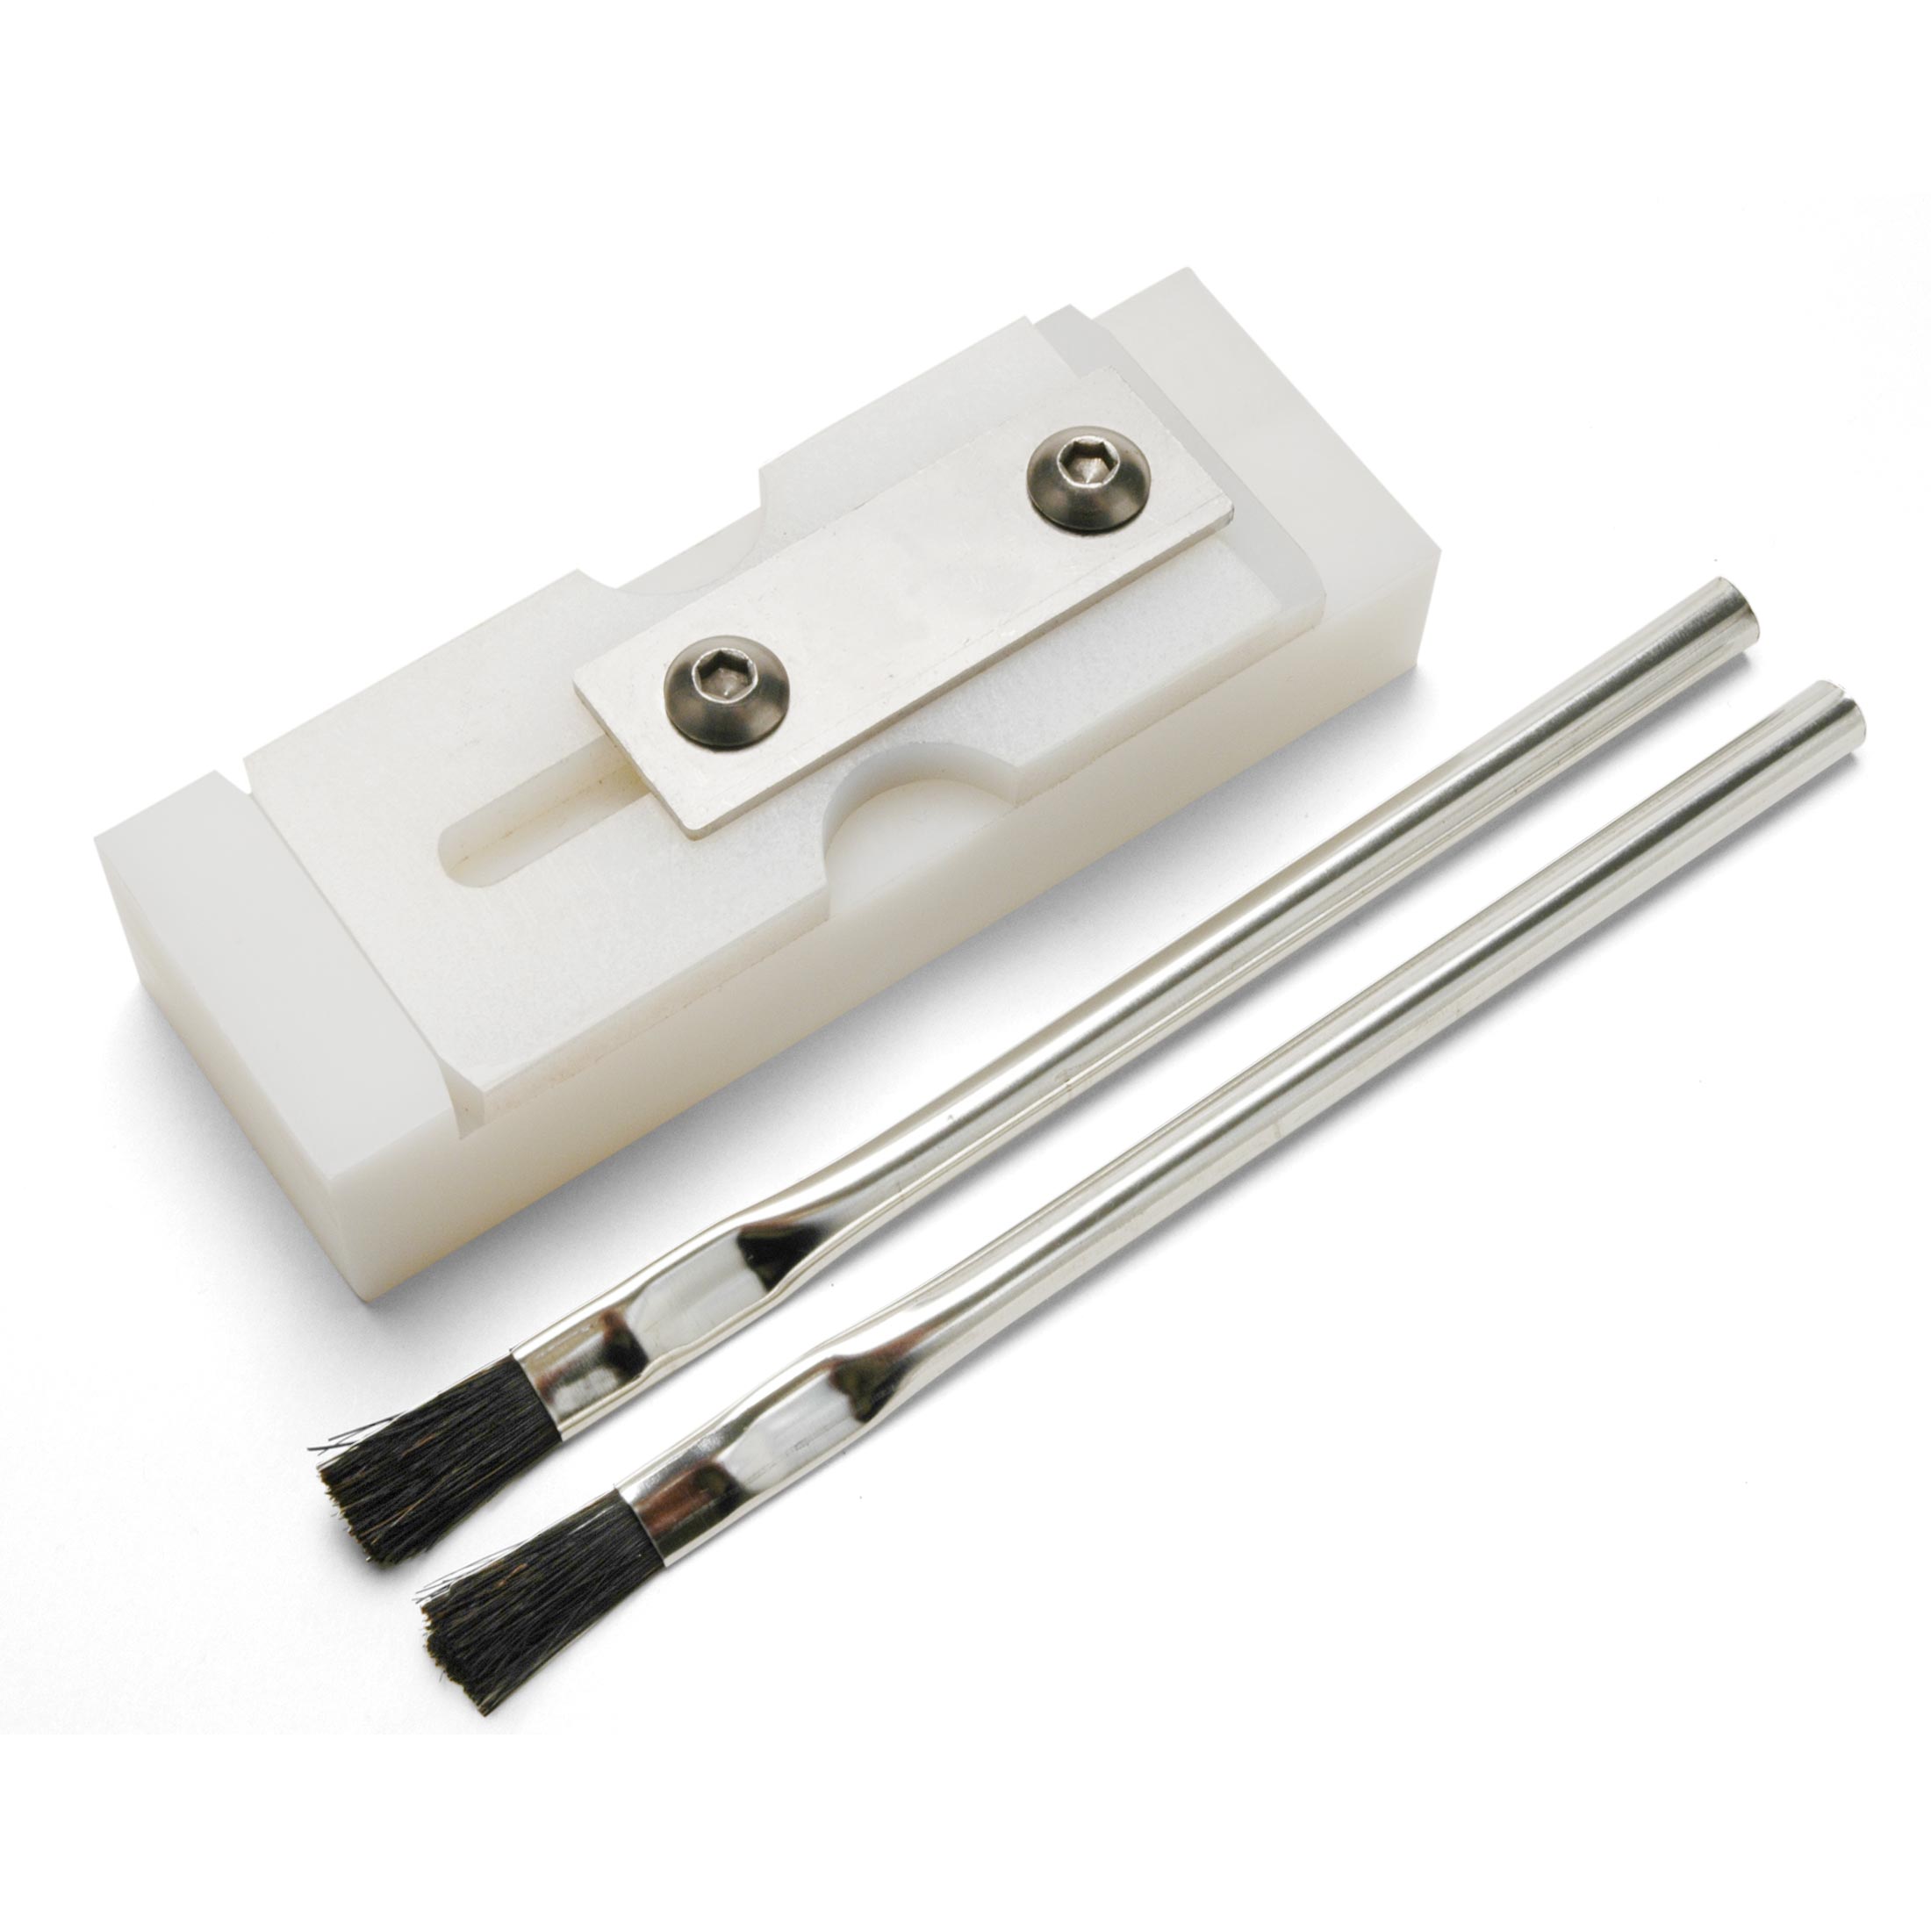
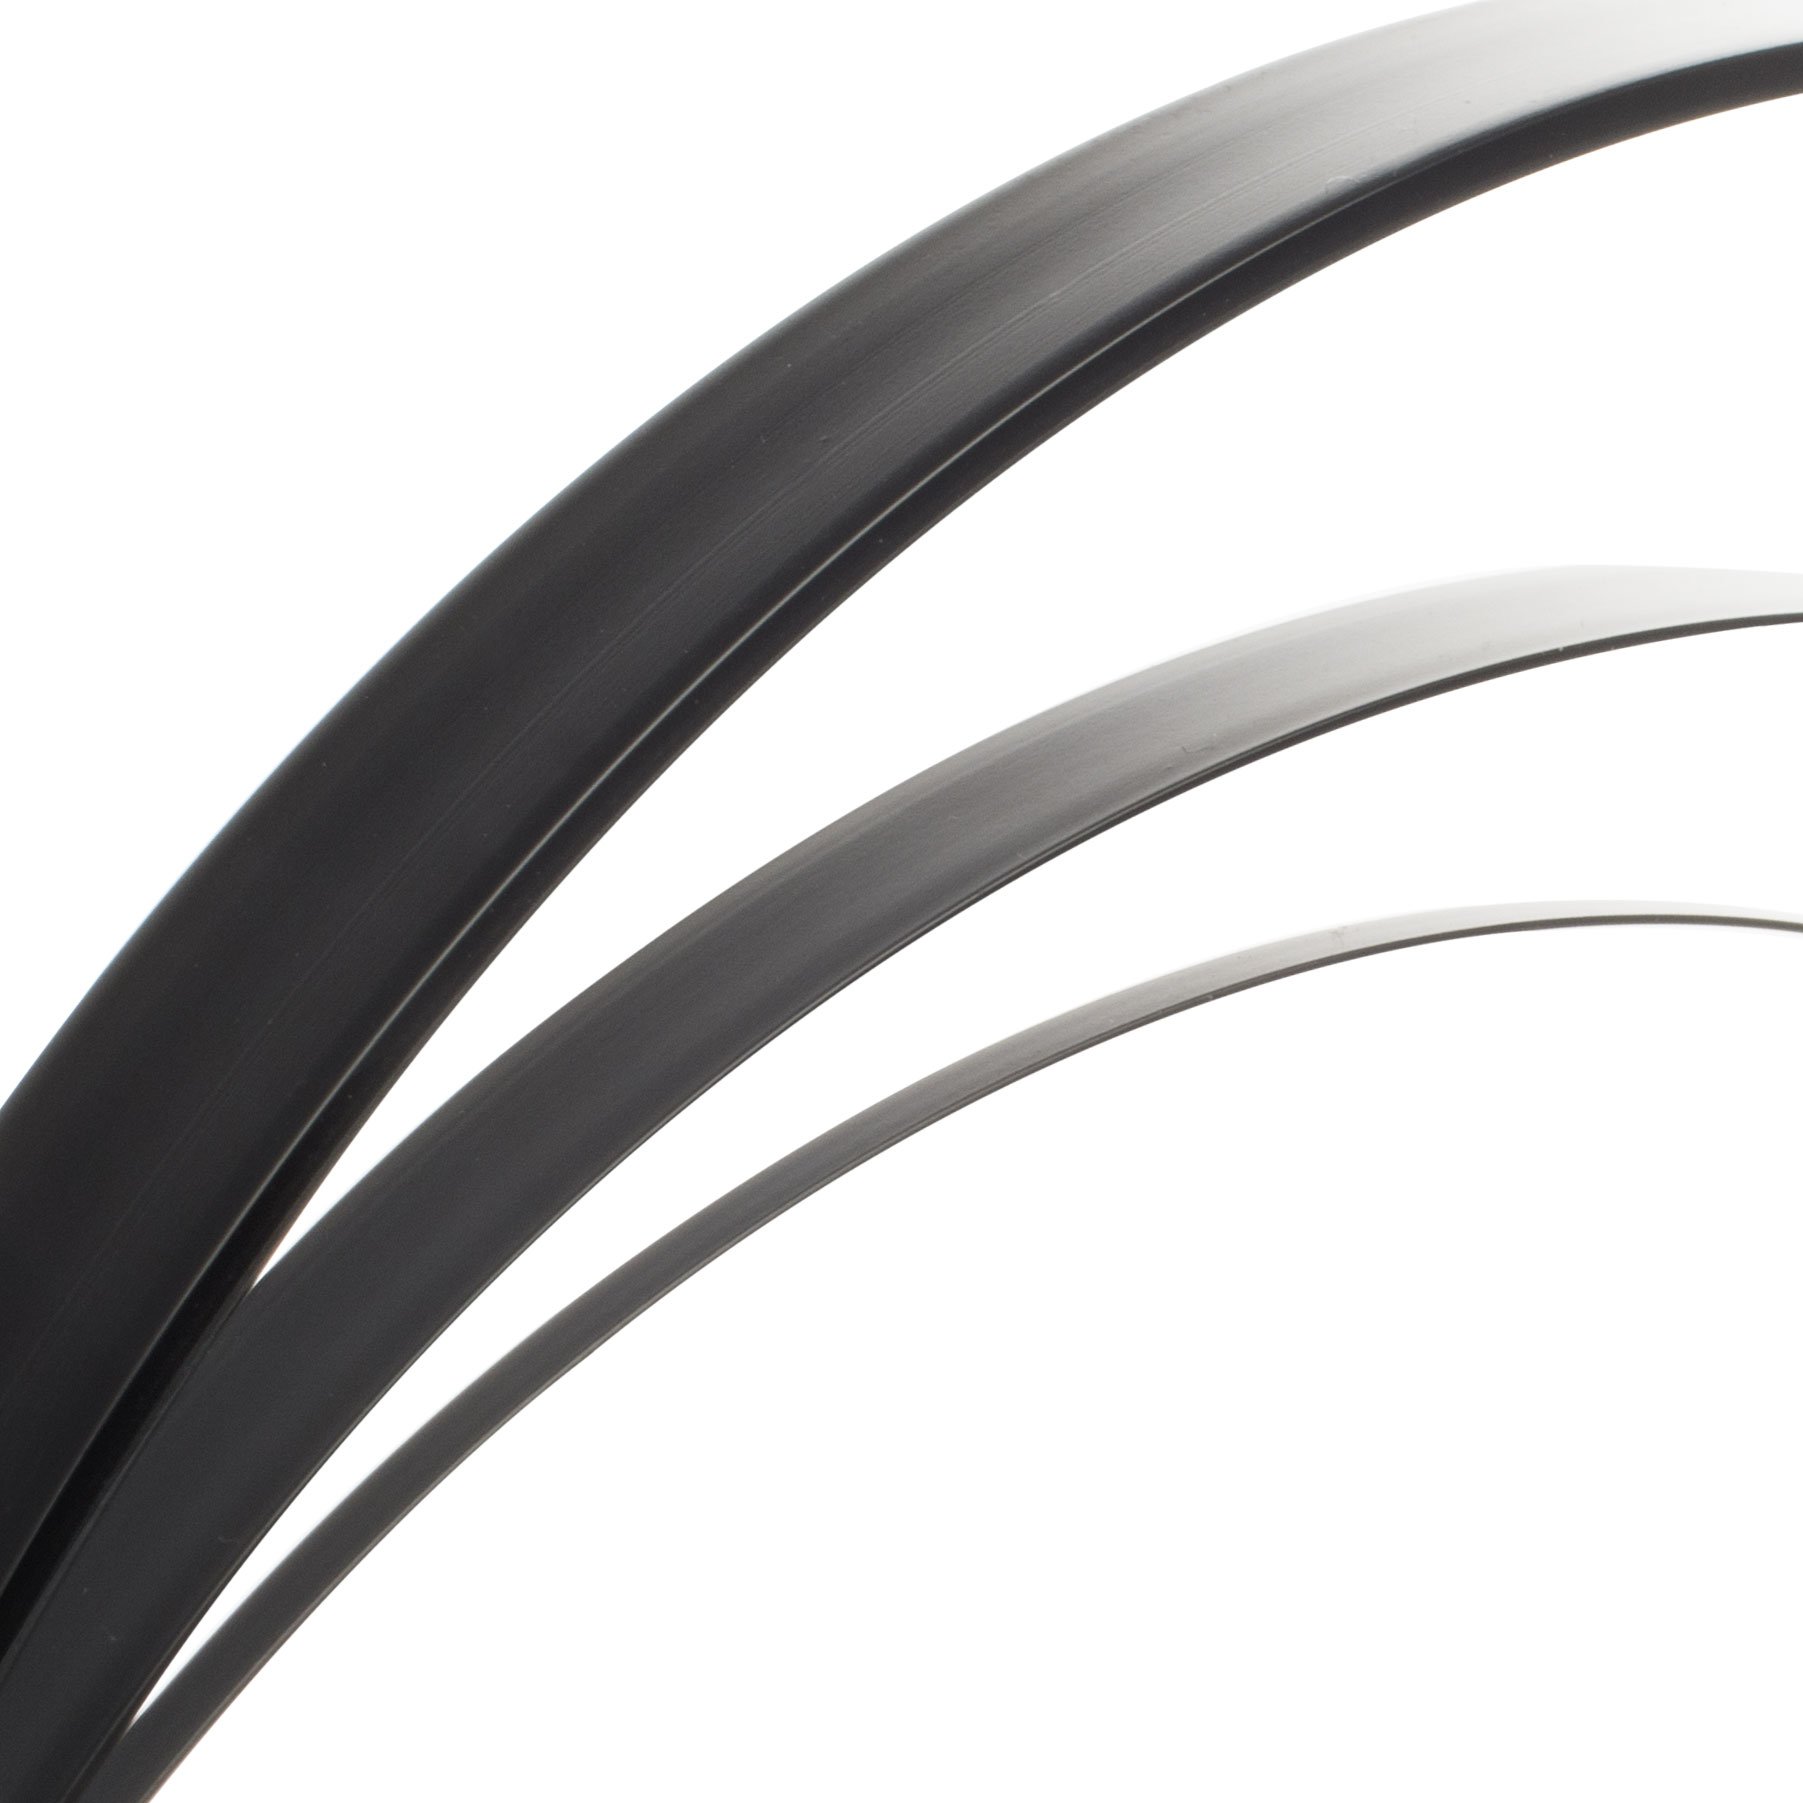
So now that we have our pickguard cut out, we are ready to prepare our Purfling strips. Four pieces of ABS plastic. Two of them are black, two of them are white. They're 20 thousandths of an inch thick and a quarter-inch high. And when I alternate the colors to do black, white, black, white, that gives us our purfling scheme. And I'm going to laminate them together using the binding jig laminator [on-screen text reads: Binding Laminator - stewmac.com]. It's made of two pieces of Teflon and it has an internal spring. So the top piece automatically slides in and it self-adjusts to whatever thickness of material you have in that slot.
So in this case, we're going to have four pieces here, and you just pull back on this top piece and it's going to close in. I'm going to lock it into place. The material should be able to move freely, but with a little bit of resistance through. You don't need much pressure. What we're going to be doing is applying some acetone and it's going to melt these laminations together, and it only takes a few seconds for them to bond. And as you pull it through, they're going to come out the other end as one piece.
So I'm going to put a little spring clamp at the end here, and I have a little jar of acetone here also. I like to use these Glue Brushes, but I like to cut them down a little bit closer towards the base. The bristles are just a little bit more firm that way, and it gives you better control when you're applying the acetone [Maegen cuts about half of the bristle length off with a razor blade]. Just like that. Yep. See? And I'm only going to apply acetone to about four, five inches ahead of me. And then once we pull it through the laminator, we'll keep applying it as we go. I'm just going to dip a little bit in there. I want to come out like that. And the other piece [Maegen brushes the acetone on to each piece of purfling, covering about 5 inches of purfling].
And then very carefully, lay that piece down on top. And now we're going to move over to the binding jig. I'm going to start pulling it through. To about right there, and now it's time to put on some more acetone. Again, only going four or five inches in front of it. It really does come out really nice. Only now, instead of four pieces, we have one. We're just going to let that hang here for a few hours and when we come back, it'll be fully dried, totally straight, and it will be ready for us to install.
Fitting the purfling to a caul that matches the pickguard curves
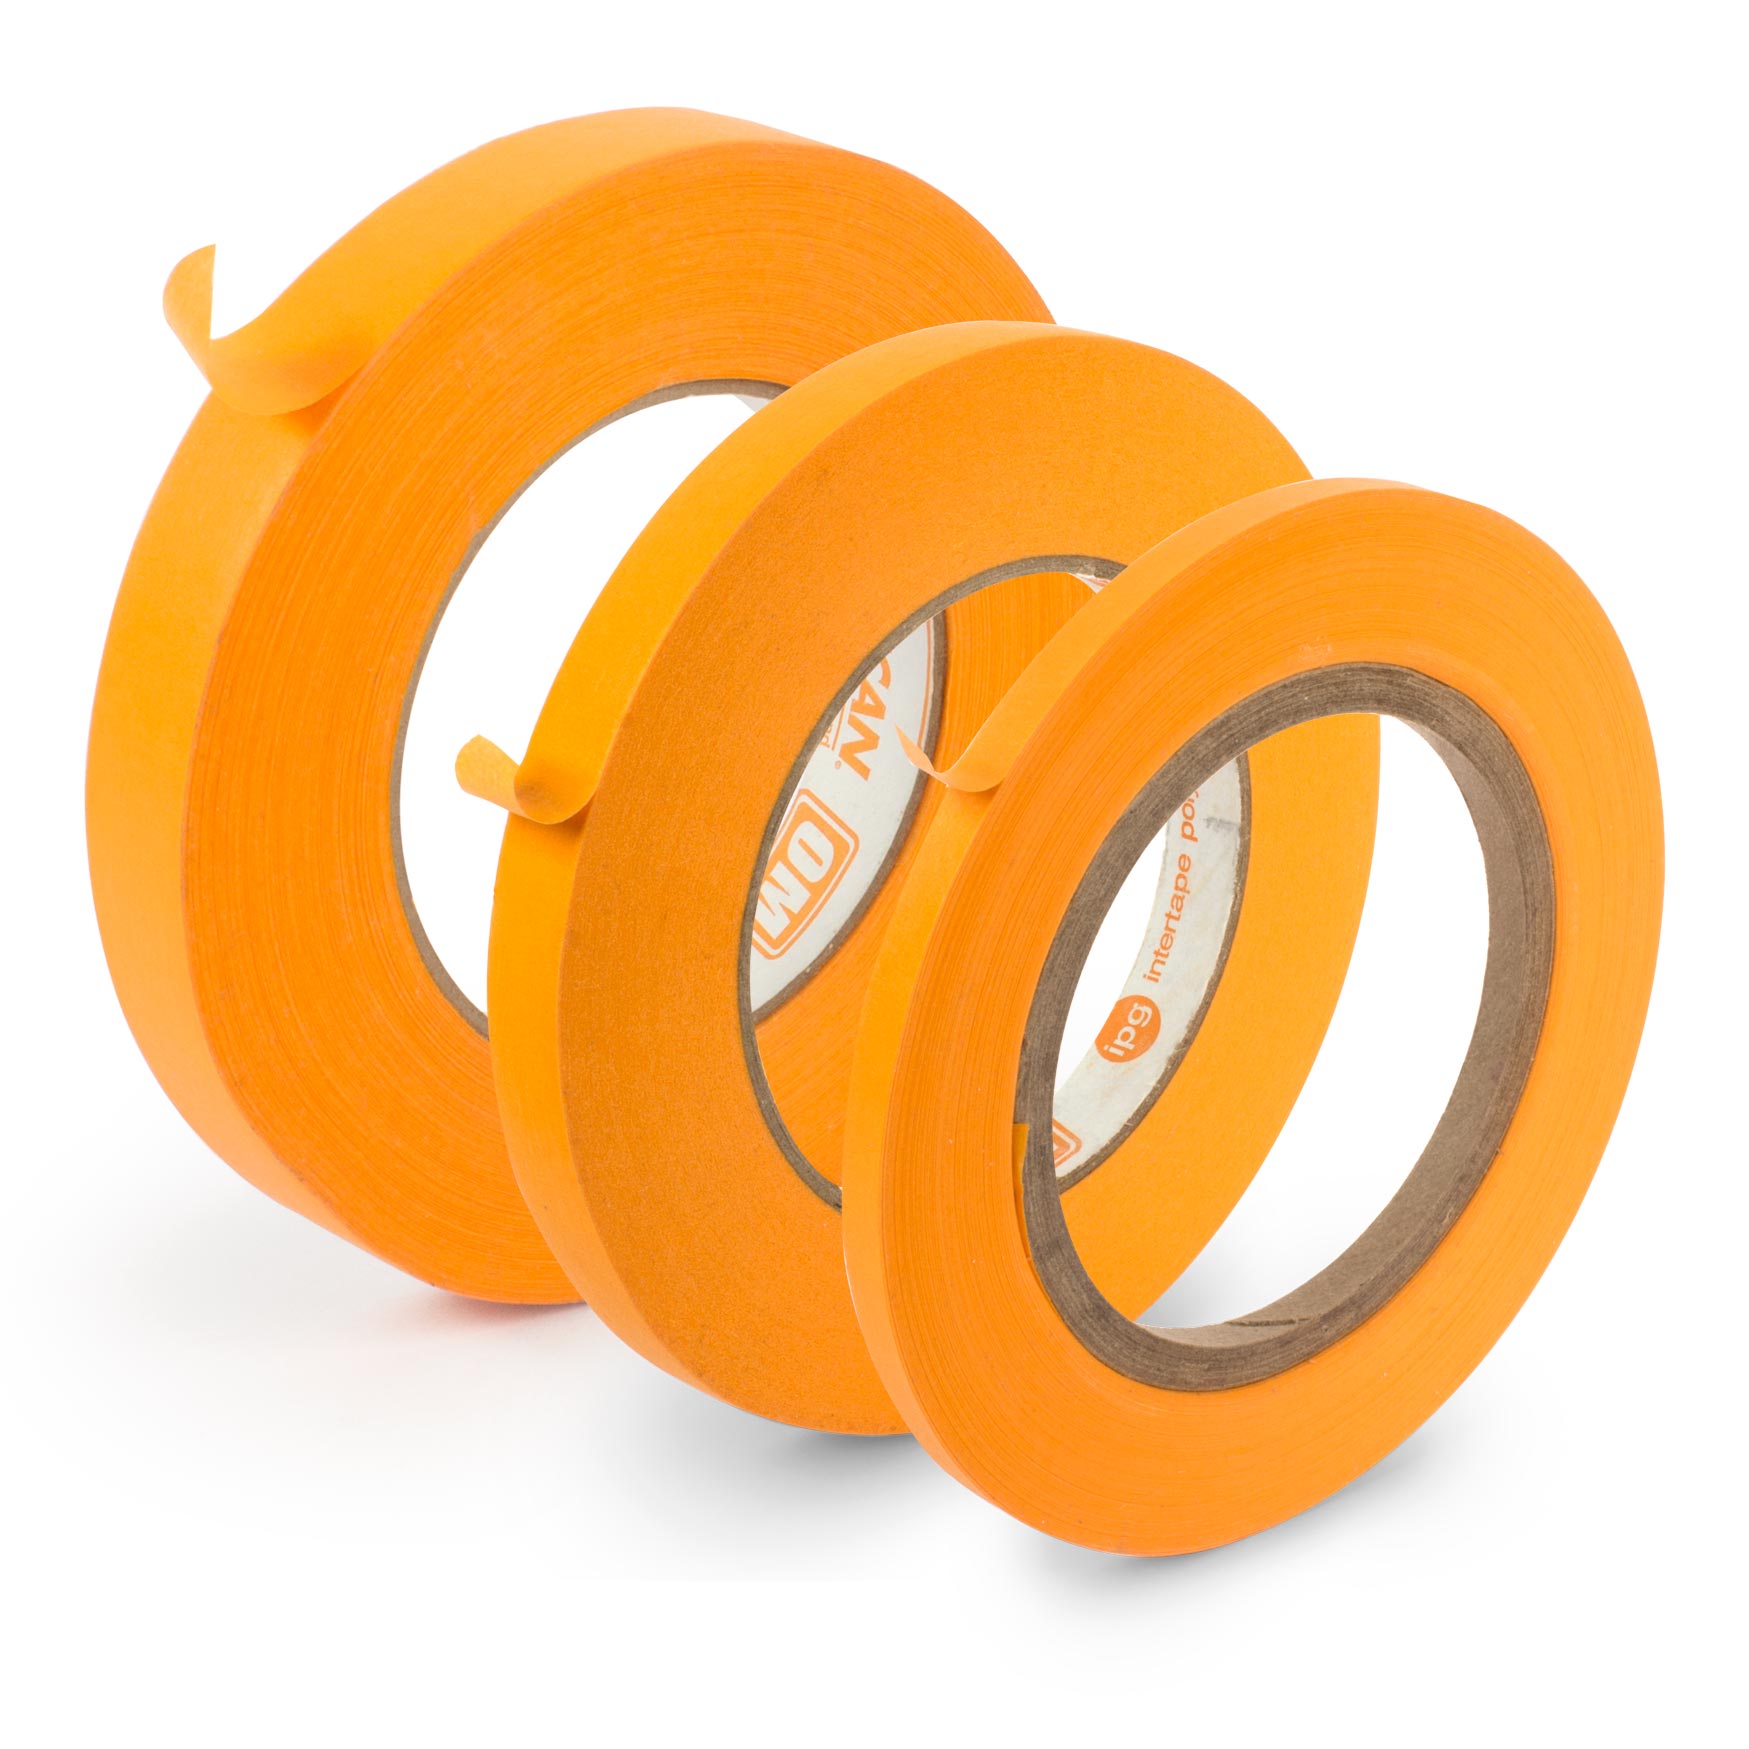
So now, we're ready to fit the purfling to the shape of our pickguard. I'm going to do that using a heat gun, Binding Tape to keep it in place [Maegen tapes the purfling to the pickguard]. And a caul that matches the different curvatures of the pickguard to help me make those bends. Once it cools, it'll keep its shape much more easily [on-screen text reads: Same template we used for routing].
Gluing the purfling to the new pickguard
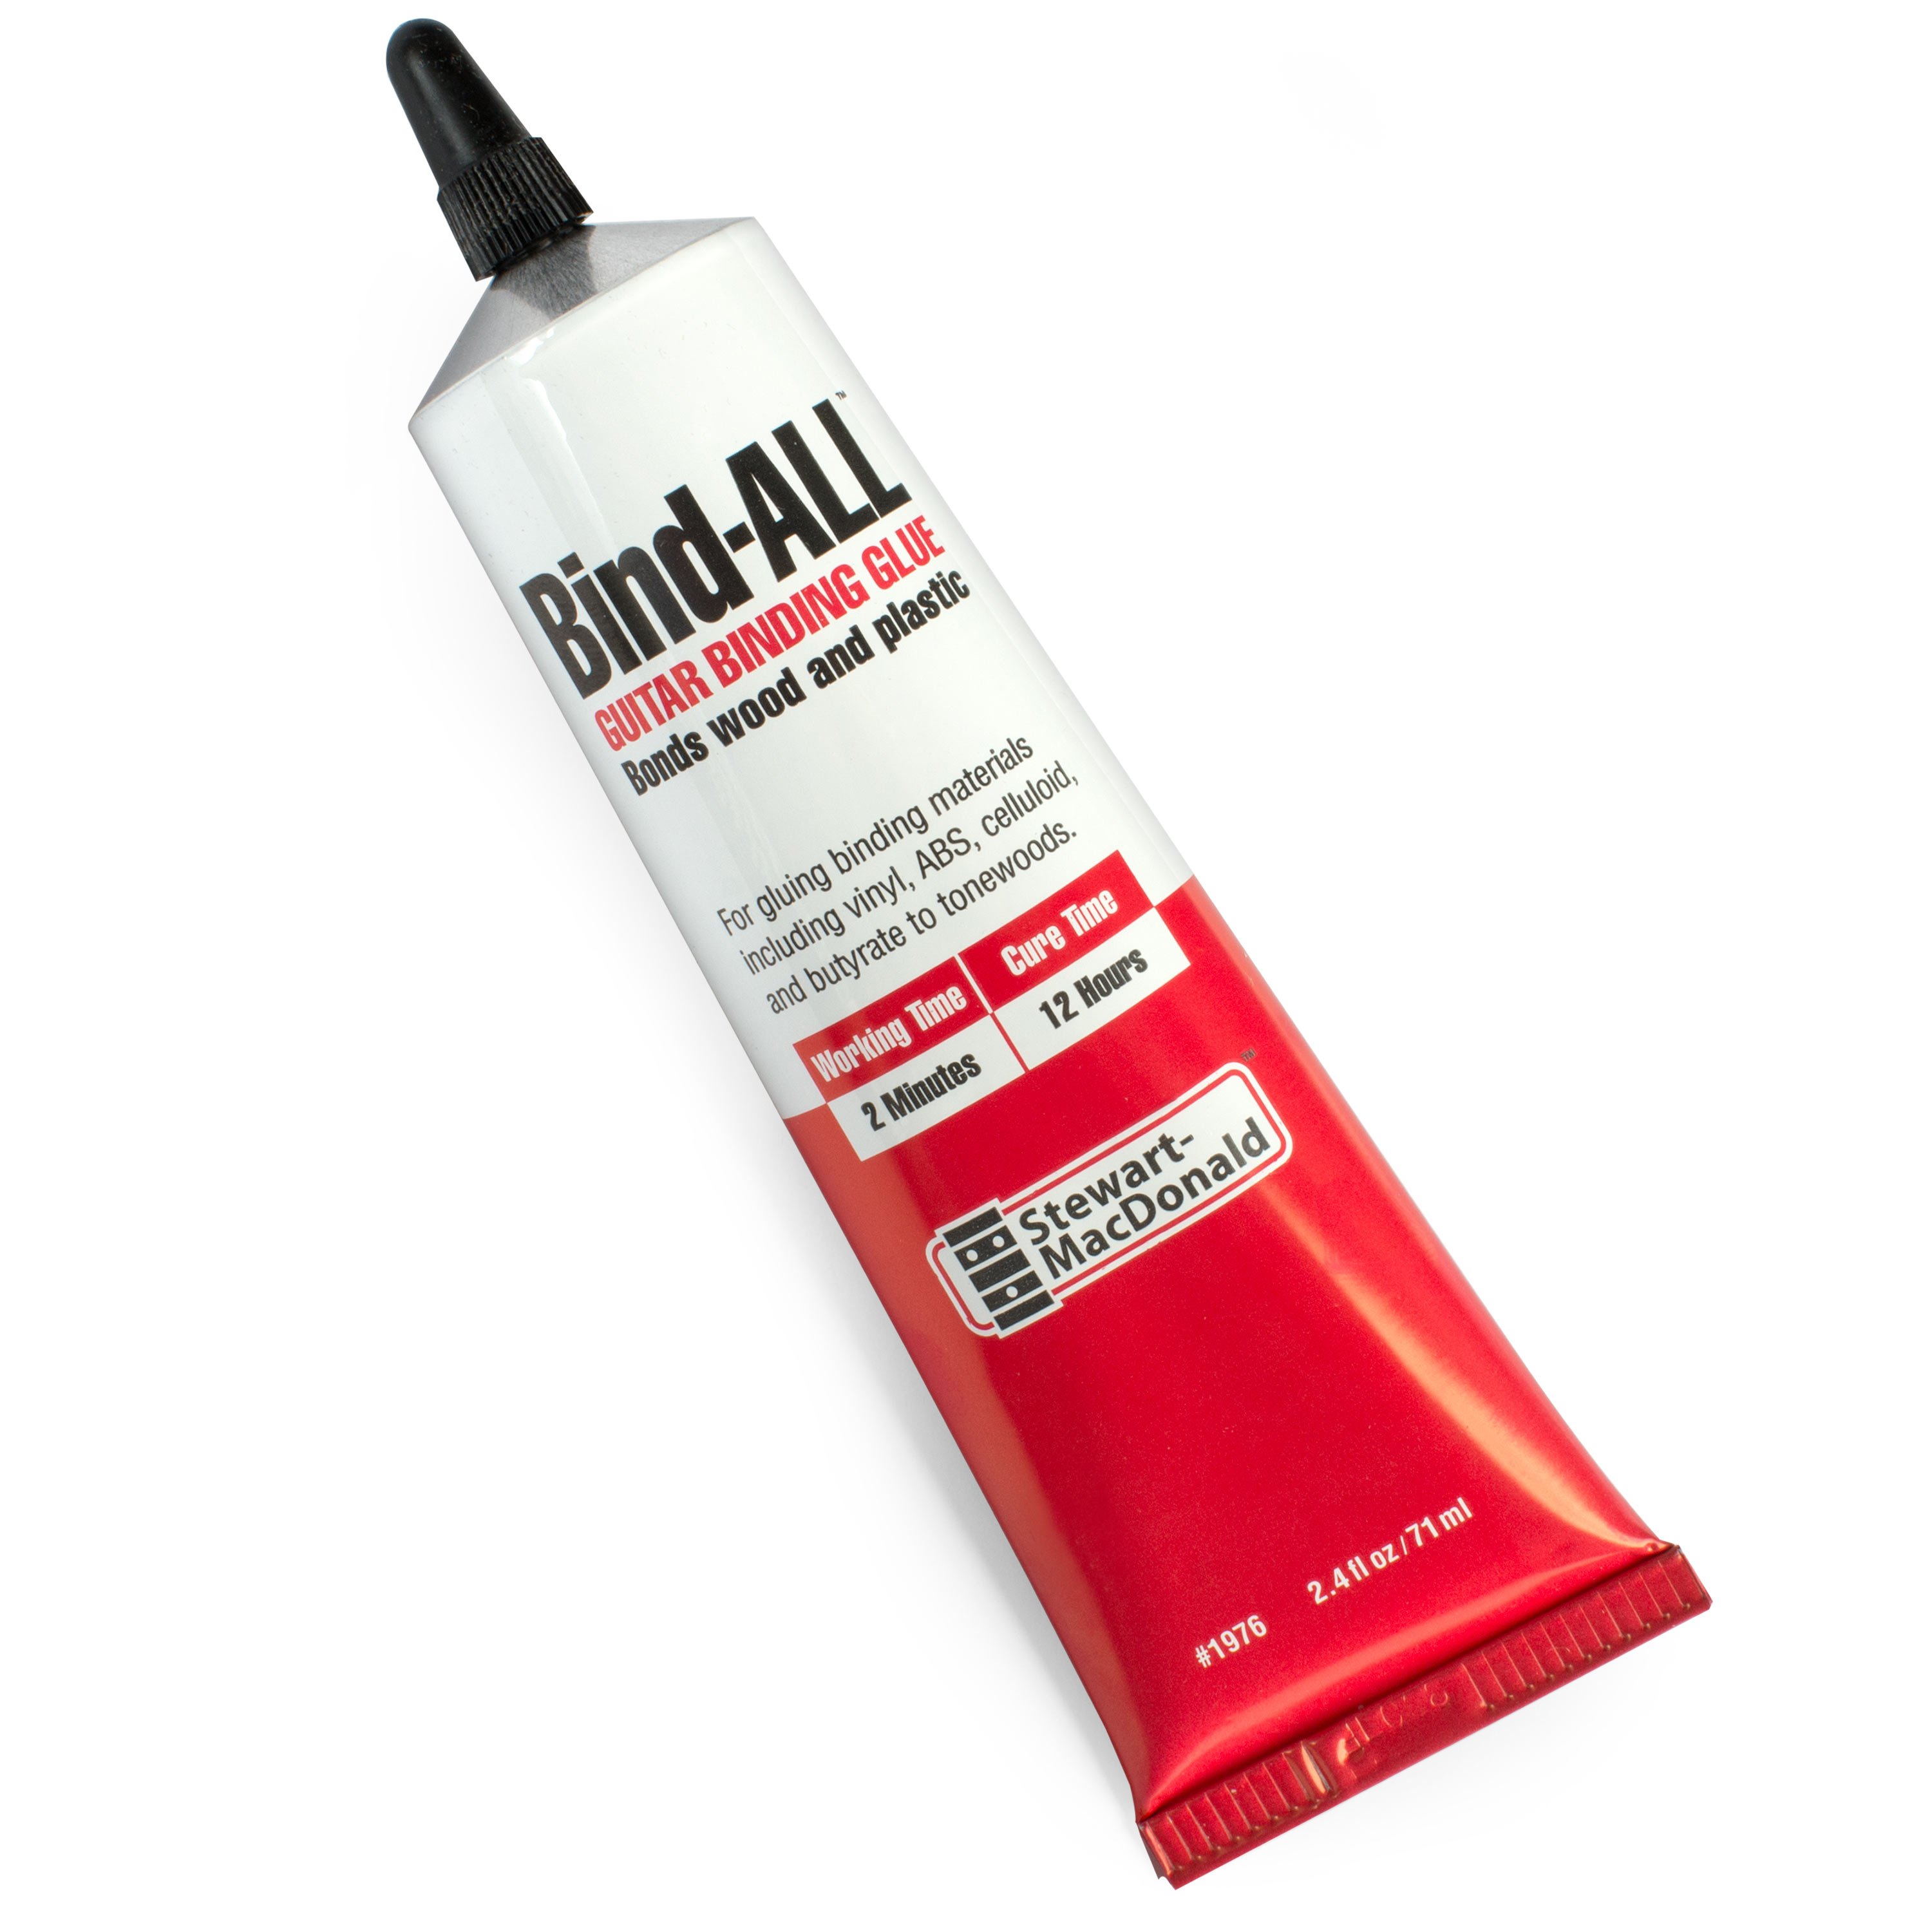
So now that our purfling has been bent, we are ready to glue. And with this glue [on-screen text reads: Bind-ALL Guitar Binding Glue - stewmac.com], it sets up in about two minutes, so I can hold it there in place and it'll tack and that's going to give me the chance to tape everything down, make sure everything's right where it needs to be. I won't actually start sanding and scraping the purfling for about another 12 hours, but this glue sets up fast enough so that we can start working right away.
Cutting precise miter joints
This is what you end up with. Once you've purfled that whole outside edge of the pickguard, you want to leave these two pieces long, extending past the pickguard because we're going to cut that joint as a miter so that those black, white, black, white lines turn the corner. Using the back of my chisel as a mirror, I'm going to establish the angle in which we want to cut our purfling. And you just want to see those purfling lines turn that corner of the pickguard right there.
That looks like it's it, right there. And then we're going to take this other piece here that's going to come across this straight part, and we're going to cut that same angle so that it matches right up with it. And that looks like a pretty good match.
Finishing the pickguard
So I've finished purfling this pickguard, and I've added 90 thousandths ABS binding around the edge. I've scraped it down with this scraper. It allows me to get both sides of the pickguard at once. It's very handy. Once you scrape all of the purfling and the binding flushed with the acrylic, you just have to sand it with 400 grit, 800 grit, and then you're ready to take it to the buffing wheel.
Let's see what it looks like. And there you have it, friends. That's what a finished pickguard looks like.

