DIY: The Right Way To Fix Your Guitar's Lacquer Finish!
Issue 346 May 14, 2020
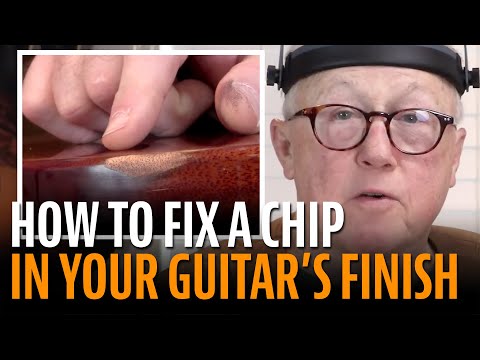
Ian Davlin, master repair tech from Lark Street Music shows the right way to fix a guitar finish blemish on this R9 Gibson Les Paul. In this video, he shows the common finish mistakes most beginners make, and a series of simple techniques to make this repair nearly invisible.
Video Transcription
[on-screen text reads: stewMac tools + ideas for guitarmaking. DIY: The Right Way to Fix your Guitar's Lacquer Finish]
Dan Erlewine: Hi, I'm Dan. And this is my friend, Ian Davlin from Lark Street Music in New Jersey. This isn't the first time that he's been here in Athens, in my shop to teach a finished touch up workshop. Ian, what are we looking at here?
Ian Davlin: Well, Dan, this is the 2019 Team R9. Basically what you have was a fellow that had dinged the guitar and tried to repair it himself, and he made some classic mistakes. It got out of control on him for some common reasons, which is he just started grabbing red products without really knowing what the original finish schedule was. And it really showcases one of my main strategies, which is to try to replicate the original finish schedule as much as possible when addressing finish repairs.
So Dan and his minions built up this series of blocks that we have replicated the damage from this guitar. And we're going to have students at the workshop go over basically step by step, the repair that I'm doing, and they're going to go over them on these simulated blocks.
Dan Erlewine: Let's get started.
Prepping and staining the bare wood
Ian Davlin: All right.
The person that worked on this before, didn't like their results and they started chemically removing their attempts. And what that did was it made a dark line around the area of effect and I need to take that off. So it's pretty hard to see because of a braided around the area of effect and it's changed the sheen. So one of the things that you can do is you can put ColorTone Naptha on it and that'll give it simulated gloss, and you'll be able to see that. In fact, there's still just a little bit of a dark area right here that was kind of invisible.
I don't want to produce facets in here. So basically what the foam does is it contours to this rounded edge and we'll give me a sanding surface that doesn't produce a series of steps. I like to use sticky sandpaper on plexiglass. as we said before, this touch up, got out control for this guy. And one of the ways to keep touch ups from getting out of control is to keep things small. I am able to see where I'm sanding. So not making it much bigger because I'm able to control the block and the sanding much better.
Dan Erlewine: What grit are you using?
Ian Davlin: It's 220. All right.
Dan Erlewine: Looks nice from back here.
Coloring and mixing up the grain filler
Ian Davlin: So keeping with the idea that we're going to build up from bare wood as close to the original finish schedule as we can possibly muster, we're going to mix up some pour filler. This is water based grain filler from StewMac [on-screen text reads: ColorTone Powdered Grain Filler - stewmac.com]. The grain filler is going to do a couple things. It's going to fill the pores so that we don't have to spray a hundred coats of lacker on there to build it up to a level finish. But it's also going to add some color to it. We're going to color this pore filler. I just did two drops of cherry red, little bit of vintage amber [on-screen text reads: ColorTone Liquid Stains - stewmac.com].
Dan Erlewine: Have you added black yet?
Ian Davlin: Yeah, I have. What I'm trying to do is I'm trying to kind of simulate that smudgy-ness of a factory pore fill.
Dan Erlewine: To me that would be using a pace filler, almost like a glaze. Wouldn't that be right?
Ian Davlin: I think so. This is starting to look pretty good. All right. I guess we'll let that sit for a little bit. All right.
Ajusting the color with an airbrush
So I'm going to put a little bit of sealer on here, mostly just to kind of activate the paste fill and see what color we actually got to. We've got a sheen difference. There's some kind of color in a coat before the final clear coat, and I'm going to try to blend everything in, and I'm going to do that by mixing up some cherry red, some vintage amber and a little bit of black. Well, I think it's ready for clear coats.
Dan Erlewine: I think so. Definitely.
Ian Davlin: So we stained in the bare wood. We mixed up some paste fill to try to replicate the old fill. We adjusted the color a little bit with the airbrush. I'm going to let those layers rest before we put those clear coats on, but I think we're ready.
Dan Erlewine: And tomorrow's the workshop. So this will get some clear tomorrow, along with a bunch of students doing it.


